
 Save
Save
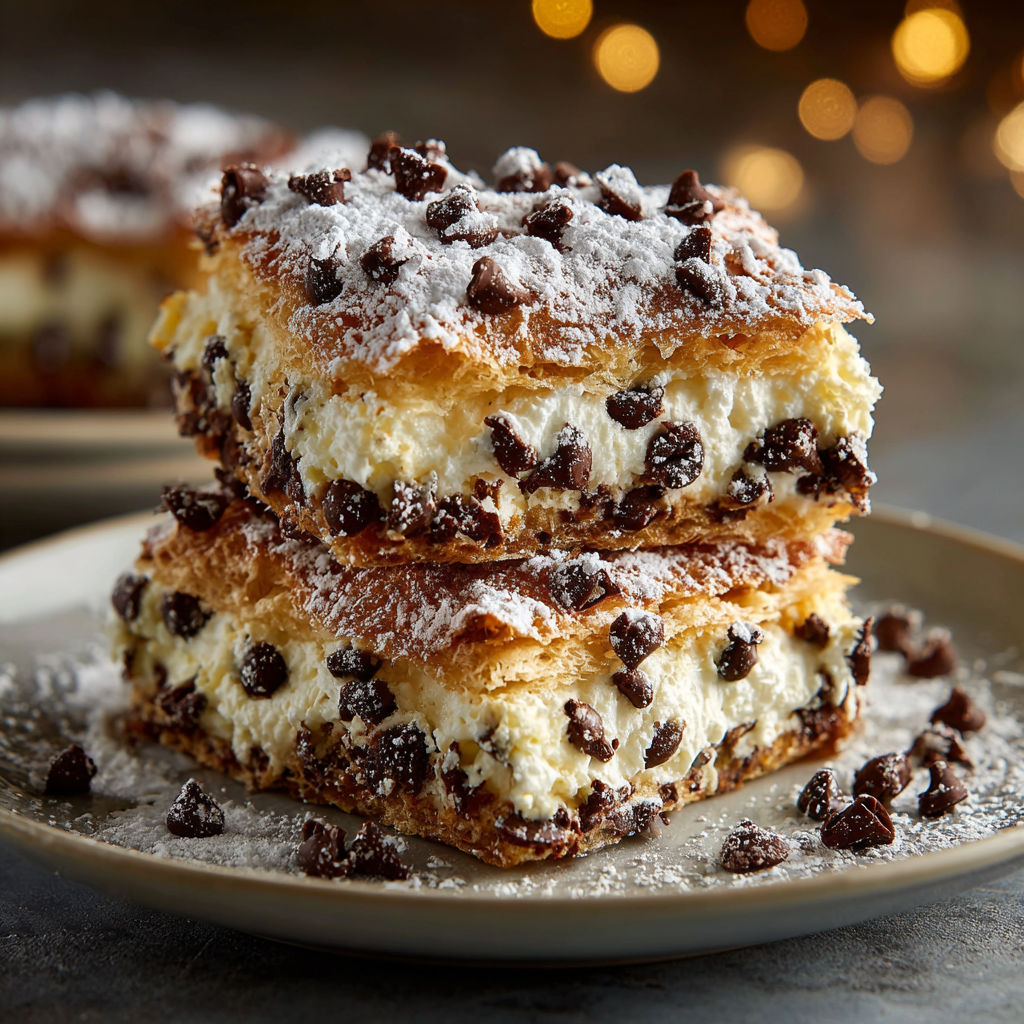
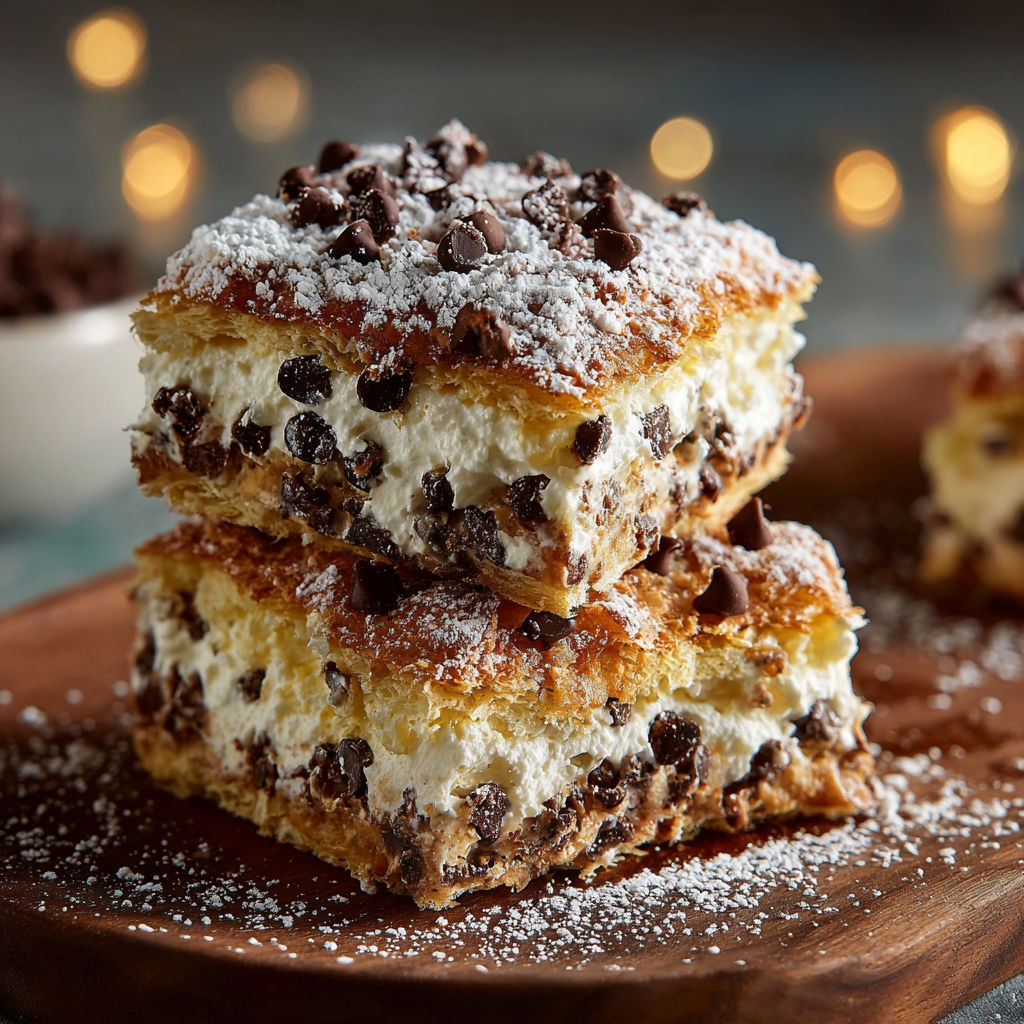
Classic Cannoli Squares are the answer when you crave the creamy—cool filling and crisp crust of a classic cannoli but want something easier to share with a crowd. These handheld bars capture the flavor of the iconic treat without the fuss of frying tubes or piping. When you bake them in a pan, slicing neat squares is easy, and they hold up beautifully for parties or coffee breaks. If you have ever wanted cannoli without the fuss, this is your recipe.
I made these cannoli squares for a family reunion, and not a single slice was left after dessert. They are the first thing requested when anyone hears I am bringing dessert.
Ingredients
- Ricotta cheese: Provides that traditional creamy filling richness. Look for whole milk ricotta, which gives the thickest texture and best flavor
- Powdered sugar: Sweetens without grittiness. For a natural option, coconut sugar works well but changes color
- Mini chocolate chips: Offer little pops of chocolate in every bite. I always use the darkest mini chips I can find for extra depth
- Premade pie crust: Saves time while delivering buttery results. Check the label for real butter or make your own for a special touch
- Vanilla extract: Rounds out the flavor profile. Choose pure vanilla and skip imitation for the best aroma
- Cinnamon: Brings gentle warmth. Freshly ground is most fragrant
- Egg: Used for glazing creates golden shine while sealing the top crust
- Chopped pistachios and maraschino cherries (optional): Add festive crunch and color if using as toppings
Instructions
- Prepare the Filling:
- Combine ricotta cheese, powdered sugar, vanilla extract, cinnamon, and mini chocolate chips in a bowl until completely smooth and creamy. For best texture, press the ricotta through a fine sieve to extract extra moisture before mixing
- Preheat the Oven:
- Set your oven to 375 degrees Fahrenheit so that your crust will bake evenly to a perfect golden color
- Roll Out the Pie Crust:
- If your crust is homemade, roll it thinly to cover the bottom of a nine—inch square baking dish. With premade crusts, unroll and press them into the dish, smoothing any breaks with your fingers
- Add the Filling:
- Gently spread your ricotta mixture over the crust with a spatula. Leave a small rim along the edges so the filling does not leak during baking
- Prepare the Top Crust:
- Roll out your second crust and lay it over the filling. Use a fork to crimp all edges tightly together. Brush the surface with beaten egg and sprinkle a thin layer of sugar for a shiny, sweet finish
- Bake:
- Slide your pan onto the middle oven rack and bake for about thirty to thirty—five minutes. The crust should be deep golden brown. If the edges seem to darken too quickly, cover them loosely with foil midway
- Cool and Serve:
- Let the bars cool completely in the pan for thirty minutes so the filling sets. Slice into even squares and top with pistachios or cherries if desired before arranging on a serving tray
My favorite part is always the creamy filling. My grandmother always let us scrape the mixing bowl after she made cannoli, so to this day I save a spoonful of the filling to enjoy before slicing. These bars remind me of her kitchen every time.
Storage and Leftover Tips
Once cooled, place squares in a single layer in a tightly sealed container. Use parchment paper between layers if you want to stack them for a crowd. They keep well in the fridge for up to five days. For longer storage, freeze individual slices and thaw overnight before serving. The crust retains its crispness even after freezing.
Easy Ingredient Swaps
Switch out ricotta for mascarpone for an even silkier filling. Dairy—free ricotta works if you need a vegan dessert option. Craving a nutty bite Add chopped hazelnuts or almonds instead of pistachios on top. Orange zest folded into the filling brightens the flavor with little effort.
Perfect Ways to Serve This
Serve chilled straight from the fridge for a firmer texture that slices cleanly. For a softer bite and intense aroma, let the bars sit at room temperature for a few minutes before serving. If you want something more elegant, dust with extra powdered sugar and pile up maraschino cherries for color.
Each time you make these bars they get even easier, and you will love how they deliver classic cannoli flavor with almost no mess or fuss.
Recipe Q&A
- → How do I prevent a soggy cannoli square base?
Drain the ricotta thoroughly using a fine-mesh sieve before mixing the filling. This helps achieve a creamy consistency and prevents excess moisture from seeping into the crust.
- → Can I use homemade pie crust instead of pre-made?
Yes, homemade crust enhances the texture and flavor. Roll it evenly to fit the baking dish, ensuring there are no cracks for the best results.
- → What are some garnish ideas for serving?
Top the squares with chopped pistachios, maraschino cherries, or extra chocolate chips for color, crunch, and added richness.
- → How do I get a perfectly creamy filling?
Combine ricotta, powdered sugar, vanilla, and cinnamon until smooth, and use whole milk ricotta for extra creaminess. Properly draining the cheese is key.
- → Are there lighter alternatives for the filling?
For a lighter option, substitute low-fat ricotta and coconut sugar. These changes maintain flavor while reducing calories.
- → How should I store leftover squares?
Store covered squares in the refrigerator for up to three days. Allow them to come to room temperature before serving for best texture.