
 Save
Save
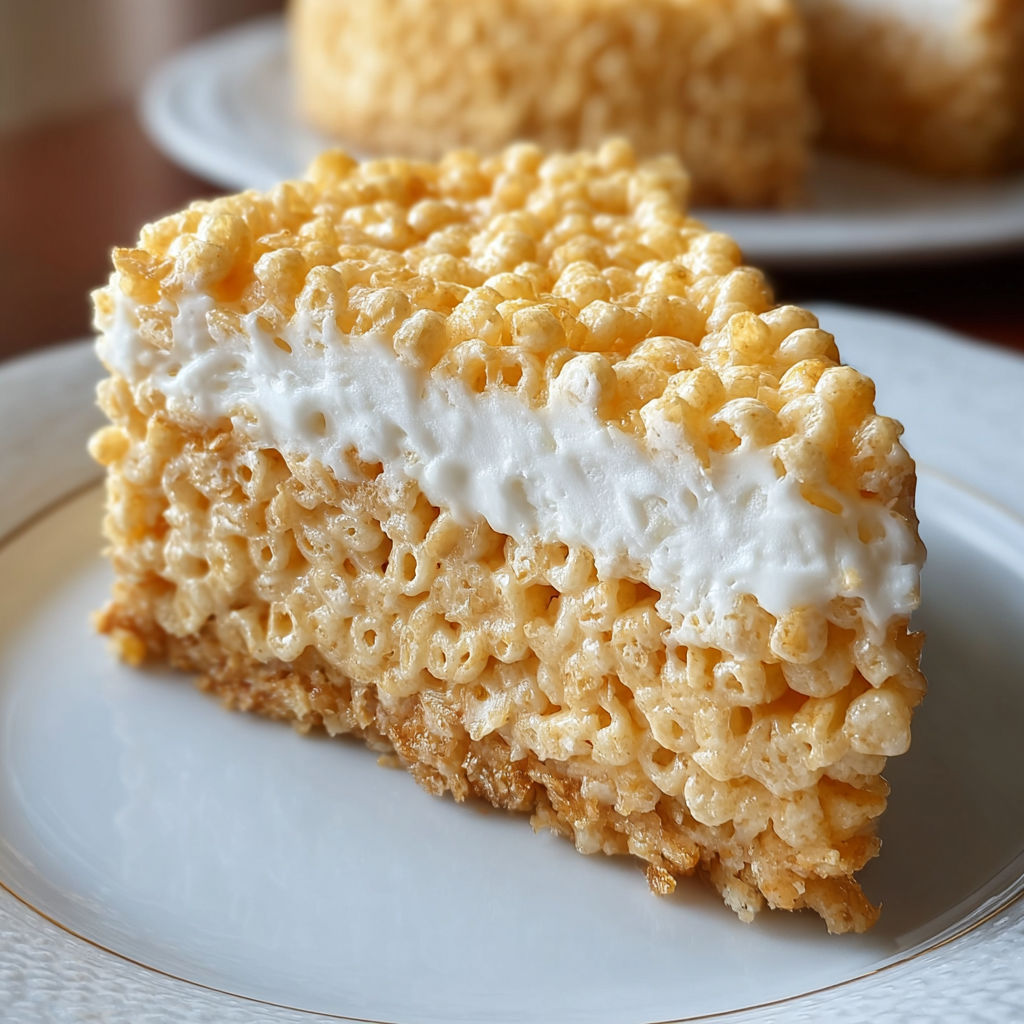
A playful twist on two classics, this dreamy Rice Krispy Treat No-Bake Cheesecake delivers all the nostalgic crunch of childhood snacks with the creamy indulgence of cheesecake. When summer heat hits and turning on the oven just feels wrong, this cool dessert keeps things simple and fun.
My very first attempt at this treat was for a last-minute birthday and it quickly became a potluck legend. I am always amazed by how quickly this disappears whenever I bring it to gatherings. The look on everyone’s face when they taste that marshmallow crust for the first time is worth every minute.
Ingredients
- Rice Krispies cereal: Provides a light crunch and structure, use the freshest box so your crust stays crisp
- Salted butter: Deepens the marshmallow flavor with savory balance, pick quality butter sticks for better melting
- Miniature marshmallows: Melt quickly and evenly, choose fresh bag with pillowy marshmallows
- Cream cheese: Brings tang and creaminess, use full-fat for best texture
- Granulated sugar: Sweetens the filling without overpowering, check for fine texture to blend smoothly
- Pure vanilla extract: Adds depth, avoid imitation for best aroma
- Marshmallow crème: Creates fluffiness and helps stabilize the cheesecake filling, Fluff brand tends to mix most easily
- Cool Whip: Adds lift and silky texture, always thaw fully in fridge, never microwave
- Whipped cream and cubed Rice Krispy Treats: As topping, give each slice that extra special look
Instructions
- Prep the Pan:
- Grease a nine or ten inch springform pan thoroughly. Reach into corners to prevent sticking. Use a paper towel dipped in oil or nonstick spray for even coverage.
- Make the Crust:
- Pour Rice Krispies cereal in a large mixing bowl. Melt the butter with marshmallows over low heat, stirring constantly until fully smooth and glossy. Quickly pour this mixture over the cereal and fold together using a long spatula. Mix until every grain is coated.
- Form the Crust:
- Scoop the sticky cereal base into the greased pan. Press firmly using a greased glass or spatula, working it slightly up the sides to form a thick barrier for the cheesecake. Let it rest at room temperature until set but not hard.
- Prepare the Filling:
- In a stand mixer or with a hand mixer, combine softened cream cheese, sugar, and vanilla. Whip until completely creamy with no lumps. Scrape down the sides and add marshmallow crème. Mix again to blend everything into a smooth base. Fold in the thawed Cool Whip gently using a spatula to keep the filling light and airy. Take your time and use broad strokes.
- Assemble:
- Pour the cheesecake filling into the cooled crust. Smooth the surface with an offset spatula or the back of a spoon for a clean look.
- Chill:
- Cover and refrigerate for at least two hours, a bit longer if you want super clean slices. The cold helps the filling firm up so it keeps its shape.
- Garnish and Serve:
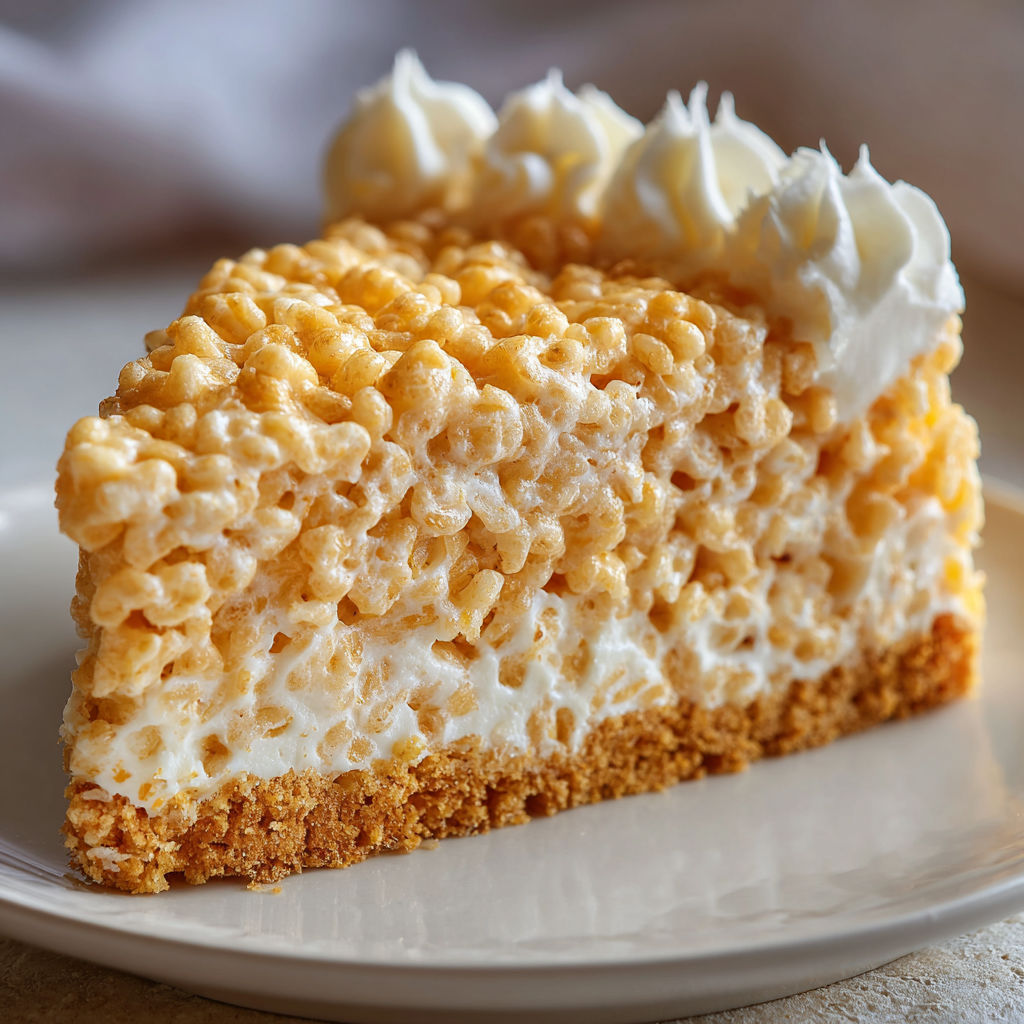
- Just before serving, add swoops or dots of whipped cream along the edge and pile cubes of Rice Krispy Treats on top. Run a sharp thin knife under warm water between cuts for perfect slices. Carefully release the springform.
Kids absolutely love helping with this process. Whenever I work with marshmallow crème I am hit with a wave of nostalgia since I used to fight my sister for the last spoonful as a kid. It makes the filling impossibly fluffy and just a touch sweeter than a classic cheesecake.
Storage and Leftover Tips
After serving, store any extra cheesecake in the fridge covered tightly with plastic wrap to prevent it from drying out. If your group does not finish it immediately, individual slices can be tucked into small containers for lunchbox treats. The base stays crisp for a couple of days before softening slightly, so it is best eaten within forty eight hours.
Easy Ingredient Swaps
You can use chocolate or cocoa crisp cereal for a twist on the base. Swap in homemade whipped cream for a more natural flavor in the filling. Try adding a swirl of your favorite jam on top before chilling for an extra pop of color and taste.
Perfect Ways to Serve This
Set out extra cubed Rice Krispy Treats in a bowl for guests to decorate their own slices. Top with fresh berries for an elegant touch. Serve slices on a bed of melted chocolate for pure indulgence.
This fun cheesecake always brings back memories and is sure to be the star of any dessert table. Chill well for best texture and enjoy every creamy bite!
Recipe Q&A
- → How do I keep the Rice Krispy crust from sticking to the pan?
Generously grease your pan with nonstick spray before pressing in the mixture to ensure easy release.
- → Can I substitute homemade whipped cream for Cool Whip?
Yes, gently fold in freshly whipped cream to create a similar light, airy texture in the filling.
- → How long does the cheesecake need to chill?
Allow at least 2 hours in the refrigerator so the filling becomes set and holds its shape when sliced.
- → Is it necessary to use a springform pan?
A springform pan is best for easy removal, but a well-lined baking dish can also be used if needed.
- → Can I make this dessert ahead of time?
Absolutely, it keeps well covered in the fridge for up to two days before serving, making it ideal for planning ahead.
- → Can I customize the topping?
Feel free to top with fruits, extra marshmallows, or even chocolate drizzle for added flair.