
 Save
Save
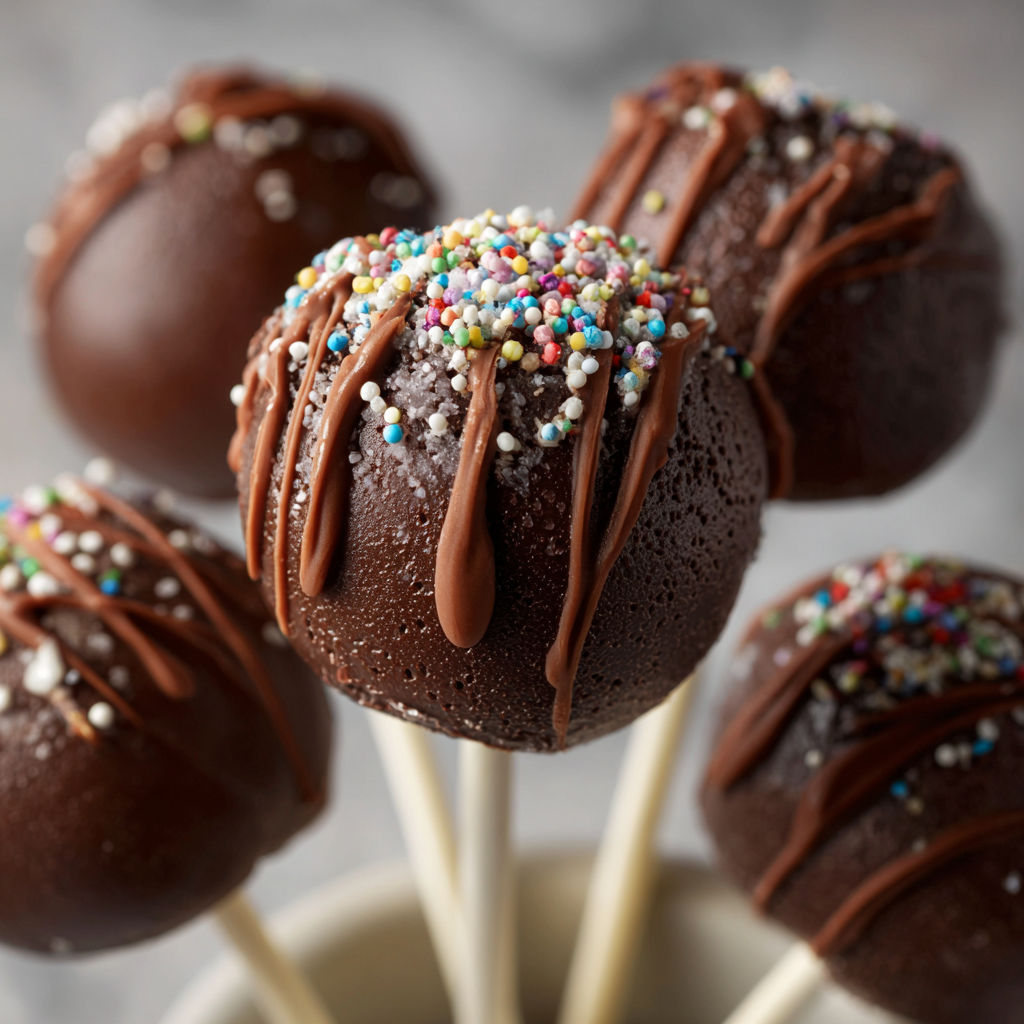
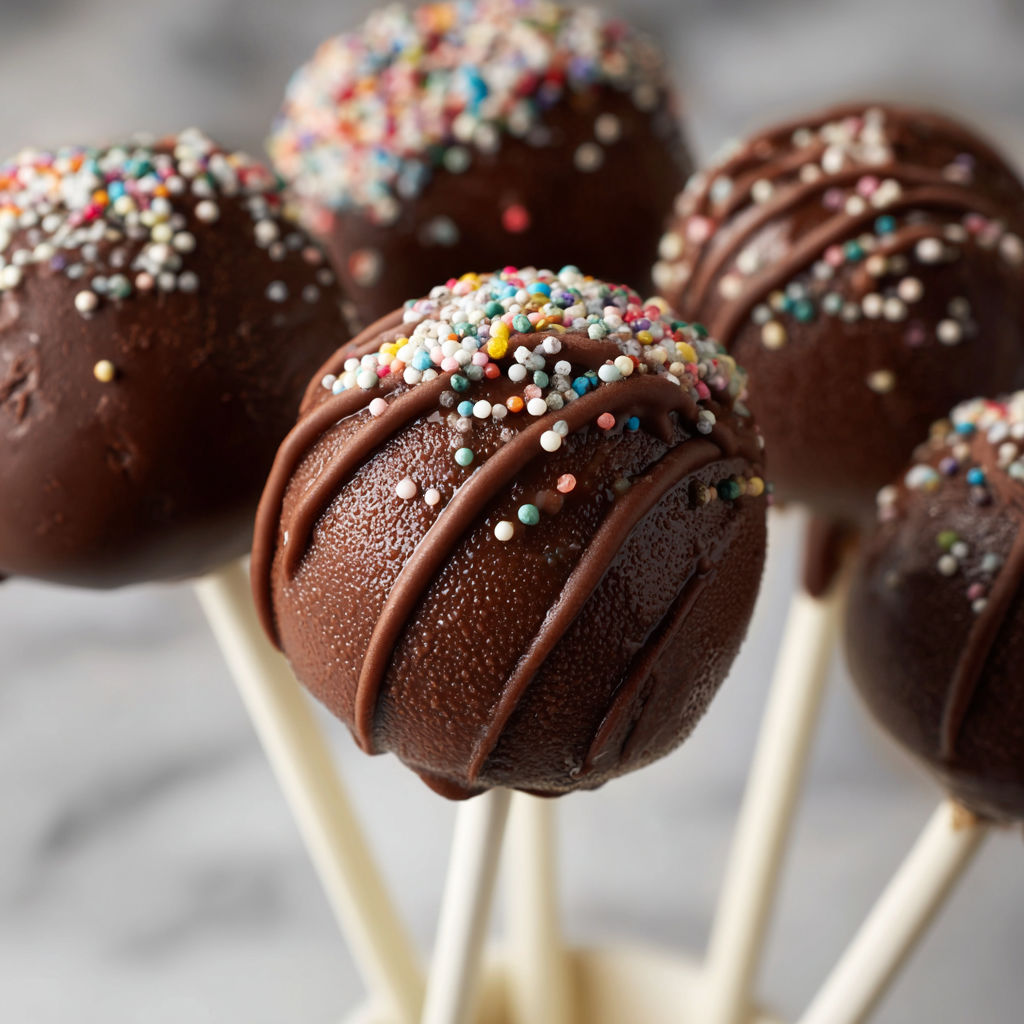
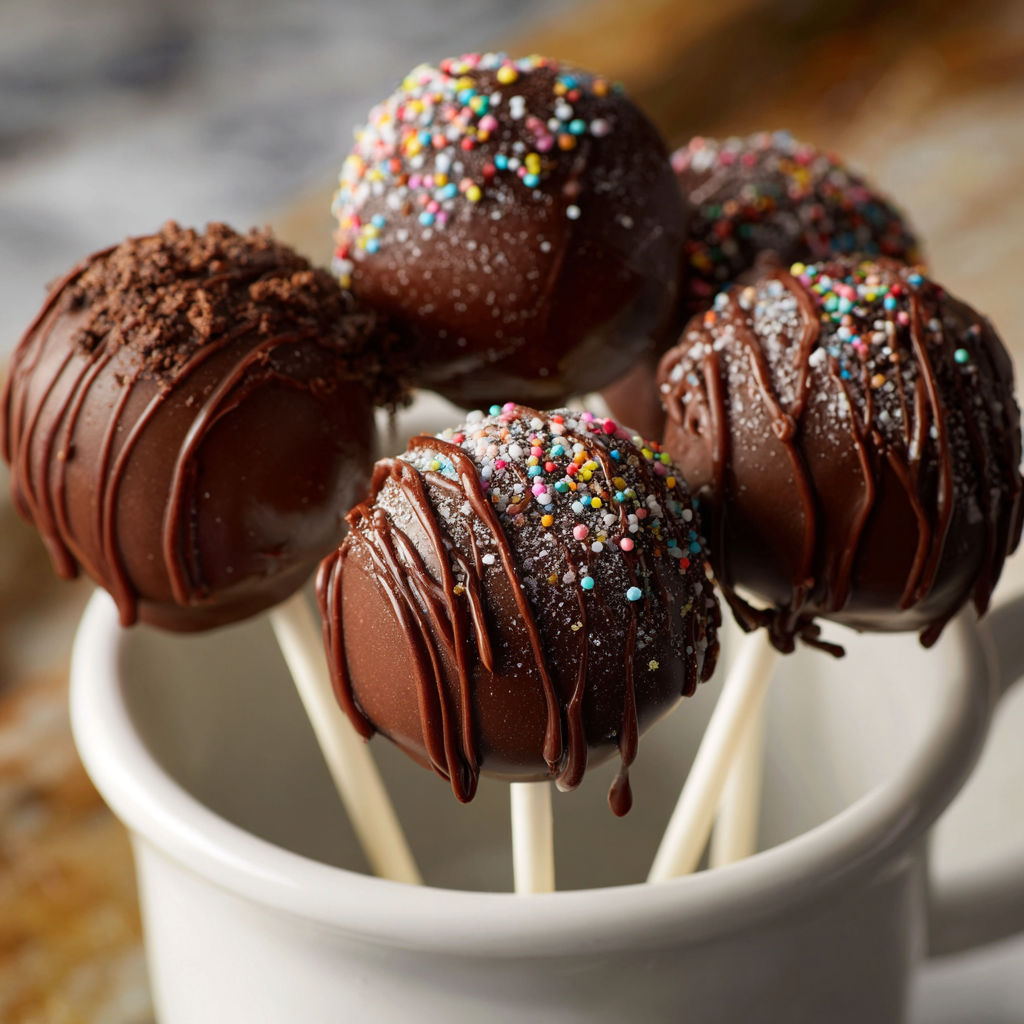
Chocolate cake pops always bring a sense of celebration into my kitchen Whether it is a birthday party or just a simple weekend treat these bite sized confections vanish faster than any dessert I make With a soft chocolate cake interior and a crisp chocolate shell plus the fun touch of rainbow sprinkles every batch feels like a special occasion
Whenever I whip up a batch of these cake pops my children line up to help roll and dip each one They almost never last more than a day in our home
Ingredients
- Chocolate cake mix: delivers that decadent chocolate flavor and makes the sponge effortless Choose a mix you already enjoy solo for the best base
- Milk: often swapped in for water which makes the cake richer
- Chocolate melting wafers: give a flawless shiny coat for dipping Opt for a brand that notes a smooth melt on the label
- Cream cheese and salted butter: create a tangy fluffy frosting Select both at room temperature for easy blending and smooth texture
- Powdered sugar: brings in that signature sweetness and creates body in the frosting Always sift to keep things lump free
- Vanilla extract: pulls all the flavors together If available reach for pure over imitation
- Sprinkles: party ready finish and perfect for customizing every pop Use fresh bright colored jimmies or pearls for best presentation
Instructions
- Bake the Cake:
- Prepare your chocolate cake mix following the box instructions Use milk instead of water for extra richness Let the cake cool completely in the pan then on a rack before beginning the next steps
- Make the Frosting:
- In a big bowl mix room temperature butter and cream cheese with vanilla and one cup powdered sugar using an electric hand mixer Beat until combined and creamy Scrape the bowl and add the next cup followed by the last cup Beat until very smooth and fluffy
- Blend Cake and Frosting:
- Crumble the cooled chocolate cake into another large bowl Add about one cup of prepared frosting With the mixer combine until the texture is even and just holds together Test by rolling into a ball If the mixture is dry add a quarter cup more frosting until the dough is moist and shapeable
- Chill the Dough:
- Cover and refrigerate the cake mixture for at least half an hour This firms it up for easier shaping
- Form the Cake Pops:
- Scoop about one and a half tablespoons at a time and roll tightly between your palms Place each ball onto a parchment lined baking sheet Continue until finished
- Set Up for Coating:
- Chill the tray in the fridge while you melt the chocolate wafers in a microwaveable bowl Microwave in thirty second bursts stirring in between until smoothly melted
- Insert the Sticks:
- Remove cake balls from the fridge Dip the tip of each cake pop stick into melted chocolate then insert halfway into each ball This helps keep the stick anchored as you dip Return to the fridge for another chill
- Coat and Decorate:
- Remelt wafers if needed Dip each cake pop into melted chocolate turning to coat Let excess drip off Immediately add sprinkles before the coating hardens
- Set and Enjoy:
- Let pops set at room temperature or pop them back in the fridge for a crisp shell Serve and watch the smiles begin
I have experimented with different frostings but always return to the tangy cream cheese filling It balances the chocolate beautifully and has become my signature touch My youngest once made a custom sprinkle blend just for these pops and to this day she calls them her magic cake balls
Storage and Leftover Tips
Keep cake pops in a sealed container in the refrigerator to help them last up to five days Best placed upright so they stay neat You can freeze them up to six weeks but always wrap individually first If serving for a party remove from the fridge about twenty minutes ahead for best flavor and texture
Easy Ingredient Swaps
Try using white or milk chocolate wafers if you like a different shell or look Swap the cake mix for red velvet or funfetti for a playful pop Frosting can also be made with whipped cream cheese or chocolate buttercream for a twist
Perfect Ways to Serve This
Serve in a mason jar filled with rice or sprinkles for a colorful centerpiece At birthday parties I arrange them like a bouquet on a stick stand For holidays switch up the sprinkle colors to match any theme
There is a real magic in transforming something as simple as cake scraps into festive treats These cake pops call for your creativity and are sure to spark smiles at any gathering
Recipe Q&A
- → How do I ensure cake pops hold their shape?
Chill the cake and frosting mixture thoroughly before rolling into balls; this helps create a firm, workable texture.
- → Can I use different types of chocolate for coating?
Yes, milk, dark, or even white chocolate melting wafers work well for dipping and coating your cake pops.
- → What is the best way to apply sprinkles so they stick?
Add sprinkles immediately after dipping each cake pop in chocolate, before the coating sets or hardens.
- → Do I have to use cream cheese frosting?
Cream cheese frosting provides richness, but you can substitute with other frostings for a different flavor profile.
- → How should I store finished cake pops?
Keep cake pops in an airtight container at room temperature for up to 2 days, or refrigerate for longer freshness.