
 Save
Save
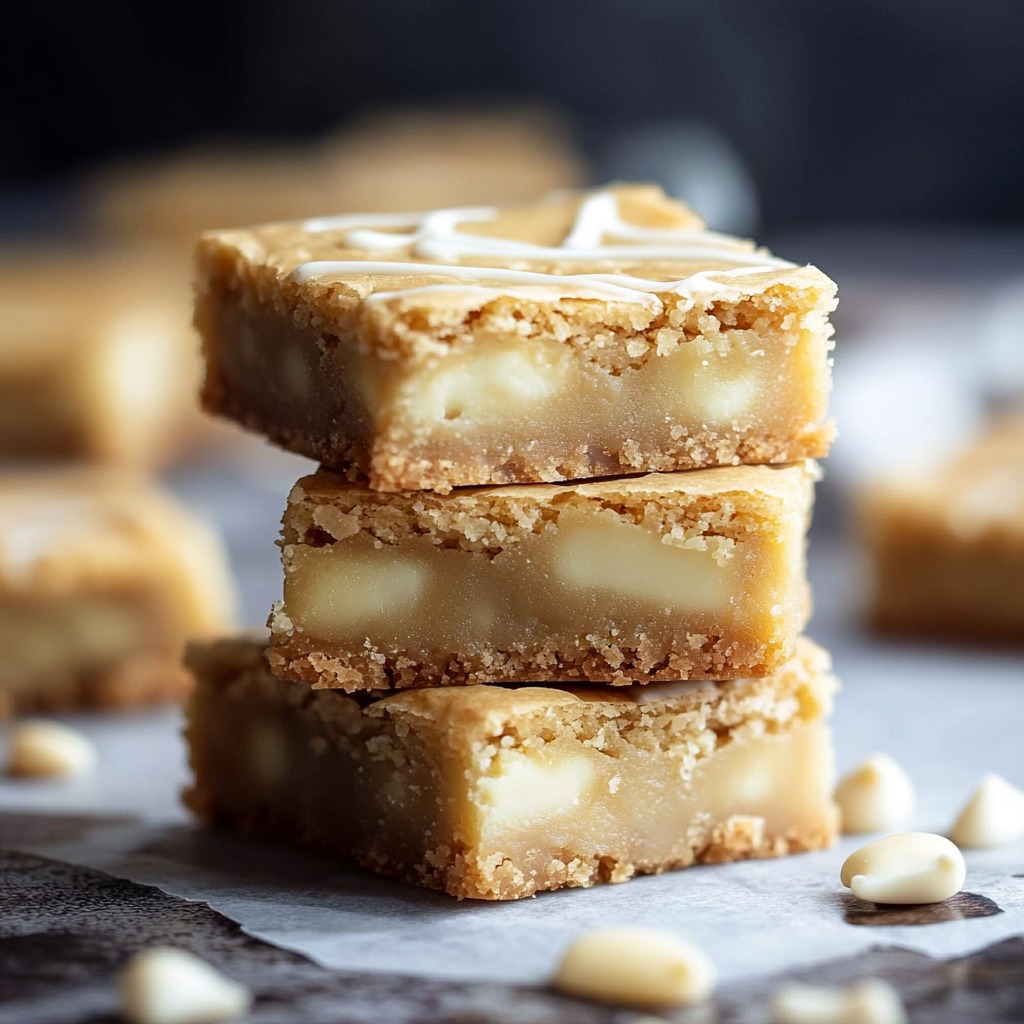
These Buttery White Chocolate Blondies turn everyday kitchen staples into gooey, soft squares of deliciousness. With their golden exterior, soft middles, and chunks of creamy white chocolate, they stand out as a wonderful twist on regular brownies.
Through many kitchen trials, I've found that getting the butter just right and mixing everything properly are the real game-changers.
Key Ingredients Breakdown
- Light brown sugar: Gives that perfect chew
- Quality butter: Go for European brands if you can
- Fresh eggs: Take them out of the fridge early
- All-purpose flour: Try to get unbleached
- White chocolate: Don't use fake chips
- Sea salt: Brings out the caramel-like flavor
Simple Cooking Steps
- Butter Preparation:
- Go slow when melting. Let it cool down. Mind the temp. Feel for right texture. Have it ready.
- Sugar Mixture:
- Blend well. Get rid of clumps. Keep whisking till smooth. Make sure it feels right. Don't go overboard.
- Flour Addition:
- Put in bit by bit. Mix with care. Stop once it comes together. Check how thick it is. Don't mix too much.
- Pan Preparation:
- Put liner in carefully. Let paper hang over sides. Spread mix evenly. Make top flat. Don't forget the edges.
- Baking Process:
- Keep an eye on it. Watch the sides. Test the middle. Look for cracks forming. Let it cool right.
I came up with this recipe while trying to make blondies that weren't too sweet but had just the right chewy bite.
Mastering Heat Control
After baking tons of batches, I've realized how important temperature is. Your butter needs to cool completely or it'll melt the sugar too much. Also, keeping your oven steady helps get that chewy texture we all want. I always let my eggs sit out a while before using them so they mix in better.
Planning Ahead
You can easily make these blondies before you need them. I usually bake mine a day early because they actually taste better after sitting overnight when all the flavors come together. When I'm hosting, I cut them up ahead of time and keep them in sealed containers with parchment paper between each layer.
Keeping Them Fresh
They'll stay good on your counter for a few days if stored right. I put mine in airtight containers with parchment sheets separating the layers. If I want them to last longer, I wrap each square in plastic before freezing them, so I can grab just one or two when I want.
Ways To Enjoy Them
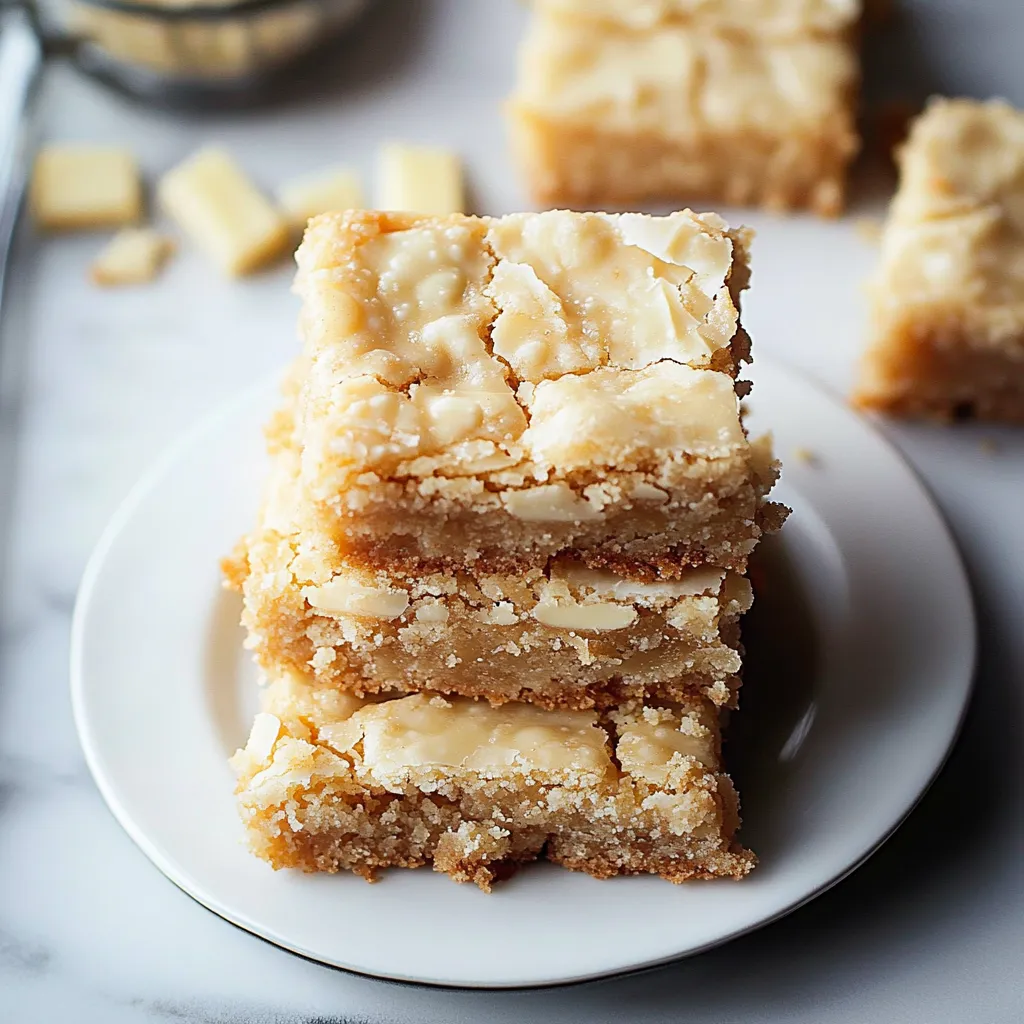
These treats taste amazing on their own but try them slightly warmed up with a scoop of vanilla ice cream. When I make platters for parties, I cut smaller pieces and mix them with other cookies and brownies for everyone to sample.
Mix It Up Your Way
I've tried lots of different versions over time. You can throw in some crunchy toasted nuts or add butterscotch chips for extra sweetness. Sometimes for fancy events, I'll melt dark chocolate and drizzle it across the top after they've cooled.
Fixing Common Problems
If the sides get too brown too fast, just cover them with foil while they finish baking. When the middle seems too soft, remember they'll firm up as they cool down. Always wait until they're completely cool before cutting if you want neat squares.
These White Chocolate Blondies have become the treat everyone asks me to bring to get-togethers. The mix of buttery, chewy goodness and rich white chocolate creates something that both kids and adults can't resist. Whether it's just an afternoon snack or fancy dessert, people always ask for seconds.
Recipe Q&A
- → Why should I melt and cool the butter first?
- Melted butter gives you a chewier, denser treat, but you need to cool it so it won't scramble your eggs.
- → Can I swap out the white chocolate?
- Sure thing, try milk chocolate, dark chocolate, or butterscotch chips instead.
- → Why wait for them to cool completely?
- They need cooling time to firm up and get that perfect chewy texture, plus you'll get cleaner cuts.
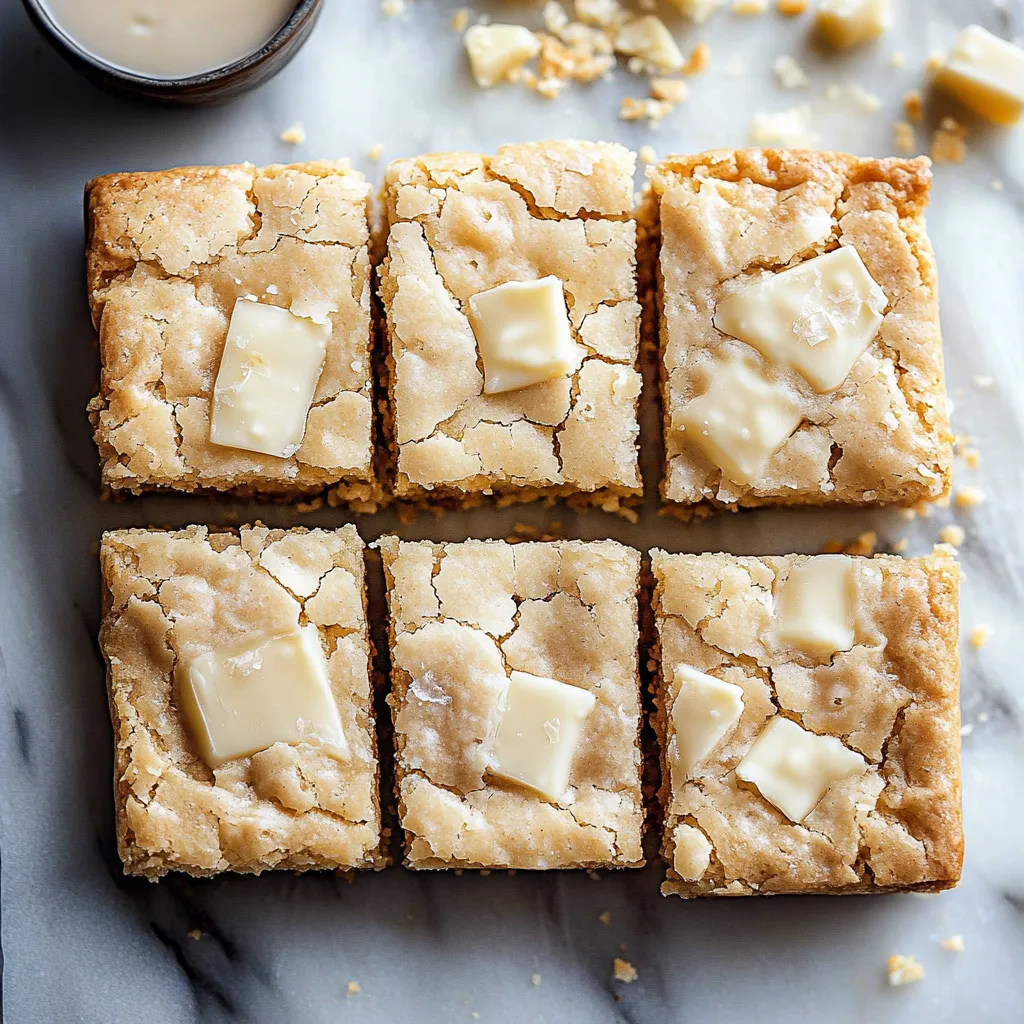
- → What causes the cracked top?
- That happens when sugar rises to the top while baking, just like with regular brownies.
- → Is it okay to make a bigger batch?
- Absolutely, just use a 9x13 inch pan and bake them 5-10 minutes longer.