
 Save
Save
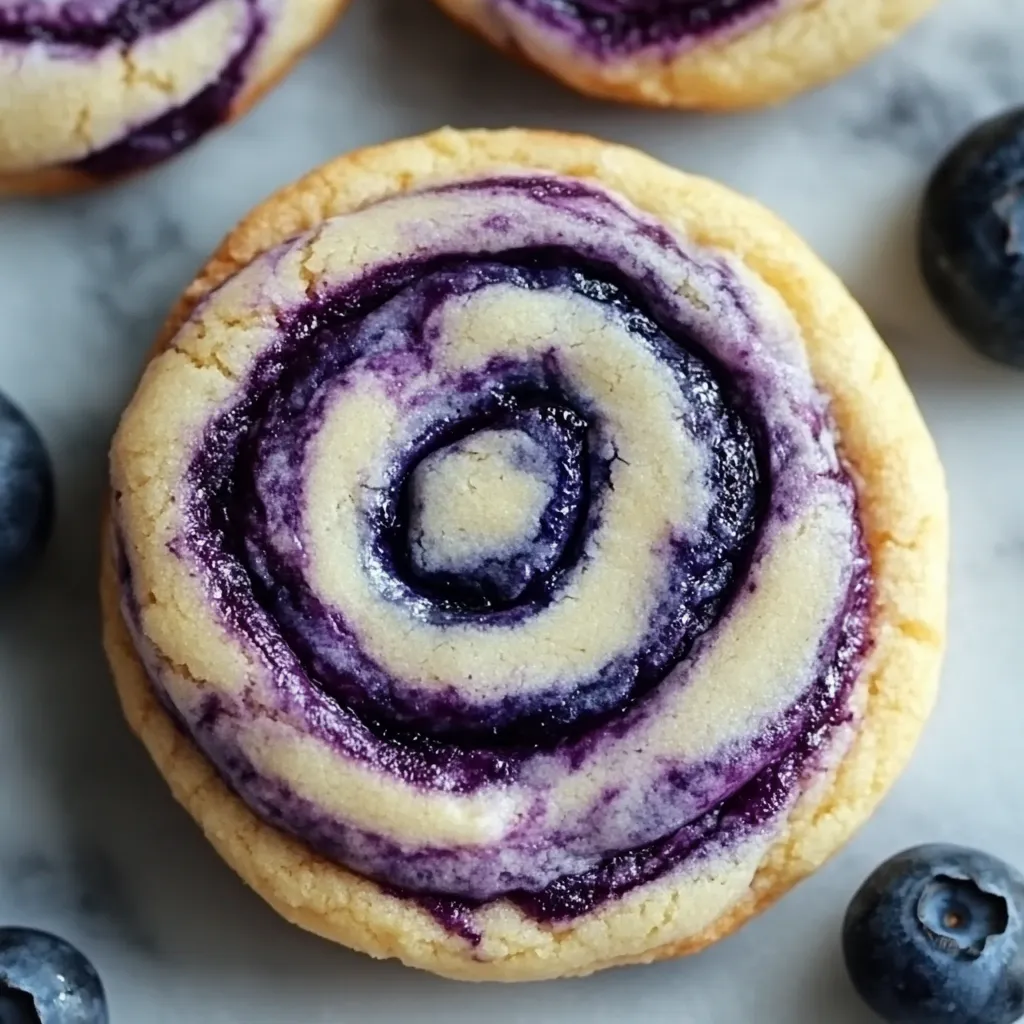
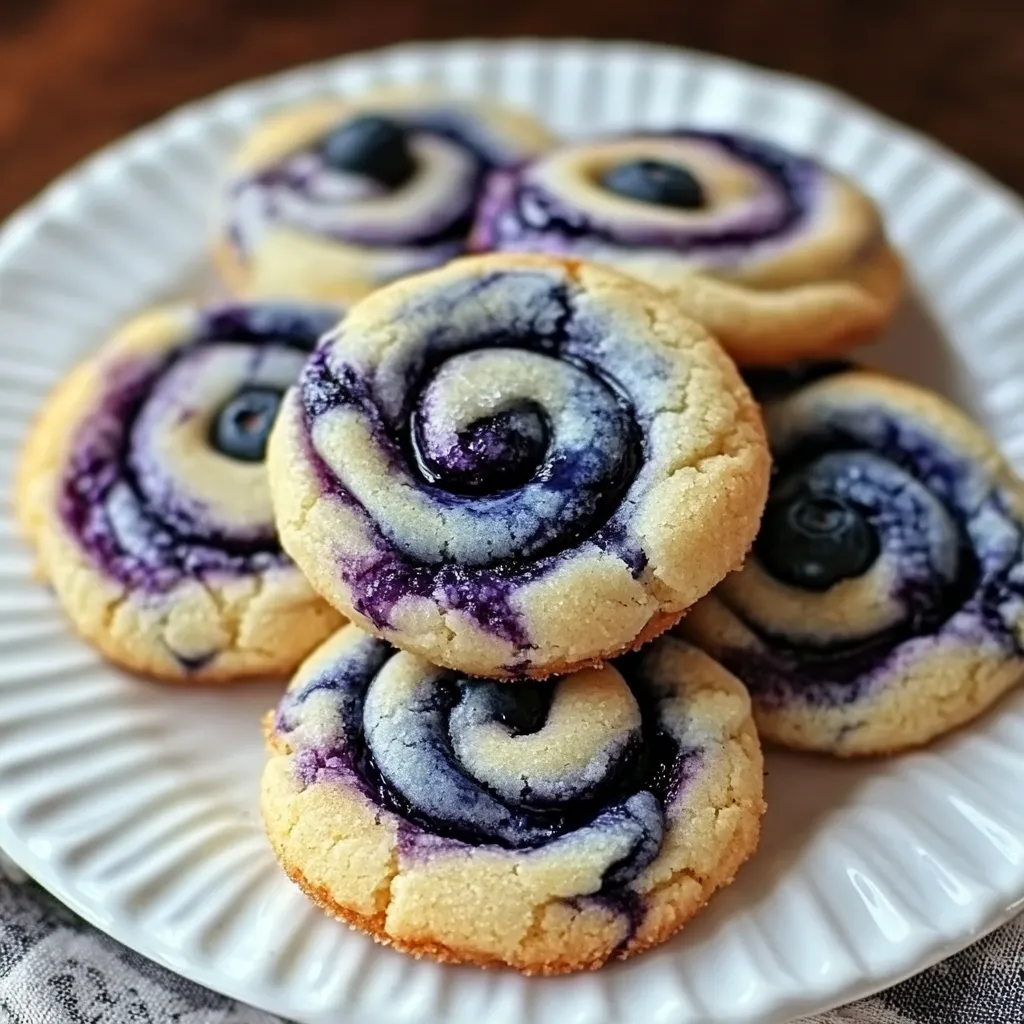
Take a bite of these delightful treats that bring together the magic of blueberry cheesecake in cookie form! These marbled goodies mix buttery cookie base with zingy cream cheese and juicy blueberries. Every cookie shows off a stunning swirled pattern that'll catch eyes before they disappear from your plate.
I first whipped these up for a holiday cookie swap, and now they're the number one thing folks ask me to bring. Everyone thinks the marble look takes skill, but it's actually super easy to do.
Key Ingredients and Smart Shopping Advice
- Cream cheese: Grab the full-fat kind and let it warm up for the creamiest filling
- Butter: Go with unsalted to control the taste yourself; make sure it's properly softened
- Blueberries: Both fresh and frozen do the job nicely; tiny wild ones give amazing color
- Cornstarch: You can't skip this - it keeps your blueberry swirl from running all over
- Vanilla extract: The real stuff brings out flavors in both the cookie and filling
Step-by-Step Guide for Blueberry Swirl Cheesecake Cookies
- Step 1: Cook Up the Blueberry Swirl
- Mix your blueberries, sugar, cornstarch, and water in a pot. Stir as it cooks on medium heat so nothing sticks. You'll know it's done when it's thick enough to coat your spoon. Let it cool down before you use it.
- Step 2: Mix the Cheesecake Filling
- Beat your room temp cream cheese until it's totally smooth. Add sugar and vanilla bit by bit, mixing until it looks silky. Don't leave any lumps if you want the best texture.
- Step 3: Mix Butter with Sugars
- Beat the butter and sugars for about 3-4 minutes until they look fluffy and light. This puts air in the mix for softer cookies. It should look almost whipped when you're done.
- Step 4: Mix in Egg and Vanilla
- Put the egg and vanilla into your butter mixture and beat until they're all mixed in. Scrape the bowl sides so everything gets blended evenly.
- Step 5: Add Dry Stuff to Wet Stuff
- In another bowl, stir together flour, baking soda, and salt. Add this slowly to your wet ingredients, mixing just until combined. Don't mix too much or your cookies might turn out tough.
- Step 6: Form Your Cookies
- Drop spoonfuls of dough onto your lined cookie sheets. Push your thumb into each one to make deep dents that'll hold your fillings without spilling over.
- Step 7: Add Your Fillings
- Put fillings into each cookie: first add some cream cheese mix, then drop in blueberry swirl. Use a toothpick to make pretty marble patterns without mixing them completely.
- Step 8: Cool Before Baking
- Put your filled cookies in the fridge for 15 minutes before baking. This helps them keep their shape and keeps the swirls looking nice.

The cream cheese part always reminds me of my grandma's homemade cheesecake - she always told me good mixing takes patience.
Keeping Them Fresh
Store these yummy treats in a sealed container in your fridge for up to 5 days. They actually taste even better after sitting for a day.
Serving Suggestions
If you've kept them in the fridge, let them sit out for about 10 minutes before eating to get the best flavor and texture.
Fixing Common Problems
Keep an eye on how your dough feels - it should be soft but not sticky to touch. If needed, mix in flour one spoonful at a time.
I've tried countless cookie recipes over the years, but these stand out for both their gorgeous look and layered flavors. They're perfect when you want something fancier than a regular cookie but not as fussy as a full dessert.
Recipe Q&A
- → Can I use frozen blueberries?
- Absolutely, both fresh and frozen blueberries work great for the swirl.
- → How do I store these cookies?
- Keep them refrigerated in a sealed container for up to 5 days. Let them warm up a bit before enjoying.
- → Can I swap blueberries for another fruit?
- Sure, try raspberries or strawberries for a different twist!
- → Why do my cookies spread too much?
- Your butter might be too soft. Try chilling the dough if it feels overly warm.
- → Can I freeze these treats?
- Yes, freeze them in layers separated by parchment paper for up to 3 months.