
 Save
Save
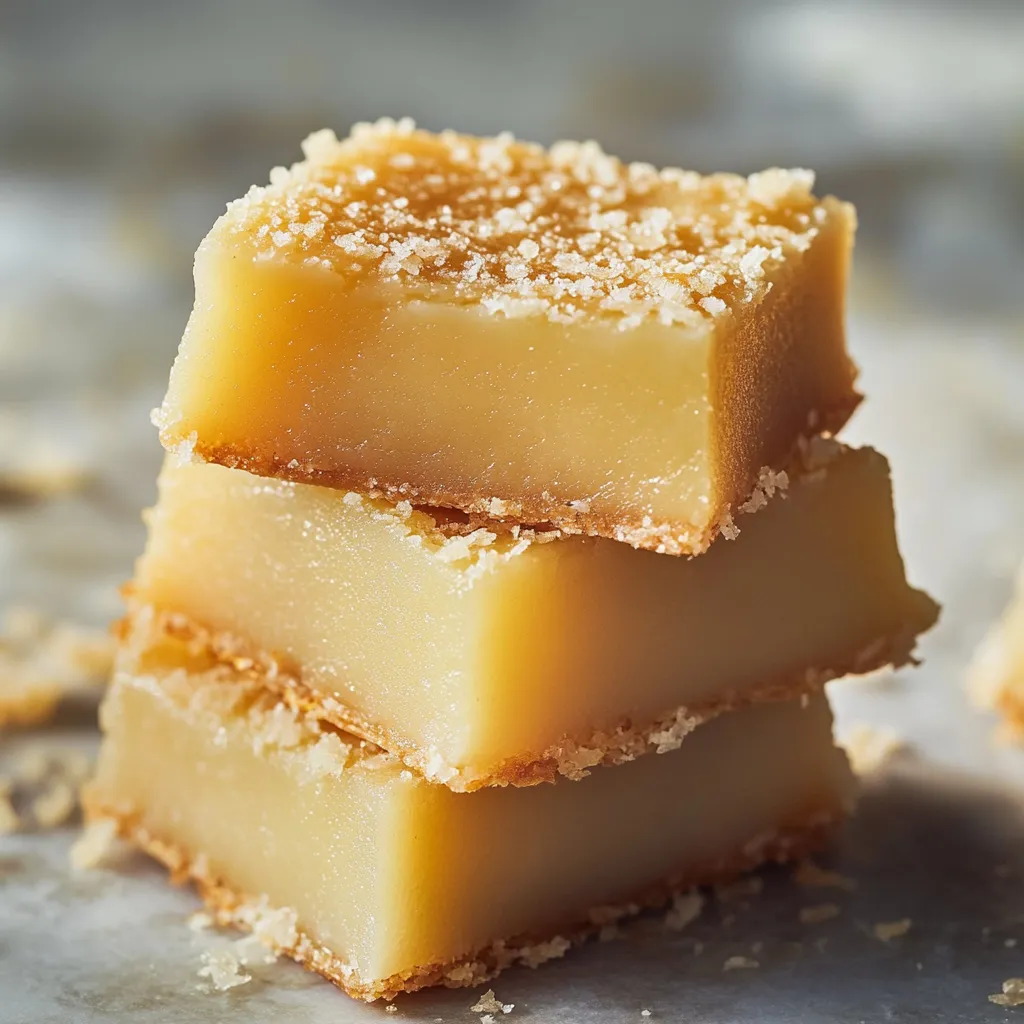
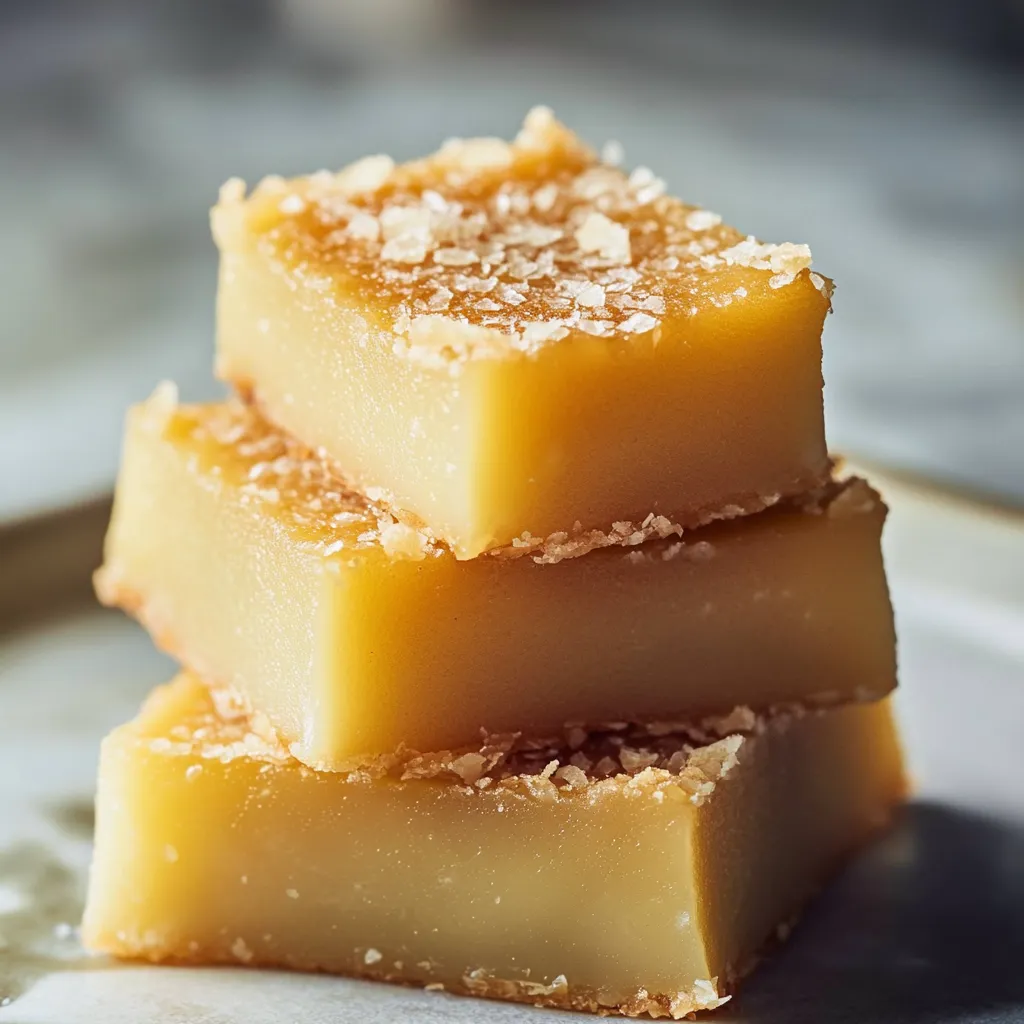
Every mouthful of Hawaiian butter mochi brings total joy - chewy and soft inside with a crunchy, golden coconut exterior. This treasured dessert from the islands turns everyday kitchen staples into an addictive sweet that perfectly balances texture and sweetness.
These butter mochi squares vanished in seconds at our block party luau. Everyone grabbed another piece - even first-timers couldn't resist the combo of that crunchy coconut top and chewy middle.
Key Components
- Mochiko Sweet Rice Flour: 16 oz/454g box, gives that signature mochi chew
- Butter: 1 cup/226g unsalted, melted, forms those tasty crisp edges
- Sugar: 2 cups/400g granulated, adds just enough sweetness
- Milk: 1 cup/240ml whole, makes everything creamy
- Eggs: 4 large, room temperature, holds it all together
- Coconut Milk: 13.5 oz/400ml can unsweetened, brings island vibes
- Baking Powder: 2 teaspoons, helps everything rise slightly
- Vanilla Extract: 1 tablespoon pure, boosts overall taste
- Salt: 1 teaspoon kosher, cuts through sweetness
- Coconut: 1 cup/85g unsweetened shredded, creates that special top layer
- Sea Salt: 1/2 teaspoon flaky (optional), finishing touch
Cooking Steps
- Getting Ready:
- Heat your oven to 350°F (175°C). Generously butter a 9x13-inch metal baking dish.
- Handle Dry Stuff:
- Mix mochiko, sugar, baking powder, and salt until smooth.
- Work With Wet Items:
- Beat eggs thoroughly, then add milk and vanilla until everything blends.
- Bring Everything Together:
- Add wet mix to dry ingredients, stirring well. Don't worry about overmixing since mochiko can take it.
- Finishing Touches:
- Stir in melted butter and coconut milk until silky. Pour into your pan, tap it to get rid of air bubbles. Sprinkle coconut evenly on top with optional sea salt.
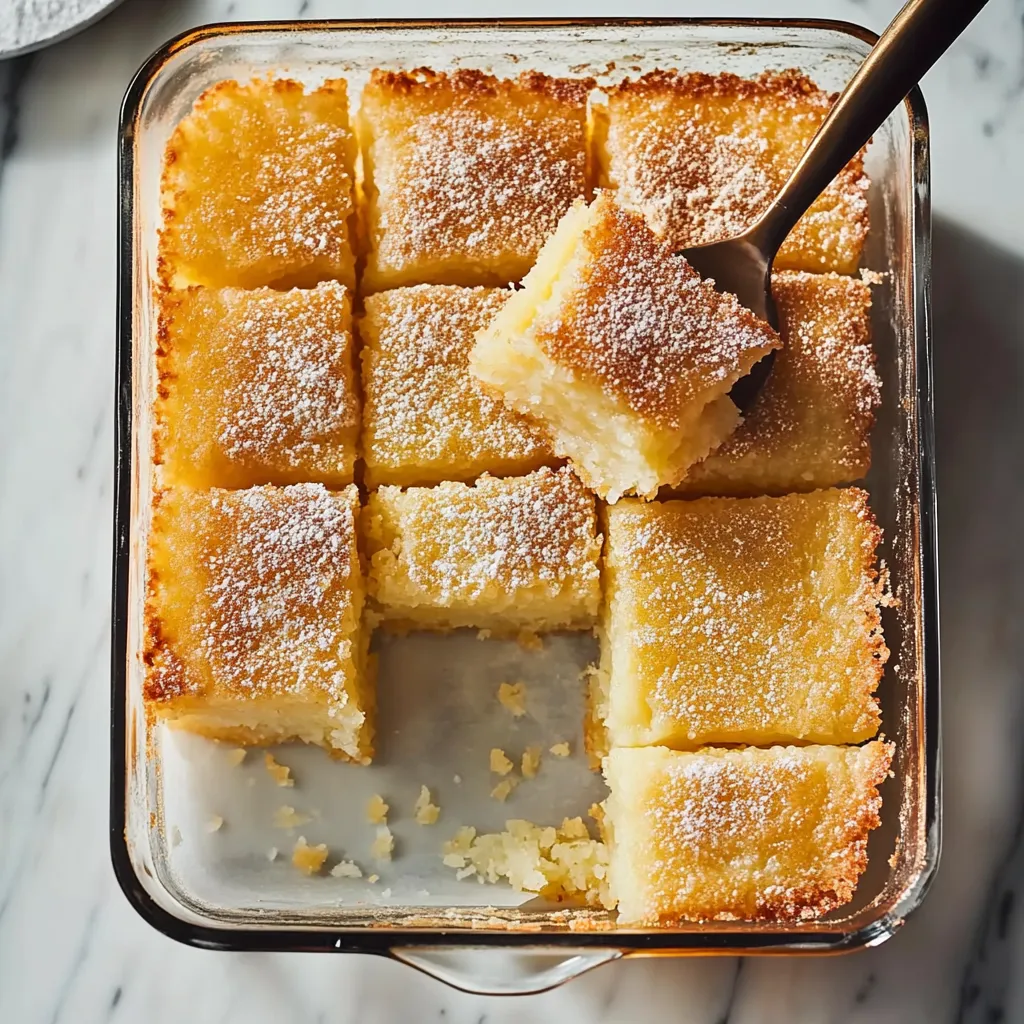
In my family, everyone fights over the corner pieces with their extra chewy edges and soft centers. I've started cutting those pieces bigger to avoid arguments.
Oven Watchpoints
Look for a golden top that still jiggles a bit in the middle. When you shake the pan gently, it should wobble slightly which means it's done just right.
Cooling Instructions
Let it cool fully on a rack for an hour before cutting. This waiting time helps the texture get perfect and lets you cut clean pieces.
Pre-Cook Organization
Get everything measured and laid out before you start. This makes the whole process smoother and faster from beginning to end.
Serving Ideas
Cut into big squares when serving. While it's great on its own, fresh tropical fruit makes a wonderful side option.
Different Takes
Try adding a bit of almond or coconut extract for new flavors while keeping that classic chewy texture everyone loves.
Keeping Fresh
Keep in an airtight container at room temp for up to three days. The texture changes a bit but stays deliciously chewy.
I've spent years tweaking this butter mochi recipe to get it just right. It now reliably creates those magical moments when you bite into that chewy goodness. The way it captures authentic Hawaiian flavors makes it a hit at any get-together, giving everyone a taste of island comfort with every bite.
Recipe Q&A
- → What is mochiko flour, and where can I find it?
- Mochiko, also called sweet rice flour, is a type of glutinous rice flour. It’s usually available in Asian grocery stores or in the international aisles of larger supermarkets.
- → Why should I use a plastic knife to cut mochi?
- Plastic knives work well for sticky desserts like mochi since they help you slice it cleanly without the dough sticking to the blade.
- → How do I adjust this for a dairy-free diet?
- To make it dairy-free, replace regular milk with more coconut milk and swap butter with melted coconut oil.
- → What’s the best way to store butter mochi?
- Keep it in a sealed container. It stays fresh at room temperature for three days or in the fridge for up to a week.
- → Why did cracks appear on top of my mochi?
- Small cracks are completely normal and won’t change the taste. To avoid excessive cracking, make sure your oven temperature is correct and let it cool at its own pace.