
 Save
Save
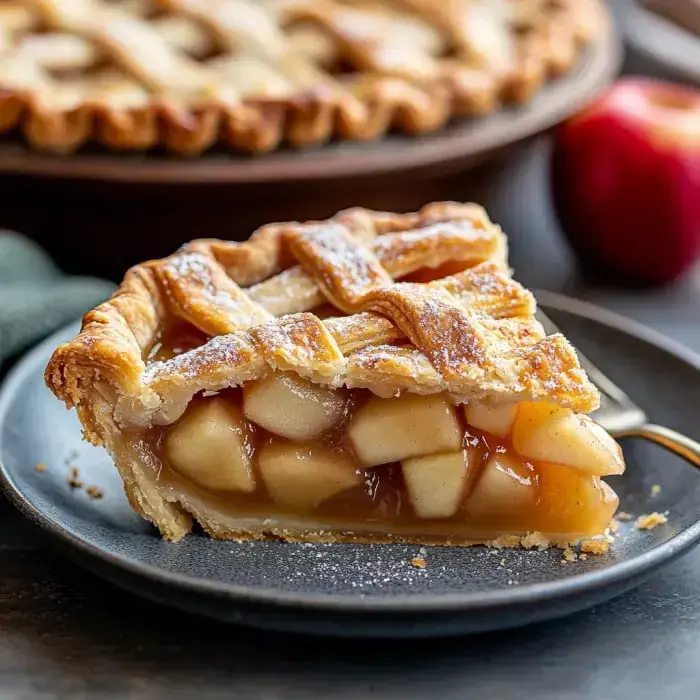
When autumn rolls in and apples fill the markets, I can't help but crave this timeless apple pie. There's pure magic in how soft, zesty apples tucked inside a crumbly, rich crust takes me right back to fall days watching my grandma bake. Nothing beats that moment when a hot slice meets cool vanilla ice cream – it's total bliss.
Why This Pie Stands Out
What makes this pie truly incredible comes from stacking many thin apple slices to build a gorgeous, deep filling. I briefly cook my apples first – this trick keeps your bottom crust perfectly crisp and lets all those cozy spices fully develop. Using two crusts makes sure you get that ideal mix of flaky texture in every mouthful.
What You'll Need
- 8 large apples: Combine 4 Honeycrisp or Pink Lady with 4 Granny Smith for the ideal tangy-sweet combo.
- 2 teaspoons cinnamon: Go for newly ground for the best flavor and warmth.
- 1/4 teaspoon each nutmeg and allspice: These add complexity without taking over.
- 1 fresh lemon: The zest and juice together add a lovely zing.
- 3/4 cup sugar: Feel free to tweak depending on how sweet your apples are.
- 1/4 cup flour: This gives you that perfect filling thickness.
- 2 pie crusts: Either homemade or ready-made for bottom and top.
- 1 egg beaten with water: This creates that beautiful golden finish.
- 2 tablespoons coarse sugar: Not required but adds a wonderful shimmer and bite.
Making Your Pie
- Prep Your Crust
- Stretch bottom crust into a 12-inch round and place in your deep dish pie pan. Leave a 1-inch overhang around edges and chill while you make the filling.
- Make the Filling
- Mix your sliced apples with sugar, spices, lemon and flour in a big pot. Heat on medium for 5 minutes, gently turning until apples begin to soften and get juicy.
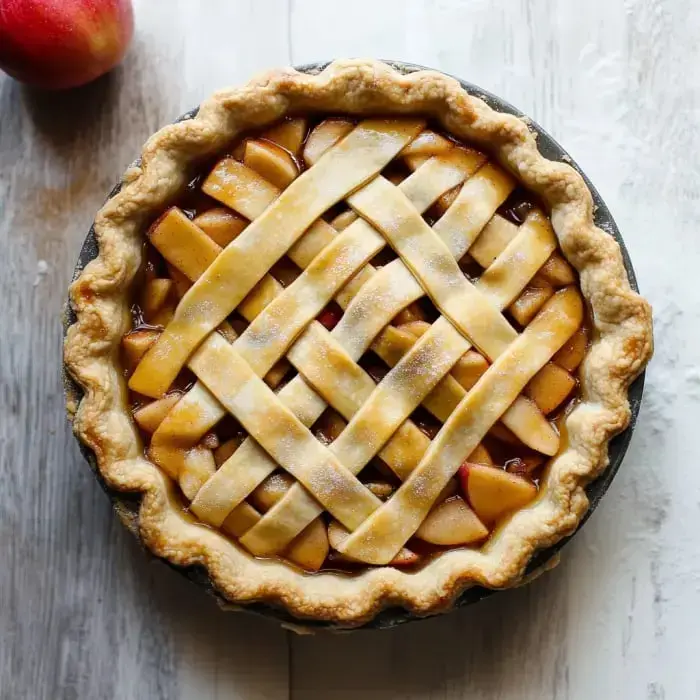
- Assemble Your Pie
- Put apple mix into your cold crust, pushing down firmly to avoid empty spaces. Add your lattice or full top crust, cut away excess, and seal edges prettily. Coat with egg wash and add coarse sugar on top.
- Baking
- Start at 400°F for 25 minutes, then turn down to 375°F for another 30-35 minutes. Watch for a golden crust and bubbling juices.
Secrets for Perfect Results
- Cut all apples to the same 1/4-inch thickness so they'll cook at the same rate and layer nicely.
- Stuff those apple slices in tight because they'll shrink during baking and you want a full pie.
- Use clear glass pie pans so you can check that the bottom is cooking properly.
- Don't rush cooling – wait at least 3 hours for clean, beautiful slices.
Storage Advice
Your apple pie will stay tasty for 2 days at room temp if covered with a cake dome. Want to keep it longer? Stick it in the fridge for up to 5 days. To serve, just warm each slice in the oven and they'll taste freshly baked. And don't forget to top with vanilla ice cream or my fave – some salty caramel sauce.
Recipe Q&A
- → How does pre-cooking the filling help?
Cooking the apples a bit softens them and builds flavor. This keeps your filling juicy and prevents raw apples in your pie.
- → Why’s it important to cool the pie?
Letting it rest lets the filling firm up. Cutting it right away makes it spill out and lose shape, but waiting gives you neat slices.
- → Which apples should I pick?
A mix of tart ones like Granny Smith and sweeter ones like Honeycrisp creates the perfect sweet-tart balance and amazing texture.
- → Why does temperature matter?
The filling should be heated to 200°F. This ensures your apples are tender and the flour in the mix cooks through properly.
- → What’s up with the egg wash?
Adding an egg wash makes the crust shiny and golden. A sprinkle of coarse sugar adds crunch and sparkle on top.