
 Save
Save
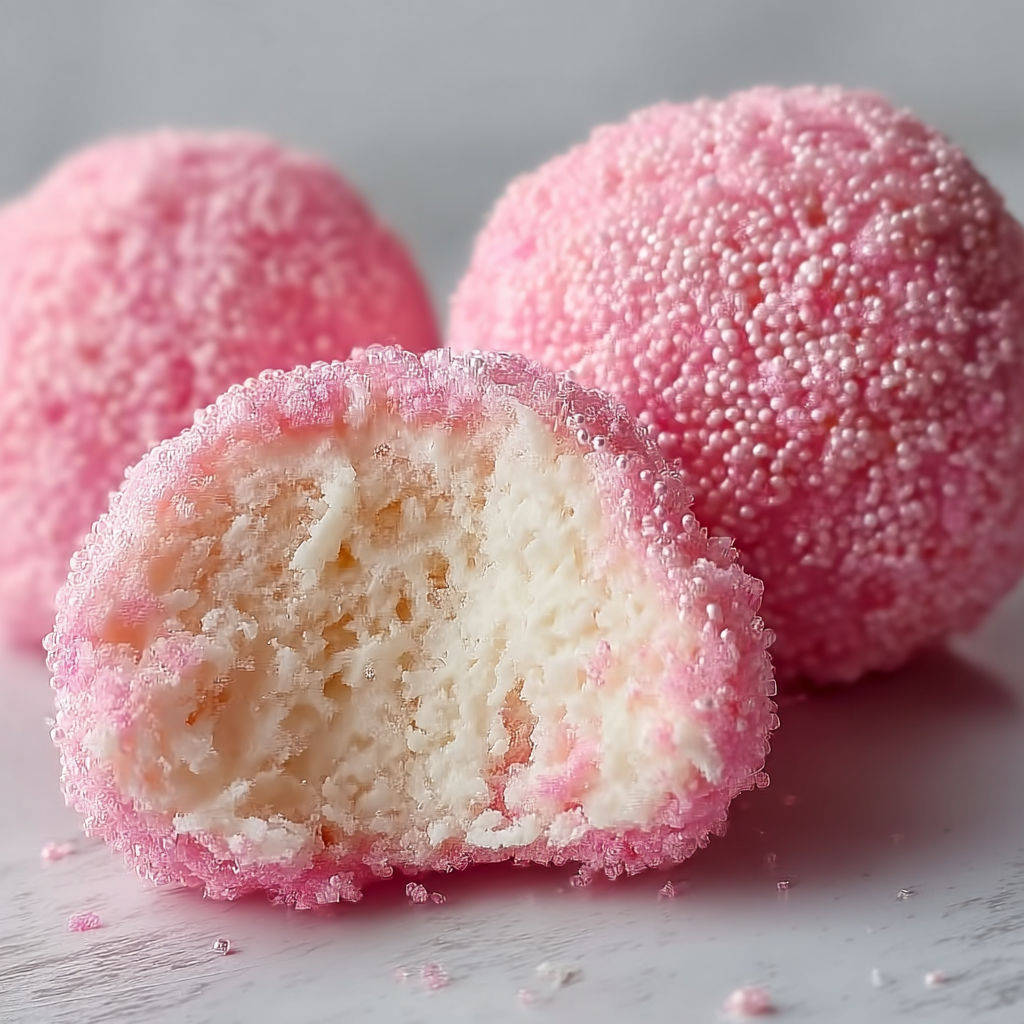
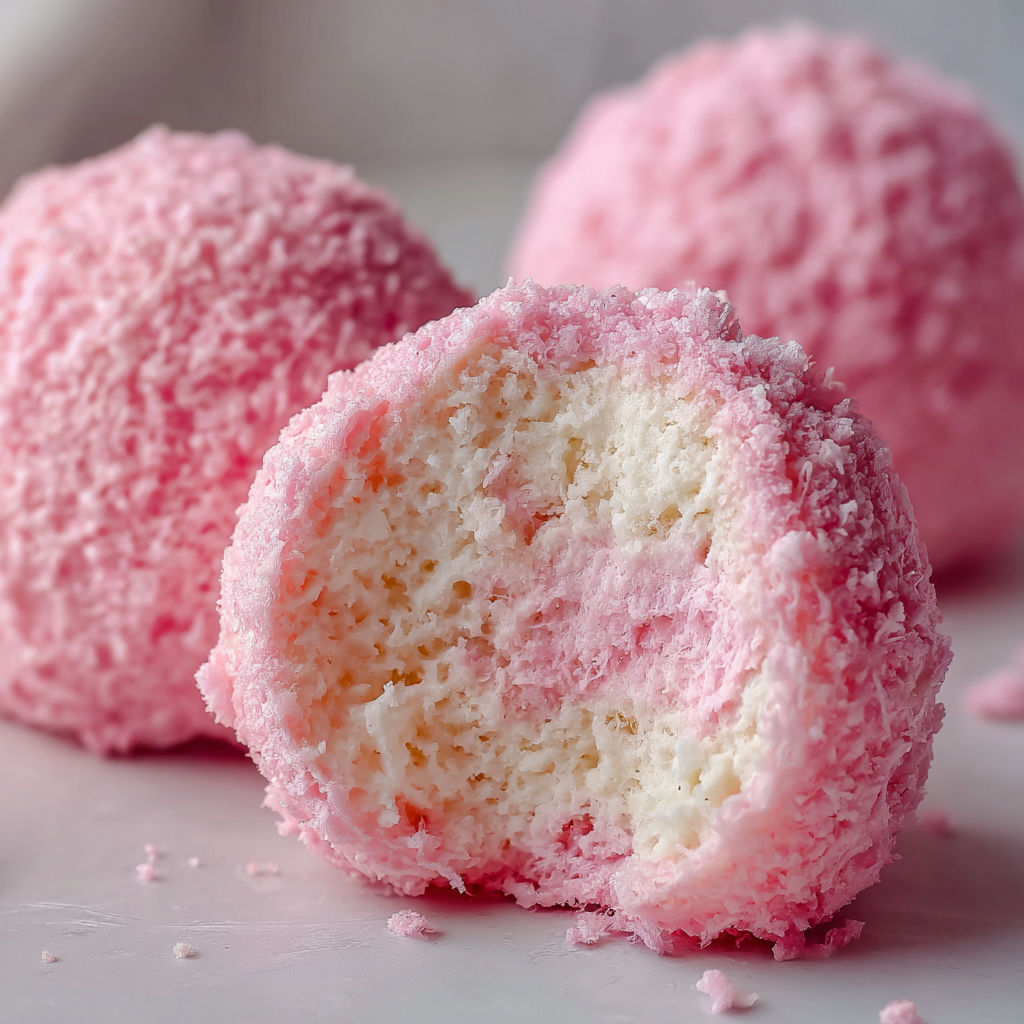
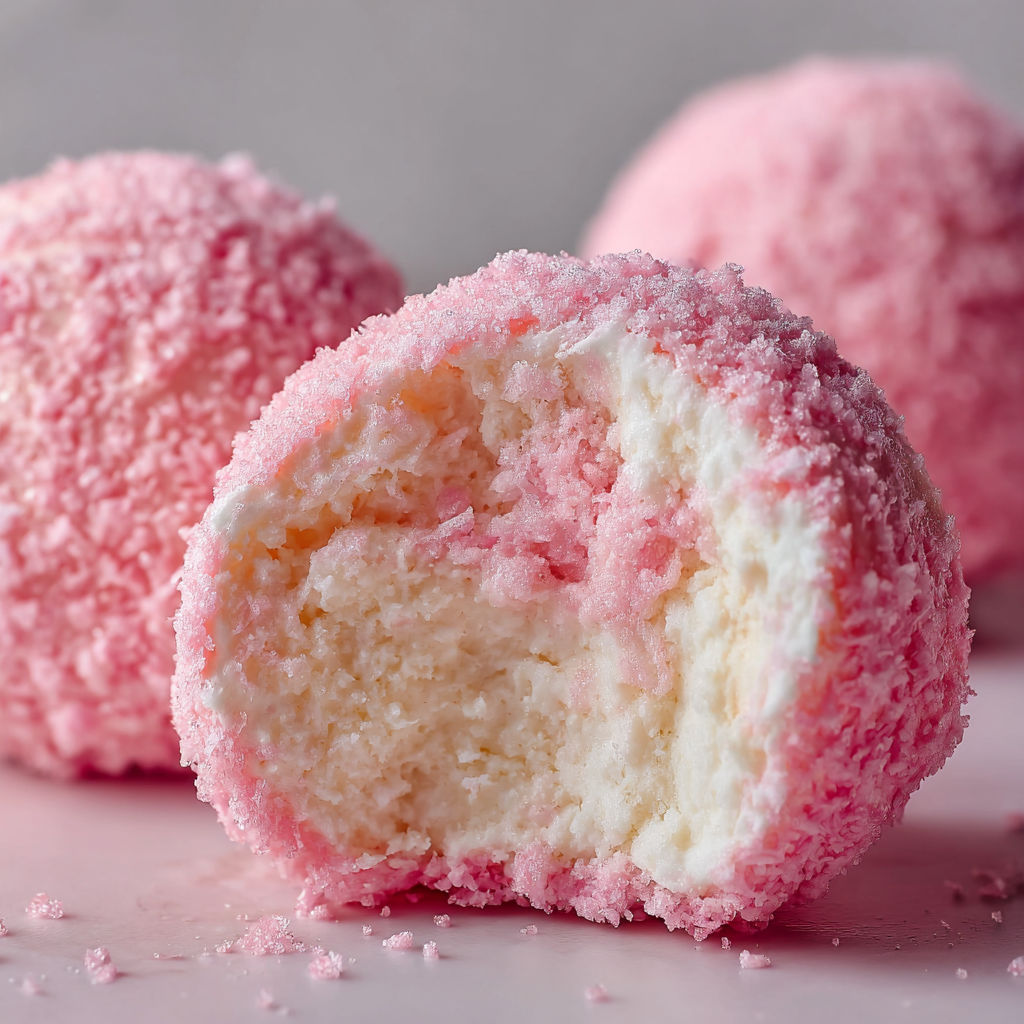
Crispy Cotton Candy Cheesecake Bombs capture every whimsical feeling of a summer carnival in one inventive treat. Imagine creamy cheesecake filling hugged by tender dough then fried to a crunchy golden coat and finished in a playful swirl of cotton candy flavor. This has become my signature party recipe—nothing grabs attention faster.
I first made these for my niece’s birthday picnic and the tray truly vanished in minutes. Since then, they are my go-to for anyone who still loves cotton candy as much as cake.
Ingredients
- Cream cheese: for the creamy cheesecake middle always pick full-fat for best texture
- Granulated sugar: for balanced sweetness in the filling make sure it is fresh and lump-free
- Vanilla extract: lifts both the filling and dough choose pure vanilla for best flavor
- Cotton candy crushed: this gives the magic flavor and color try to find floss in bright colors for a festive look
- Graham cracker crumbs: lend a delicate crunch and classic cheesecake vibe look for fine crumbs without any lumps
- All-purpose flour: the backbone of the dough use unbleached if possible and sift before measuring
- Baking powder: gives just enough lift choose a product with a gentle rise for lightness
- Salt: balances the sweet notes use fine sea salt for even mixing
- Eggs: to bind the dough and make it rich pick fresh large eggs for structure
- Cotton candy-flavored candy melts: these finish the bombs with a whimsical shell choose melts that are vibrant and melt smoothly
- Oil: for frying pick a neutral oil with a high smoke point such as canola or vegetable
- Extra crushed cotton candy: as an optional garnish for a pop of color and flavor
Instructions
- Prepare the Filling:
- In a mixing bowl use a sturdy spatula to blend softened cream cheese with granulated sugar and vanilla until silky. Stir in the crushed cotton candy gently so the texture stays creamy and light. Scrape down the bowl to get every bit mixed evenly.
- Chill the Filling:
- Cover the bowl tightly and set it in the coldest part of the fridge. Give it about half an hour so the blend gets firm enough to scoop without running.
- Make the Dough:
- Measure graham crumbs flour baking powder and salt into a fresh bowl. Use a whisk or your clean hands to combine until every bit of powder and crumb is distributed evenly.
- Add Eggs:
- Crack the eggs in one at a time. Stir after each so the mixture slowly pulls together into a soft dough. Knead it gently until no dry streaks remain but do not overwork or it will toughen.
- Divide the Dough:
- Retrieve the filling then pinch off a golf-ball amount of dough. Flatten in your palm. Place a heaping spoon of chilled cheesecake filling in the center. Pinch the dough edges together to completely cover the filling.
- Shape the Bombs:
- Once sealed roll each filled dough portion between your hands to create a neat ball. Lay finished balls on a parchment-lined baking tray so they keep their shape.
- Chill Again:
- Slip the shaped cheesecake bombs into the freezer for at least fifteen minutes. This helps them hold while frying.
- Heat Oil:
- Fill a deep pot with oil to at least two inches. Heat over medium-high and use a thermometer to hit 350 degrees Fahrenheit. Keep the heat steady for even cooking.
- Fry the Bombs:
- Lower the bombs in carefully in small batches. Let each fry for two to three minutes turning gently until all sides are rich golden and crisp. Transfer to paper towels to drain extra oil.
- Coat with Candy Melts:
- Melt the cotton candy-flavored candy melts in a microwave-safe bowl stirring every fifteen seconds until glossy and smooth. Use forks or skewers to dip each warm bomb until fully sheathed.
- Garnish:
- While the coating is still fresh dust with extra crushed cotton candy for a carnival touch.
- Serve:
- Let the outer shell harden for a few minutes. They are best enjoyed slightly warm for gooey contrast.
Cotton candy-flavored candy melts quickly became my favorite secret weapon to make dessert table treats look magical. I will always remember the smile on my sister’s face when she tried these for the first time and said it tasted exactly like the fair.
Storage and Leftover Tips
Once these are coated and set you can store them in an airtight container. Refrigerate if keeping overnight and let them return to room temperature before eating for the best texture. If you plan ahead freeze the shaped but unfried bombs so you can fry fresh whenever you crave them.
Easy Ingredient Swaps
If cotton candy melts are hard to find try white chocolate melts with a drop of cotton candy flavoring oil instead. Graham crumbs can be swapped for digestive biscuit crumbs or vanilla wafer crumbs if needed. Any pastel cotton candy makes the filling dreamy and the flavors can be easily switched up.
Perfect Ways to Serve This
Pile them on a cake stand for a birthday spread and watch everyone’s eyes light up. You can add a little swirl of whipped cream to each for a more elegant treat. Set out extra crushed cotton candy for guests to sprinkle themselves.
The Story Behind This Recipe
I created this when asked for a dessert that could outshine a stack of rainbow cupcakes. These little bombs combine my favorite parts of summer fairs into a single bite. The blend of crunchy and creamy simply never gets boring and always impresses.
Adapting for Every Season
Try using peppermint-flavored cotton candy for winter parties or tropical flavors when making these for summer gatherings. Picking colored candy melts that match your event theme makes this treat even more special. A little edible glitter adds festive shimmer any time of year.
Three Quick Notes
Letting the dough chill makes shaping much easier Check oil temperature often to keep the bombs crispy and not greasy Make sure candy coating is melted fully for a flawless dip
What People Are Saying
Guests always rave about how these bring back memories and taste even better than classic baked cheesecake. Some have even asked if they could use this dough to hide all sorts of fillings. One friend is convinced these are destined to be the highlight at her next baby shower.
Freezer Meal Conversion
You can shape and stuff the bombs ahead of time then freeze them in layers with parchment between. Let them thaw for half an hour before frying straight from frozen. The final coating goes on after frying and this method keeps them tasting bakery-fresh.
These cheesecake bombs always surprise and delight. Make a batch for your next celebration and watch them disappear!
Recipe Q&A
- → How do I keep the cotton candy flavor vibrant?
Use fresh cotton candy for both the filling and garnish. Store the finished treats in a cool, dry place to preserve the flavor.
- → Can I bake instead of fry the cheesecake bombs?
Frying ensures a crispy texture, but baking at 375°F until golden is an alternative for a lighter result.
- → What's the best way to melt candy melts?
Melt candy melts in a microwave-safe bowl in 30-second bursts, stirring after each, until smooth and glossy.
- → Can I prepare these treats in advance?
Yes, assemble and freeze the bombs before frying. Fry and coat them just before serving for optimal crispiness.
- → What oil works best for frying?
Use a neutral oil with a high smoke point, such as vegetable or canola oil, to achieve even frying and a golden crust.