
 Save
Save
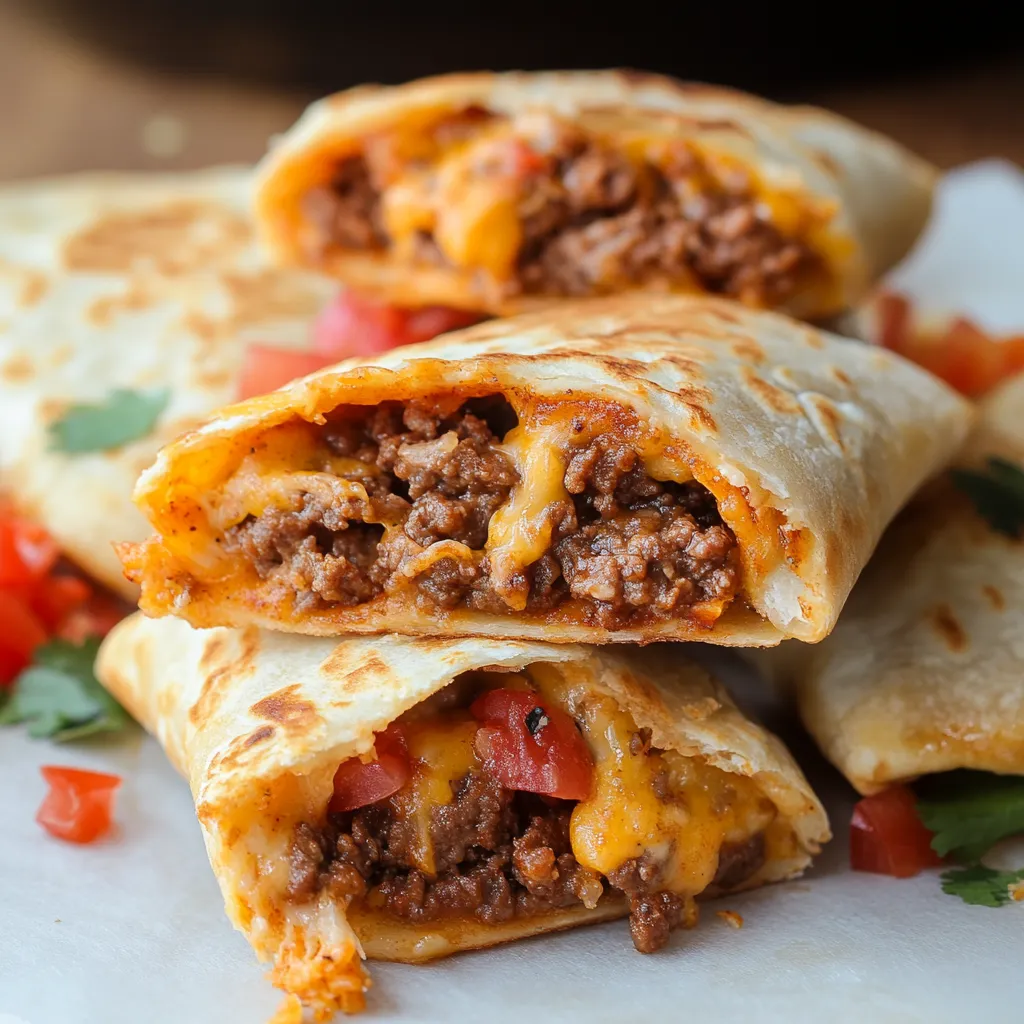
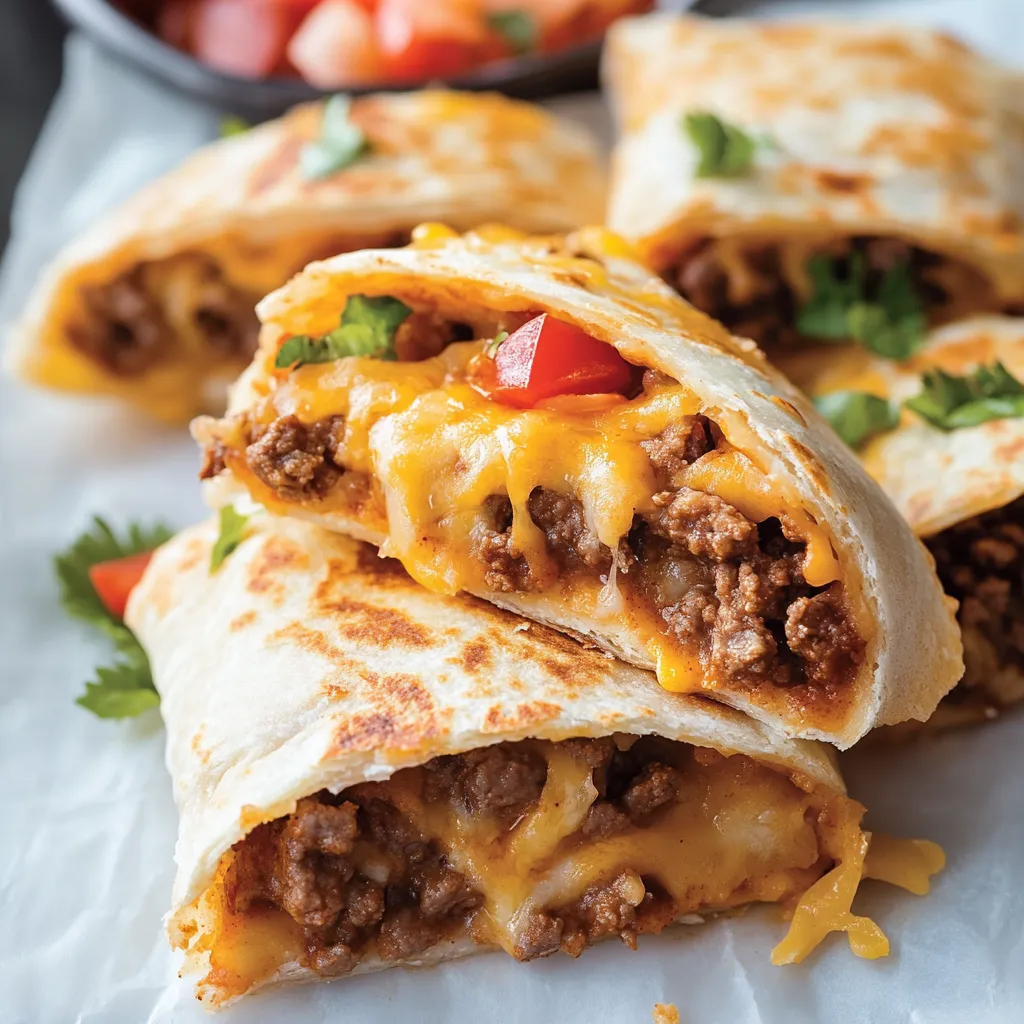
Seasoned ground beef mixed with flavorful taco spices joins gooey cheese and zesty salsa all wrapped in soft tortillas and cooked till golden brown. These tasty taco bundles bring top-notch flavors with easy prep that works great for busy weeknights. The grab-and-go design makes eating simple while keeping all those yummy juices and flavors tucked inside a neat folded wrap.
I came up with this idea during a crazy busy sports season when we needed food we could eat between games and practice. After trying lots of different versions, this one became the family favorite. My kids ask for these all the time now, loving how they can enjoy all the taco flavors without making a mess like they do with regular tacos.
Key Ingredients
- Ground beef: Forms the tasty base that soaks up all those spices wonderfully—go for lean meat to cut down on grease or swap in ground turkey for a lighter option.
- Cream cheese: Adds amazing creaminess while keeping everything stuck together so filling doesn't fall out—let it sit at room temp first for easier mixing.
- Flour tortillas: Give you the perfect bendable wrap that won't tear plus they turn a lovely golden color when baked—newer tortillas work way better than stale ones.
Cooking Steps
- Cooking The Meat:
- Cook your ground beef in a pan over medium heat, breaking it into tiny even bits with a wooden spoon. Get rid of extra fat completely to avoid soggy pockets. Mix in taco seasoning with the water it calls for, then let it bubble until the liquid cooks down, packing the meat with tons of flavor.
- Making The Creamy Base:
- Work your room-temp cream cheese with a spatula or mixer until it's completely smooth with zero lumps. Slowly add small amounts of salsa, mixing thoroughly between each addition until everything blends into one even color and texture.
- Putting It Together:
- Lay each tortilla flat and spread the cream cheese mix down the middle to create a base that holds everything else. Add some seasoned meat and pile generous amounts of shredded cheese on top. Fold the bottom up over your filling, then fold in the sides before rolling upward to make a sealed package that keeps everything inside.
- Setting Them Up:
- Put your rolled pockets seam-side down on your baking sheet, leaving space between each one for even browning. Gently brush the tops with melted butter, being careful not to tear the delicate tortillas.
- Baking Them Off:
- Put your baking sheet in the middle of your preheated oven for the best heat flow. Keep an eye on them during the last few minutes since they can brown super fast once they start.
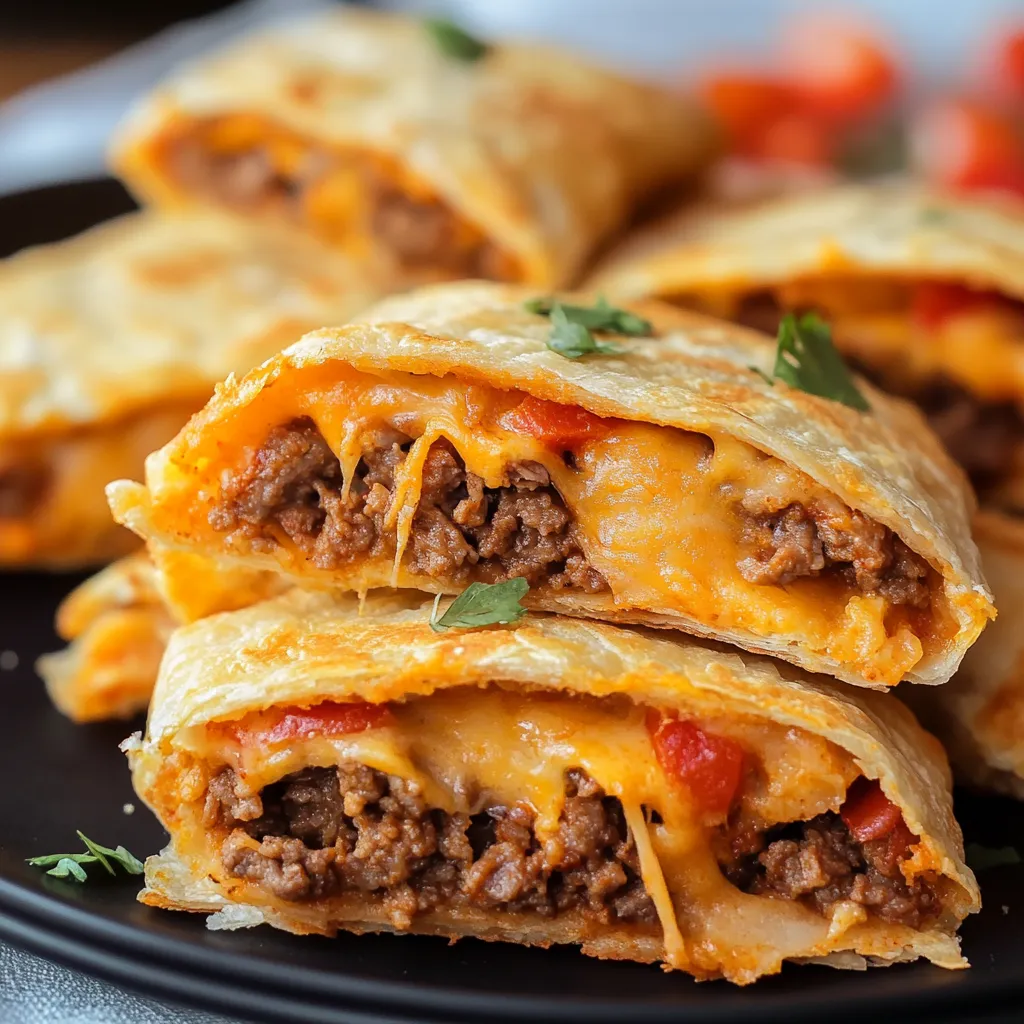
My neighbor didn't believe baked tortillas could have a good texture until she tried these during a casual dinner at my place. After her first bite, she was amazed at how the butter-brushed outside got so crispy while the inside stayed nice and soft.
Keeping Leftovers
Keep any extras in a sealed container in the fridge for up to three days. Warm them up slowly in a 325°F oven until heated through, or toss them in an air fryer for extra crispiness. Don't use the microwave as it'll make the tortillas too soft.
Recipe Q&A
- → Can I make them in advance?
- Prep up to a day early; brush butter on before baking.
- → Are these freezer-friendly?
- Yes, freeze before baking; just bake frozen with added time.
- → What sides go well with them?
- Pair with sour cream, guacamole, or a serving of rice.
- → Can I use another meat?
- Replace beef with turkey or chicken, keeping the same seasonings.
- → Why include cream cheese?
- It makes the filling creamy and helps hold everything together.