
 Save
Save
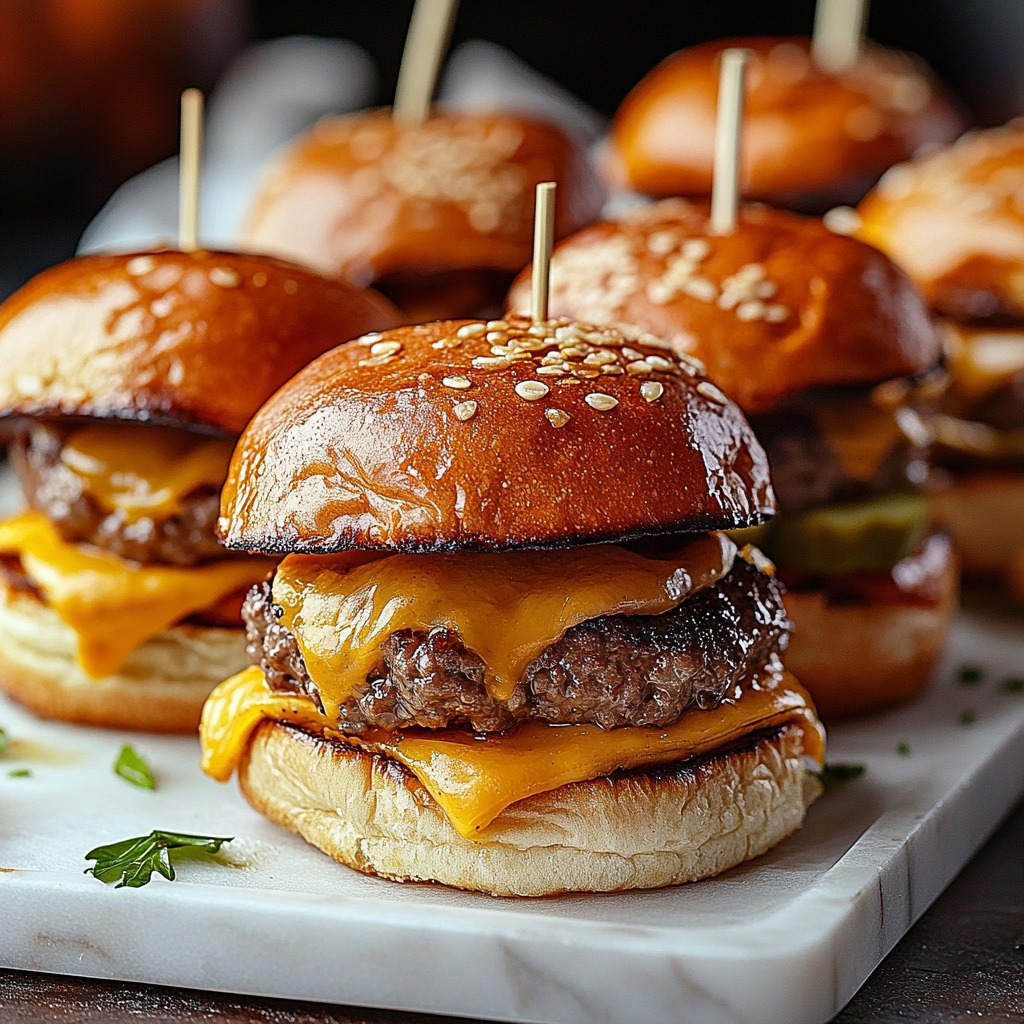
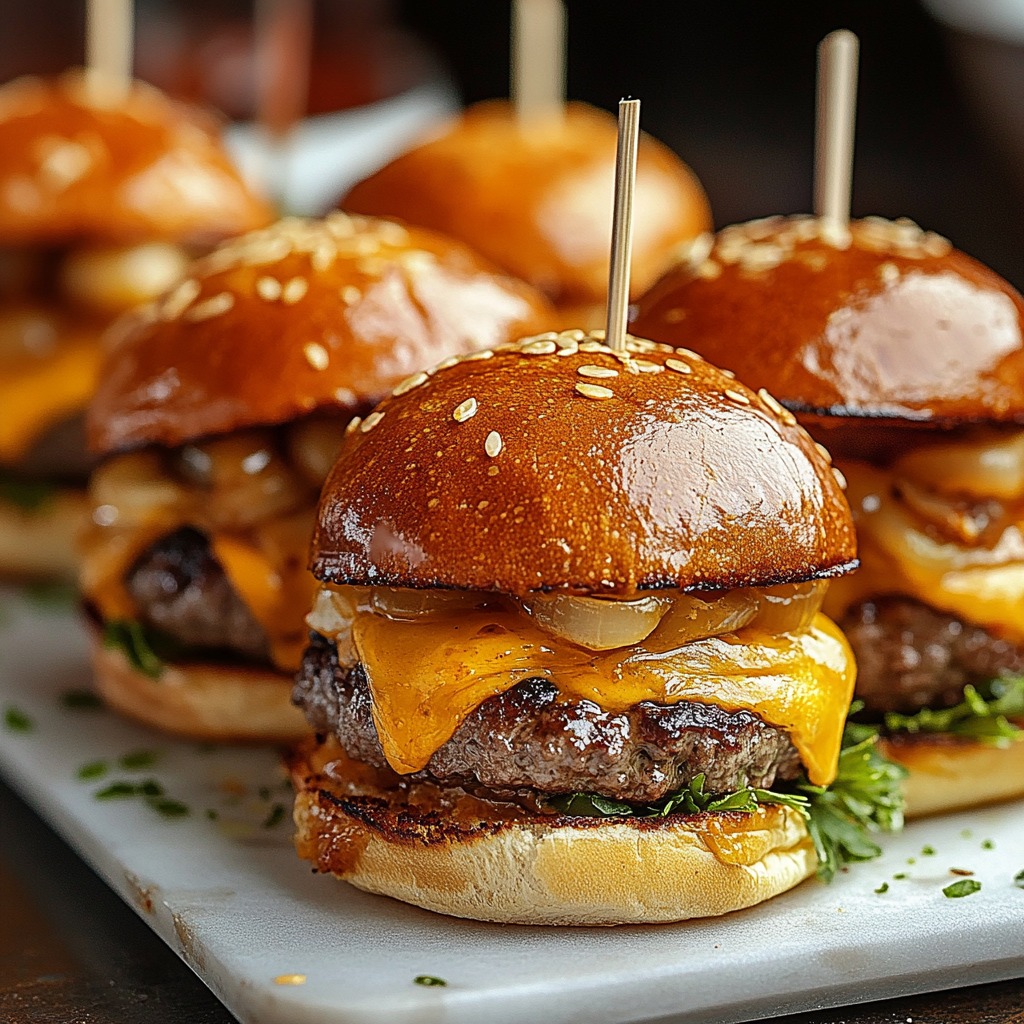
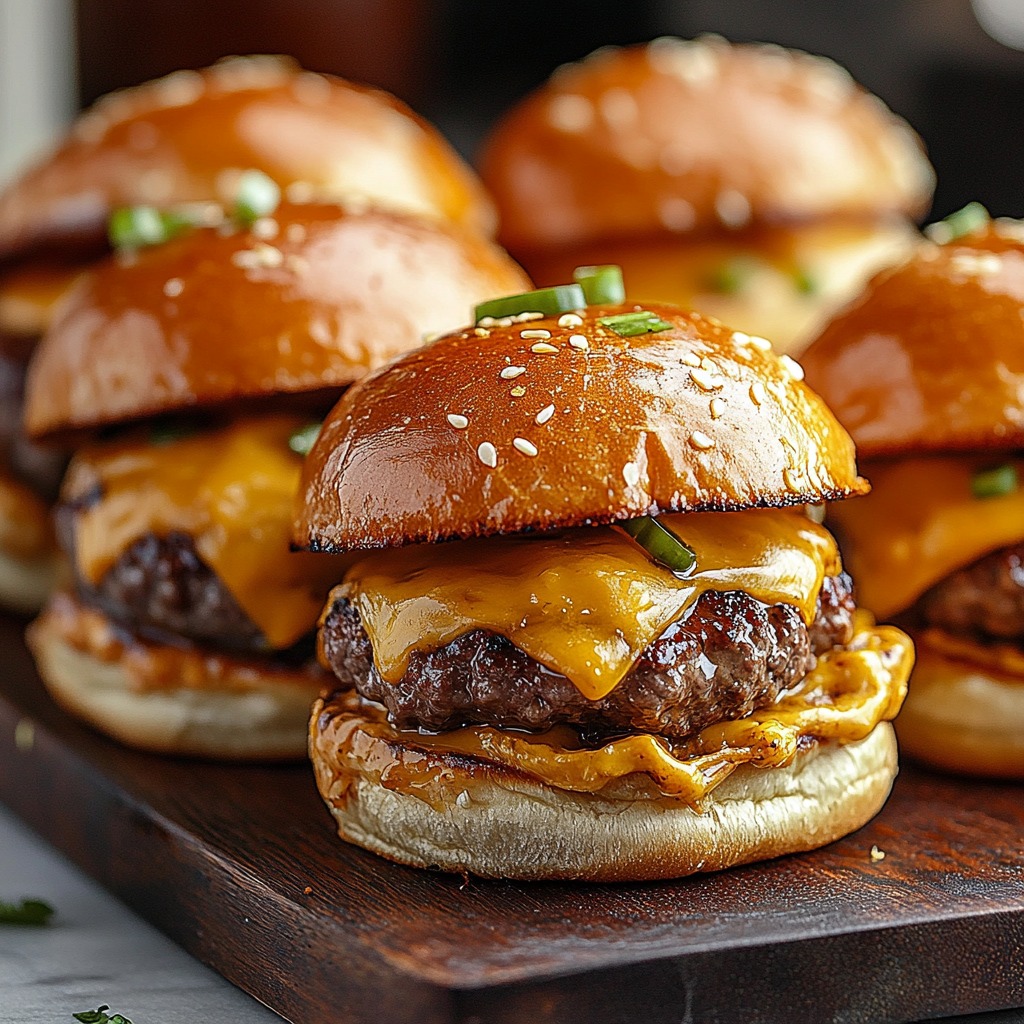
Take a bite of these juicy mini burgers where melty cheese mingles with a tasty secret sauce, all nestled in a warm, toasty bun. These Cheeseburger Sliders aren't just for parties - they're a showstopper that makes any get-together feel special. After tweaking this recipe for years, I've found that the real trick is in the small things: getting the right fat in your meat and making that sauce everyone will beg you for.
Last week, I whipped these up for my kid's team party after their basketball game. You should've seen their faces when I walked in with that hot tray of sliders. They couldn't wait to grab them, and minutes later, they wanted more. The key? Taking your time with the meat seasoning and letting that cheese get all gooey and perfect.
Essential Ingredients
- Ground beef (80/20 mix): This combo gives the best flavor and juiciness. Going leaner just doesn't work as well
- Hawaiian rolls: They've got that hint of sweetness that works magic with the savory burger. I've tried tons of other rolls but always end up back here
- Sharp cheddar cheese: It gets all melty and brings a nice zip. The stuff in packages works fine, but shredding it yourself makes it melt way better
- Fresh dill pickles: They add snap and zing that cuts the richness. I chop them tiny so they spread through every bite
- The magic sauce mix (mayo, ketchup, mustard): Mixed together, they make that taste we all crave from our favorite burger spots
Step-by-Step Cooking Guide
- Get Your Meat Ready:
- Mix ground beef with seasonings without squishing it too much - this keeps it tender. Shape into 12 same-sized balls. Flatten each into a 2-inch patty and make a little dent in the middle.
- Cook Those Patties:
- Get your pan hot over medium-high heat. Cook patties in small batches - don't crowd them. About 3-4 minutes each side for medium. Throw the cheese on during the last minute.
- Fix Up the Buns:
- Cut the rolls across the middle, keeping them stuck together. Stir together mayo, ketchup, and mustard for your sauce. Spread it on top and bottom buns. Put extra cheese on the bottom buns.
- Put It All Together:
- Set the hot patties on the bottom buns. Sprinkle with chopped pickles and whatever else you like. Pop the top buns on. Press down lightly to marry the flavors.
- Give Them a Bake:
- Wrap loosely with foil. Stick in a 375°F oven for 8-10 minutes. Take off the foil for the last 2 minutes to make the tops crispy.
Nailing the Right Patty Size
Getting those patties just right took me a bunch of tries. I found that about 1.3 ounces of meat makes the perfect slider. A smart trick I picked up when I first started making these was to shape them a bit bigger than the buns since they shrink when cooking. Now every slider fits just right, and everyone gets the perfect amount of meat with their bun.
Watching Your Heat Really Counts
The thing that changed my slider game was using my meat thermometer. Going for 160°F makes them safe but still super juicy. I've learned that pulling them off at 155°F and letting them sit finishes the cooking perfectly without drying them out.
How to Stack Your Sliders
It's like building a tiny tower - how you stack things makes all the difference. I start with cheese on the bottom bun (it stops the juices from making the bun soggy), then the patty, more cheese, pickles, and sauce on top. This way, every mouthful has all the tastes and textures working together.
Do the Prep Work Early
These sliders are great for parties because you can get so much done ahead of time. I usually shape the patties in the morning, mix up the sauce, and get all the toppings ready, keeping everything in the fridge separately. Then when folks come over, putting it all together is quick and easy.
Feeding a Big Group
When I'm cooking for lots of people, I've found it works best to make 24 sliders at once. Any more gets tricky to cook evenly and put together well. Setting up your workspace so everything's within reach makes the whole process way more fun and less stressful.
Saving Some for Later
I was so happy when I figured out these freeze really well after cooking. I wrap each one in foil by itself, then stick them all in a freezer bag. They heat up great in about 20 minutes at 350°F, which is perfect when you need dinner in a hurry on busy nights.
These mini cheeseburgers have become my favorite thing to make for any gathering, always bringing joy and creating good times around so many tables. They show that tiny foods can pack huge flavor. Whether you're feeding hungry kids after sports or just having friends over, these sliders always hit the spot. The mix of juicy beef, gooey cheese, and that knockout sauce makes little burgers that taste just like the ones from your favorite restaurant.
Recipe Q&A
- → Can I prep patties early?
- Sure! Cook them the day before and just warm them before assembling.
- → How should I keep them hot?
- Wrap them with foil after baking to keep the heat locked in.
- → Can I freeze them?
- Freeze cooked patties, but build fresh sliders for the best taste.
- → What are some other topping ideas?
- You can use crispy bacon, grilled onions, or different kinds of cheese.
- → Are they grill-friendly?
- Totally! Cook patties and toast buns right on the grill.