
 Save
Save
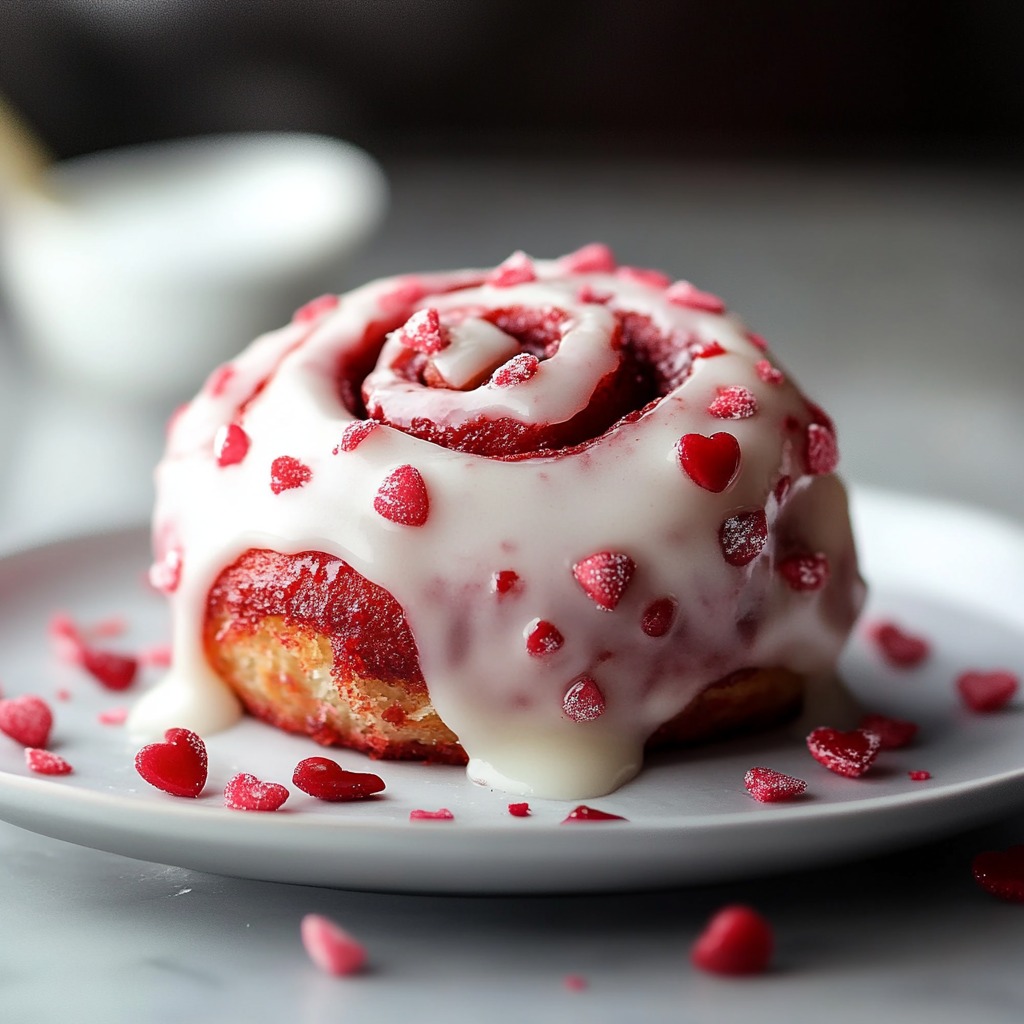
Take a bite of these swirled treats that blend the deep chocolate taste of red velvet with warm cinnamon, topped with a creamy cheese frosting. These bright red rolls aren't just eye-catching—they'll fill your home with smells so good you'll barely stand waiting for them to finish cooking.
I tried many different mixes of cocoa and cinnamon before I got these rolls just right. Now my family asks for them whenever we have a special breakfast, and they're really great for Valentine's Day with their red color.
Must-Have Ingredients Breakdown
- Active dry yeast (2¼ teaspoons): make sure it's not old for good rising
- All-purpose flour (4 cups): go with unbleached for better results
- Cocoa powder (2 tablespoons): pick natural, unsweetened for authentic flavor
- Red gel food coloring (2 teaspoons): gel beats liquid for getting that bright color
- Cream cheese (4 ounces): use full-fat at room temp for the smoothest topping
- Brown sugar (1 cup, packed): either dark or light works fine for inside
- Ground cinnamon (3 tablespoons): newer cinnamon gives the best taste
Crafting Your Stunning Red Velvet Rolls
- Step 1: Getting Your Dough Started
- Warm milk to 110°F and check with a thermometer since the right temp matters for yeast. Mix with yeast and a bit of sugar, then wait for bubbles that show your yeast is working. Mix all dry stuff well so the cocoa spreads throughout for even color.
- Step 2: Working With The Dough
- Mix your wet stuff into the yeast mixture, then slowly add the dry mix. Watch how the dough changes as you work it. It should come away from the bowl but feel a little sticky. Keep kneading until it feels smooth and stretchy, about 8-10 minutes by hand or 5-6 minutes with a mixer.
- Step 3: First Rising Time
- Put your dough in a bowl with a little oil, flip it once to coat it. Cover with a damp cloth and let it sit somewhere warm until it doubles, around 90 minutes. You'll know it's ready if you poke it with two fingers and the marks stay.
- Step 4: Making Those Pretty Swirls
- Roll your dough into a rectangle with even corners for matching rolls. Spread filling everywhere except leave a small strip on one long edge to seal it. Roll it up from the long side, pressing the edge down to close it. Cut with dental floss for the cleanest slices.
- Step 5: Last Rise and Baking
- Put rolls in a buttered pan with some space between them. Let them rise until puffy and touching, about 45 minutes. Bake at 350°F until they reach 190°F inside, usually 25-30 minutes.

My grandma showed me how to check if dough is the right temp by touching it with my knuckle—it should feel as warm as the inside of your wrist. This tiny trick really helps get your dough to rise perfectly.
Getting Yeast To Work Right
How well your dough rises depends a lot on how warm it is. In cold months, you can make a nice warm spot by turning your oven on for a minute, switching it off, then putting your dough inside with the door shut.
Spreading Filling Just Right
Getting your filling spread evenly makes those perfect swirls. I like using an offset spatula to make sure every bite has the same amount of cinnamon sugar and dough.
Prep Ahead Tricks
You can shape these rolls the night before and keep them in the fridge. Just let them sit out for 30 minutes before the final rise and baking.
I've made these rolls for years and learned that taking your time really pays off. When you let the dough rise properly and roll it carefully, you end up with rolls that are soft, tasty, and beautiful to look at. Whenever I serve these, seeing people smile at that first bite reminds me why making things from scratch is always worth the effort.
Recipe Q&A
- → Can I prep these the night before?
- You can! Get them ready up till the second rise, then refrigerate. Let them warm to room temp before baking.
- → Why isn’t my dough growing?
- Check your yeast’s freshness and make sure the milk isn’t too hot or too cold. Temperatures matter!
- → Can I freeze these before frosting?
- Definitely. Store them unfrosted for up to 2 months. Thaw, warm, and then glaze before serving.
- → What if I don’t use red coloring?
- It’s optional. Skipping it just means the rolls won’t have the red velvet look but they’ll still taste great.
- → How should I keep leftovers fresh?
- Seal frosted rolls tightly in the fridge for up to 5 days. A quick warm-up before eating makes them even better.