
 Save
Save
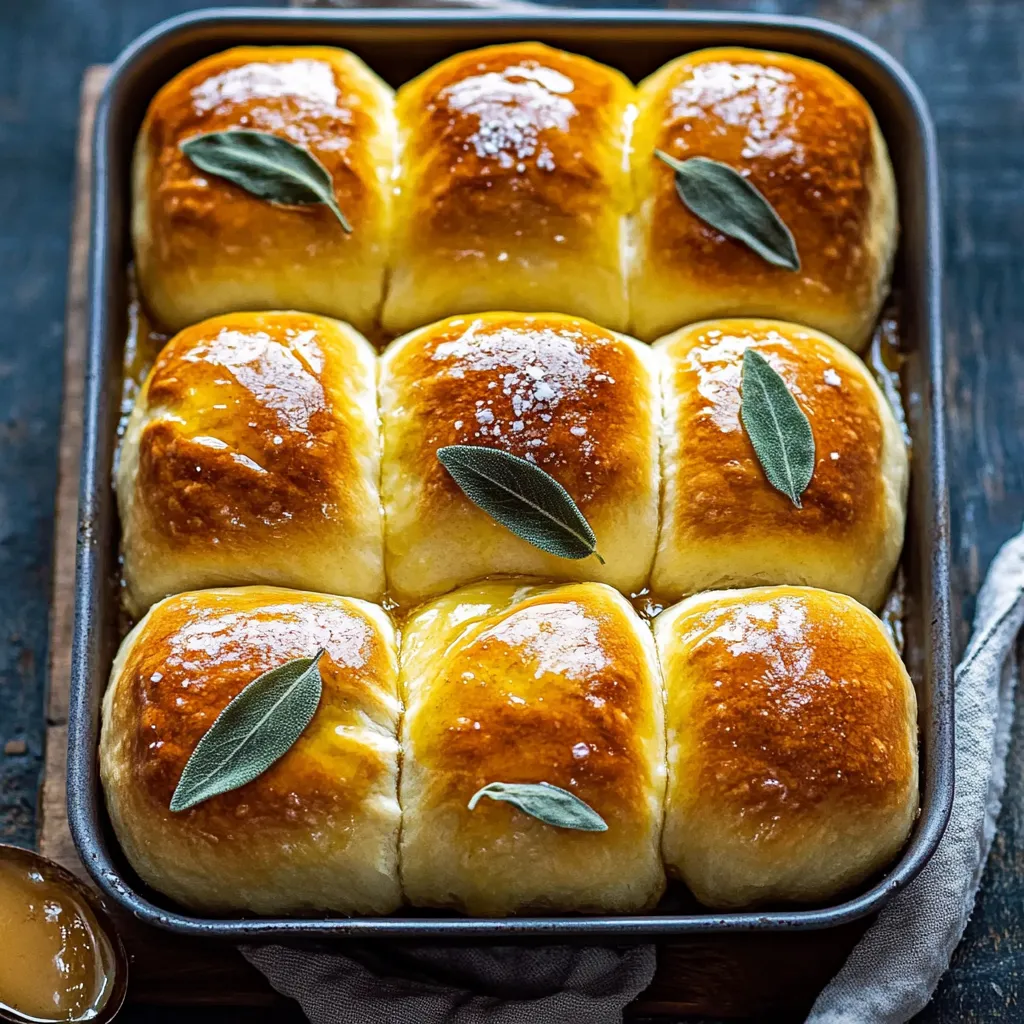
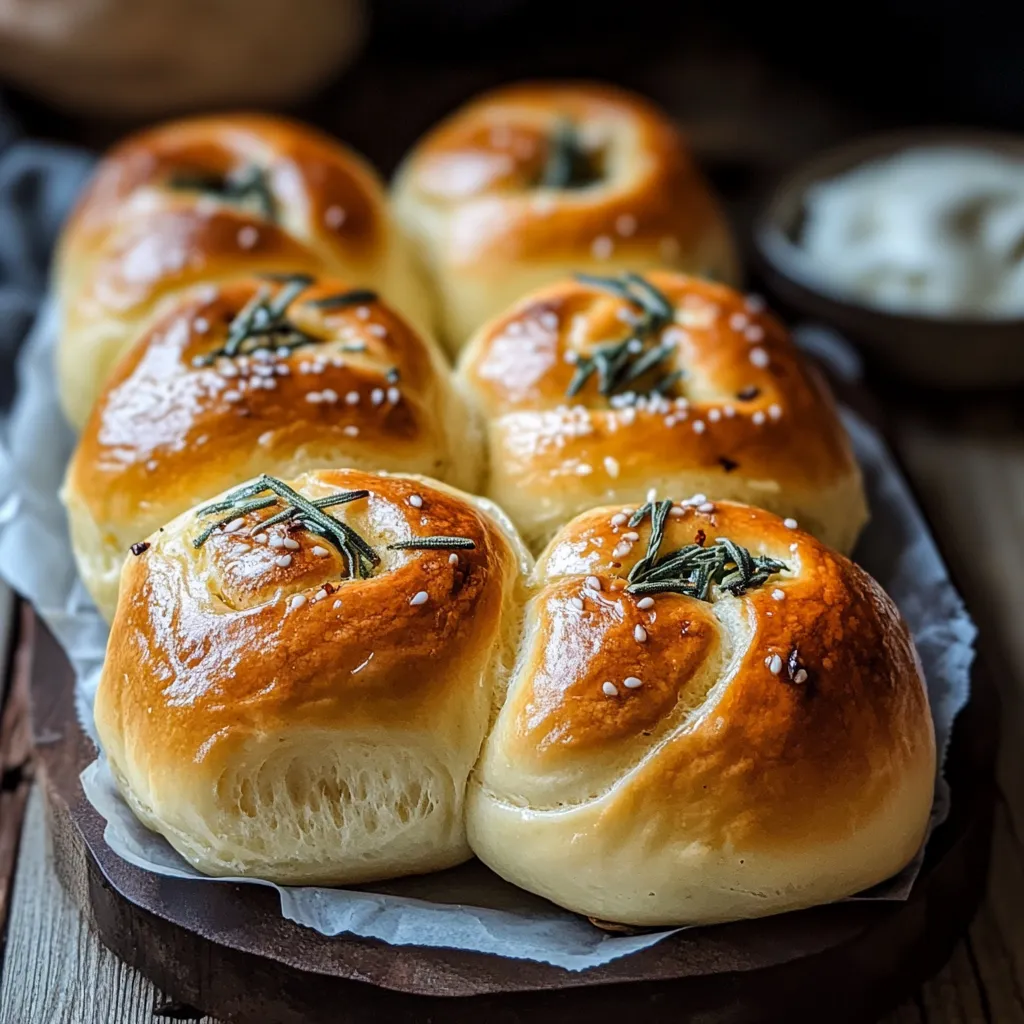
Spice up your bread selection with these mouthwatering Honey Sage Brioche Rolls. The gentle honey sweetness paired with fragrant sage turns ordinary dinner rolls into something special - fancy enough for holiday dinners but easy enough to whip up on a lazy Sunday afternoon.
I used to make boring rolls until I stumbled on this flavor pairing. Now my family shows up early just to catch a whiff of that buttery, herby smell filling our kitchen.
Key Ingredients Breakdown
- All-purpose flour: Grab unbleached for extra flavor punch
- Instant yeast: Make sure it's not old for a good puff
- Salted butter: Go for European kinds for the richest taste
- Fresh sage leaves: Don't swap for dried - you need the real deal
- Local honey: Brings tiny flower hints to the mix
- Large eggs: They've gotta be room temp or they won't mix right
- Sea salt: Sprinkle those flaky bits for the perfect finish
Easy-to-Follow Preparation Steps
- Getting Your Dough Right:
- Mix your dry stuff first. Slowly add wet ingredients. Keep mixing until smooth and stretchy. Look for that good stretch when pulled. Let it sit and grow.
- Whipping Up Sage Butter:
- Cook sage until it snaps. Let it cool completely. Chop it up and mix with soft butter. Drizzle honey in slowly. Add salt to taste.
- Working the Dough:
- Handle your dough carefully. Dust your counter with flour. Roll everything the same thickness. Spread your butter mix all over. Cut into nice strips.
- Forming Your Rolls:
- Roll strips up tight. Place them in your pan with care. Leave gaps for rising. Cover them loosely. Wait for them to puff up nicely.
- Baking to Perfection:
- Get your oven nice and hot. Brush tops with beaten egg. Watch for golden brown color. Check the middle roll for doneness. Brush with melted butter while hot.
I took my grandma's old brioche recipe and jazzed it up with honey and sage to create something my family now can't get enough of.
Mastering Your Dough Temperature
After tons of trial and error, I've found that temperature really matters. I always set my ingredients out ahead of time and use a kitchen thermometer to make sure my milk hits about 110°F - warm enough to wake up the yeast but not so hot it kills it. How warm your kitchen is makes a big difference in how fast things rise too.
Prep These Ahead of Time
The best thing about these rolls? You can get them ready in advance. I often shape them the night before and stick them in the fridge. The slow, cold rise actually makes them taste better! Just pull them out about 30 minutes before the final rise and baking.
Keeping Them Fresh
They taste amazing right out of the oven, but leftover rolls can go in the freezer for up to three months if wrapped tight. When I want to use them, I wrap them in foil, warm them at 300°F until they're heated through, then brush on some fresh honey butter.
Perfect Pairings
These rolls can turn any normal dinner into something fancy. They shine next to holiday meats, but we love them with regular Sunday dinners and even brunches. Try them split and toasted for breakfast sandwiches - they're killer with some eggs and ham.
Fixing Common Problems
When your dough feels too sticky, don't dump in loads more flour. I've learned that slightly sticky dough makes lighter, fluffier rolls in the end. Just use enough flour so you can handle it without going crazy.
Changing With The Seasons
In summer, I sometimes swap fresh rosemary for the sage, and during winter holidays I'll toss some orange zest into the honey butter. The basic recipe works great with all kinds of creative twists.

These Honey Sage Brioche Rolls have become the bread everyone begs for at family get-togethers. That perfect mix of buttery dough, sweet honey, and woodsy sage creates something so good it turns any meal into an occasion. Whether they're sitting next to a fancy holiday roast or a casual weeknight chicken dinner, they always bring that warm, comforting touch to our table.
Recipe Q&A
- → Can I prep these rolls before I need them?
- Sure thing, you can make the dough and shape your rolls a day early, stick them in the fridge overnight and bake them fresh when you want them.
- → Why should the dough sit around for 15 minutes to an hour?
- This waiting time lets the flour soak up moisture and helps the gluten form properly, making your rolls turn out softer and fluffier.
- → Can I stick these in the freezer?
- Absolutely, they'll stay good frozen for up to 3 months. Just let them thaw overnight and warm them up before eating.
- → What if I don't own a stand mixer?
- No problem, you can work the dough with your hands for about 8-10 minutes until it feels smooth and stretchy.
- → Why fry the sage leaves instead of just adding them?
- Cooking the sage in butter brings out more flavor and makes them crispy, which really improves the butter mixture.