
 Save
Save
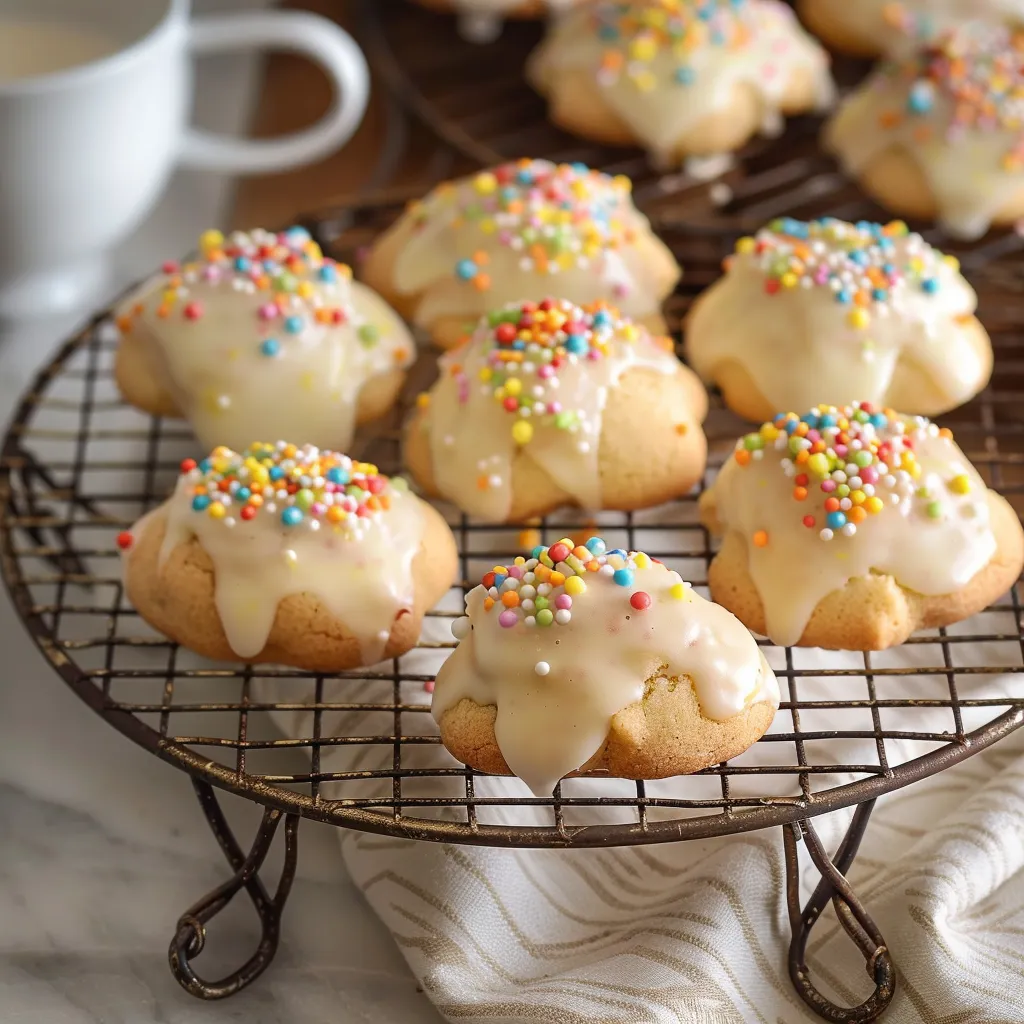
Easter chocolate nests are a cherished spring snack that embodies the wonder of the season. This timeless treat mixes crunchy cereal with velvety melted chocolate to craft adorable edible nests that showcase colorful Easter candy. Through countless batches over the years, I've nailed down the perfect consistency - crunchy but still easy to bite into.
Things might get a little untidy during the making, but watching everyone's joy as they decorate their own chocolate nests makes the cleanup totally worth it.
Essential Elements
- Cereal Base: Shredded wheat gives that genuine nest look, but cornflakes work great too
- Chocolate Selection: Mixing milk with dark chocolate gives you the best flavor balance
- Unsalted Butter: Needed for just the right texture
- Golden Syrup: Helps everything stick together while adding a light sweetness
Simple Instructions
- Getting Chocolate Ready
- Mix chocolate, butter and syrup and heat gently. Keep stirring now and then until it's totally smooth with a nice shine.
- Cereal Prep
- Crush cereal into different sizes, keeping some bigger chunks for texture. Don't smash it too much.
- Putting It Together
- Mix the melted stuff with cereal until it's all covered. Shape into nests on a lined tray, making little dents for candy.
This treat keeps a treasured baking custom alive that brings the whole family together during Easter time.
Smooth Chocolate Handling
Slow melting keeps your chocolate silky. Watch the heat carefully so it doesn't get too hot.
Nest Formation
Using a spoon to shape gives you realistic-looking nests with natural texture differences.
Make-Ahead Options
Keep finished nests in sealed containers up to 5 days. Add the decorations right before you serve them.
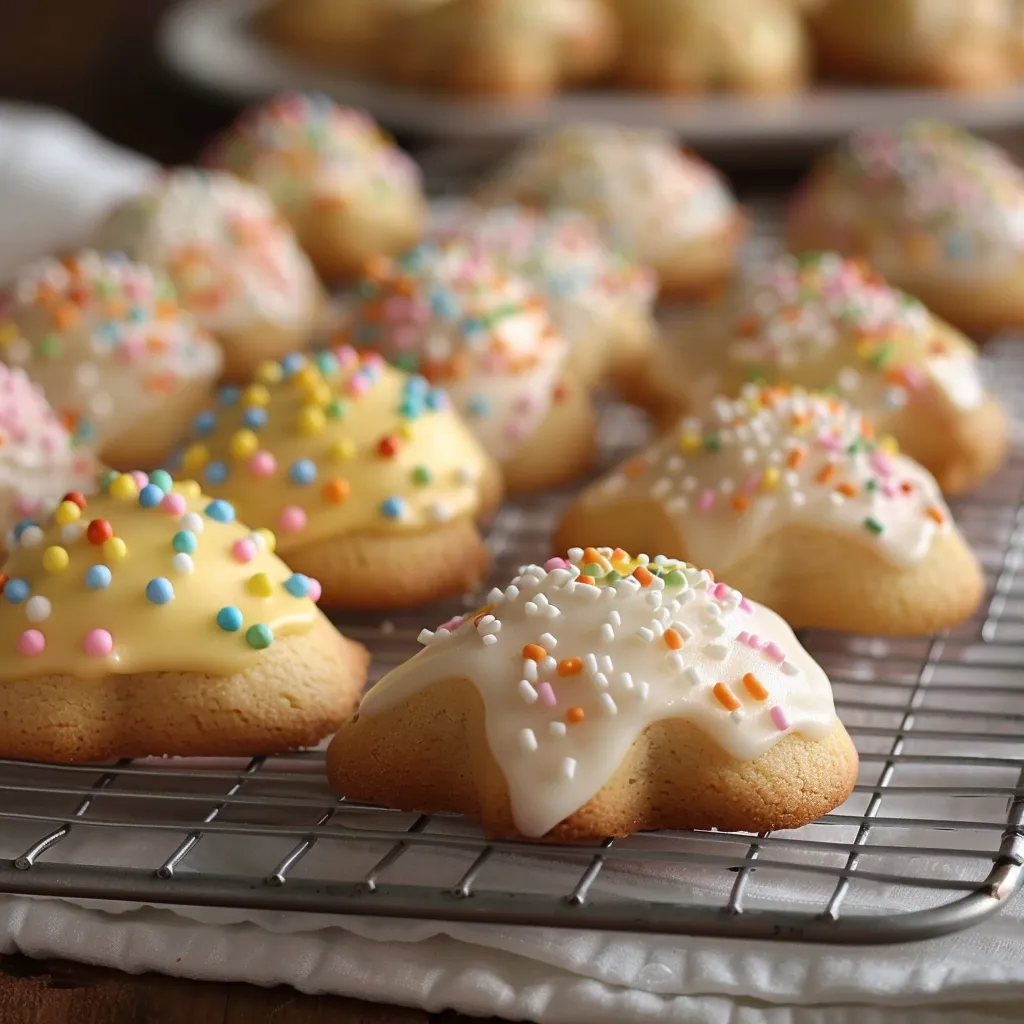
Different Decoration Ideas
Try various Easter candies, colorful sprinkles, or even pastel chocolate chips on top.
These chocolate nests bring together old-school Easter baking with fun creativity, making them a classic holiday treat that never goes out of style.
Recipe Q&A
- → How long do they stay fresh?
- Store in an airtight container for up to a week, or freeze the dough for three months.
- → Can butter be swapped out?
- Definitely! A light olive oil is a great alternative for a traditional touch.
- → What’s the easiest way to shape them?
- Roll dough into 5-6 inch ropes, then twist into knots or join ends to make circles.
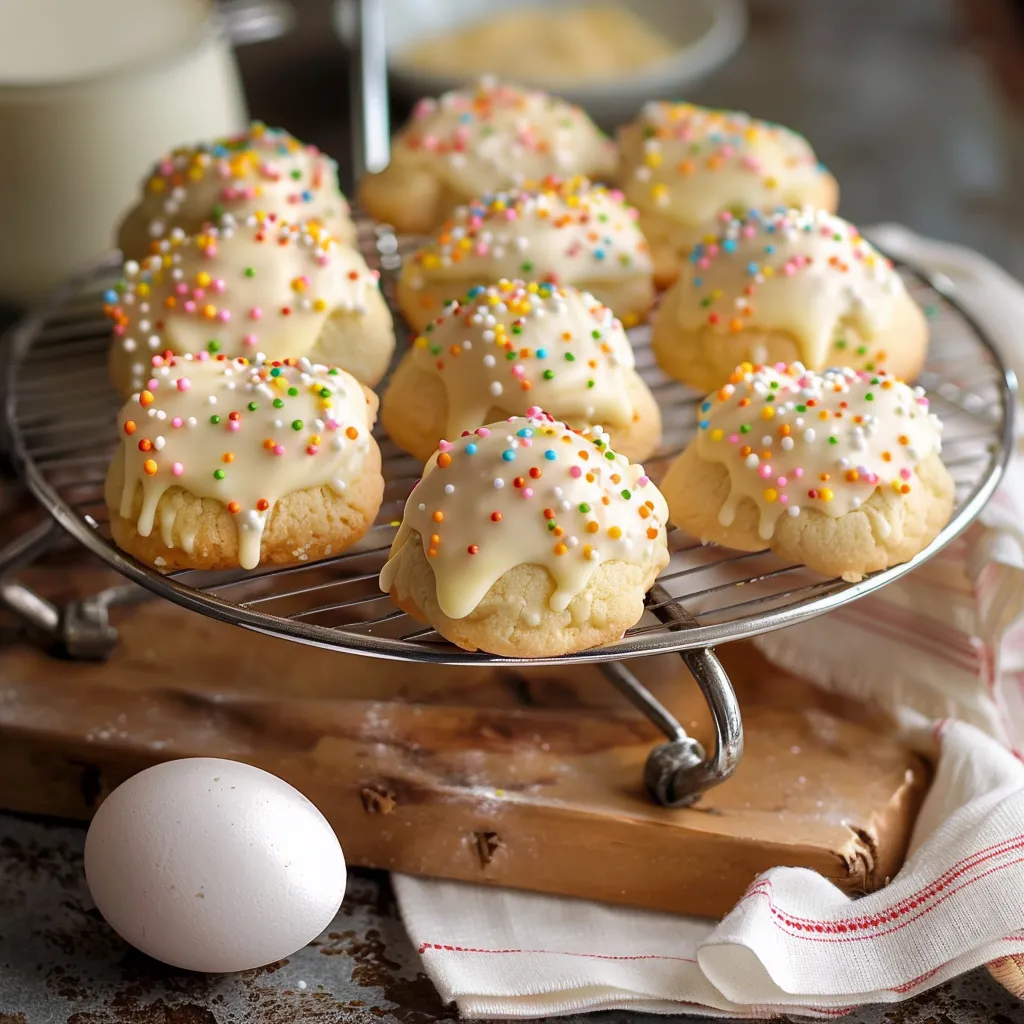
- → Do I have to use glaze?
- No way! You can skip the glaze and sprinkle with powdered sugar if you’d like.
- → What’s the ideal baking temp?
- Bake at 300°F for 15-18 minutes, or bump it up to 350°F for about 13 minutes.