
 Save
Save
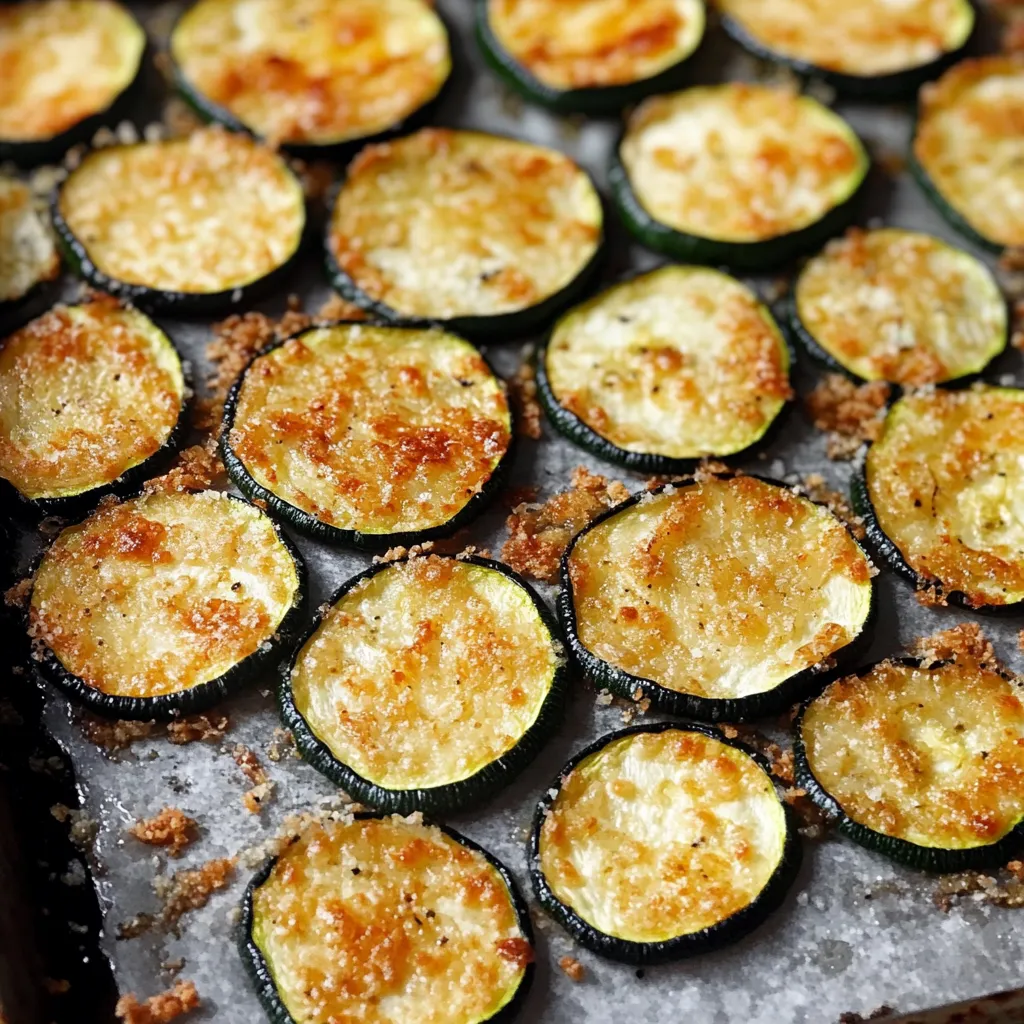
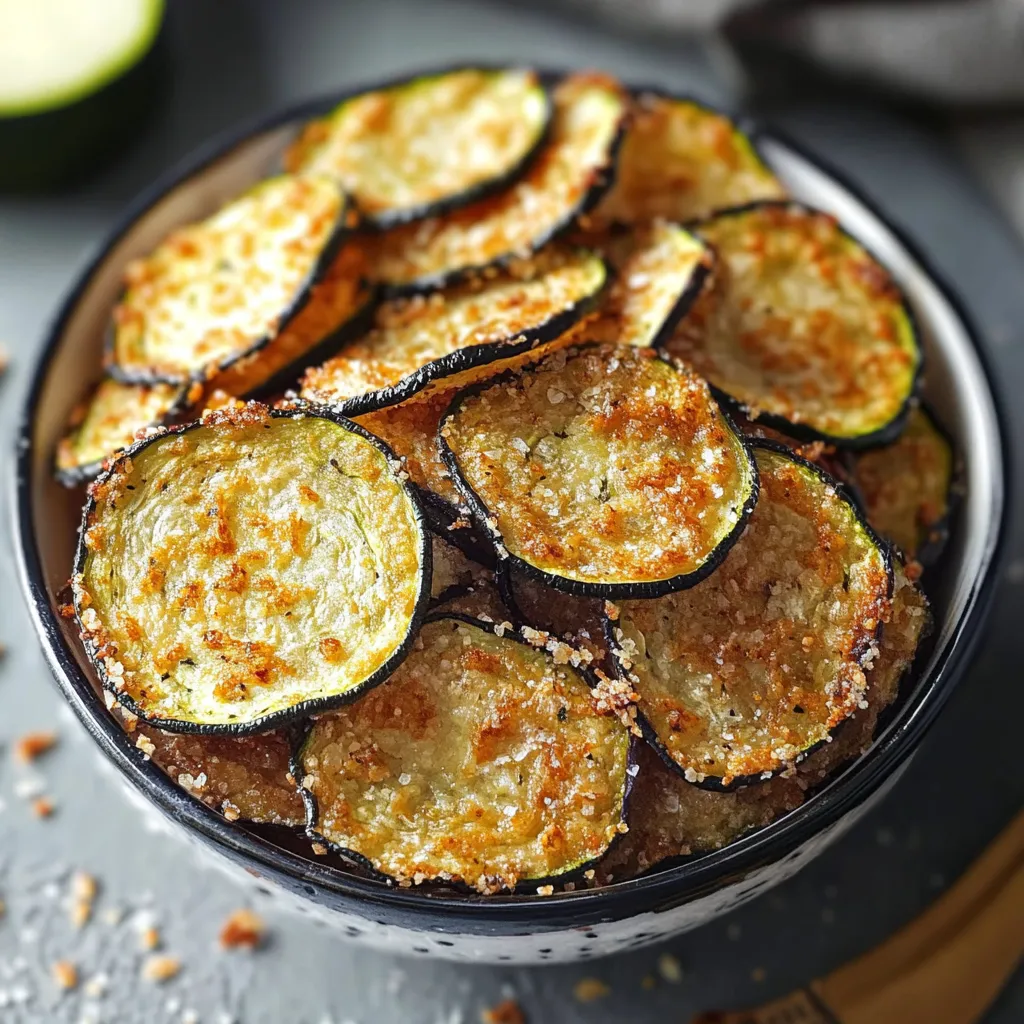
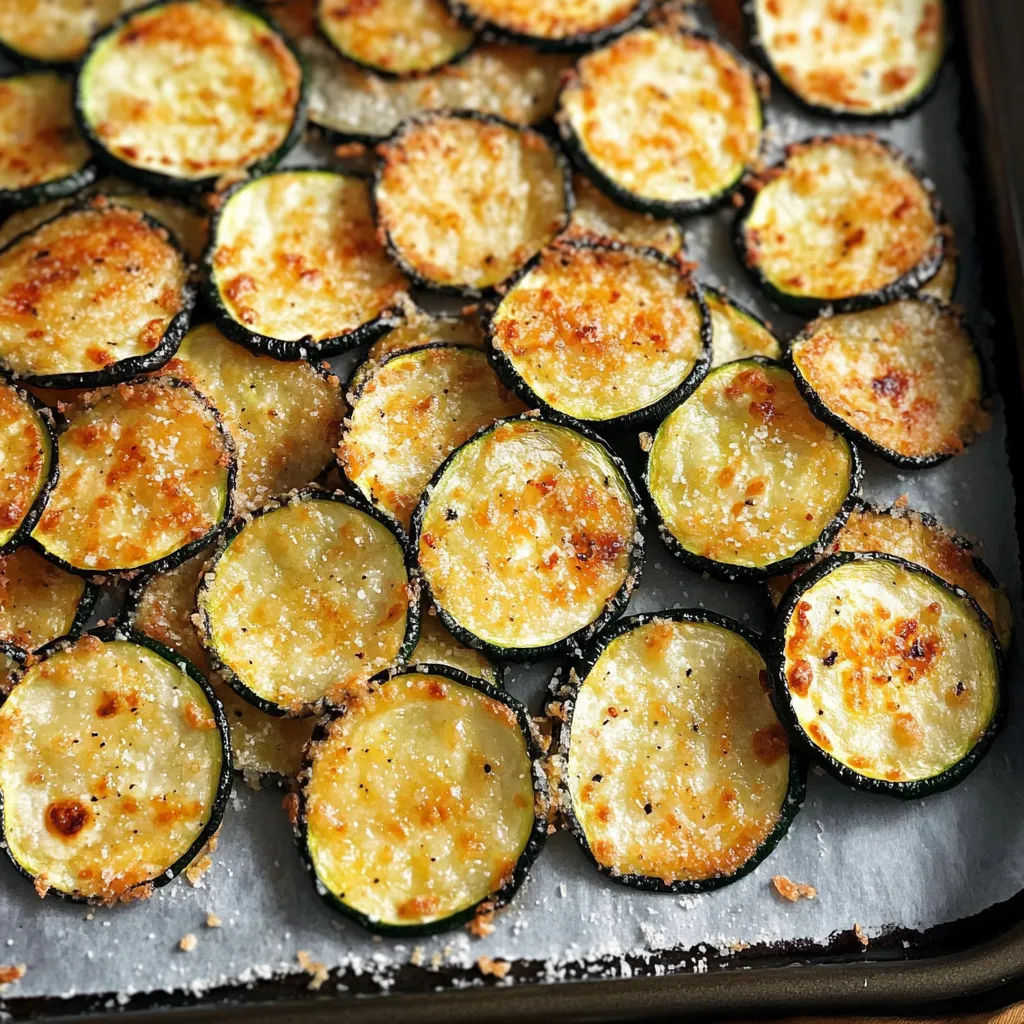
Turn regular zucchini into crunchy, mouthwatering chips that hit your snack spot while staying healthy and good for you. These oven-baked goodies give you all the fun of regular chips with way fewer calories, so they're great for snacking without guilt or serving as a fancy side.
I've made tons of batches trying different methods, and I've found that taking your time with prep really makes all the difference. Now my family asks for these instead of store chips, especially when zucchinis are everywhere in summer.
Key Ingredients Breakdown
- Zucchini: Go for medium-sized, firm ones for the best outcome
- Olive oil spray: Helps coat everything evenly without going overboard
- Kosher salt: Works better than regular table salt with its bigger grains
- Parmesan cheese: Make sure it's finely grated so it sticks well
- Garlic powder: Brings a nice savory touch without getting burnt
- Black pepper: Grinding it fresh gives the tastiest result
Simple Step-by-Step Guide
- Getting Rid of Moisture:
- Cut zucchini into even thin slices, put them in one layer in a colander, dust with salt all over, wait a full 30 minutes, then dry completely with towels.
- Setting Up Your Oven:
- Put the rack right in the middle, get it hot at 425°F, cover your baking sheet properly, spray the paper well, and make sure the oven's fully heated.
- First Cooking Round:
- Lay out slices so they don't touch, give them a light oil spray, keep an eye out for browning, take out any early finishers, and keep cooking the rest.
- Adding Flavors:
- Sprinkle seasonings while they're still hot, scatter cheese evenly, pop back in the oven right away, watch closely for color changes, and pull them out when perfectly crisp.
- Letting Them Rest:
- Keep them on the baking sheet a bit, move to a wire rack, let them get crunchier, and add more seasoning if needed.
I came up with these chips because I wanted healthy snacks during garden season when we're swimming in zucchini.
Getting The Heat Just Right
The secret to perfect crunchiness is all about managing temperature. I've done lots of testing and found you really need that oven hot at 425°F before starting. Too cool and your zucchini gets soggy instead of crisp; too hot and they'll burn before drying out properly.
Keeping Them Fresh
They taste best right away, but you can store them well too. I've found that putting them in a paper bag and then into an airtight container keeps them crunchy longer than just using plastic bags. If they go soft, warming them up for 10 minutes at 350°F brings back their crunch.
Different Flavor Ideas
I've played around with lots of flavor combos over time. Try Italian herbs with red pepper flakes for a kick, or use nutritional yeast if you want a cheesy taste without dairy. My kids love when I add a bit of ranch seasoning mix.
Ways To Enjoy Them
These zucchini chips work great as snacks or side dishes. They go perfectly with sandwiches, taste amazing dipped in marinara, and make fancy appetizers for guests. In summer, I like serving them with fresh tomato salsa.
Fixing Common Problems
If your chips aren't getting crispy, it's usually because they're still too wet. I've learned to be super thorough when drying them, sometimes even using my salad spinner after patting them with towels.
Getting Even Slices
Getting all your slices the same thickness really matters for even cooking. I find using a mandoline slicer works best, but you can also do it with a sharp knife if you've got a steady hand.
These zucchini chips have changed how we snack healthily at my house. Watching a basic veggie turn into a crispy treat always wows my guests, and knowing they're good for you makes them taste even better. Whether you want a healthy snack or a fancy starter, these chips bring both nutrition and flavor in every bite.
Recipe Q&A
- → Why should I put salt on the zucchini before cooking?
- The salt pulls out the extra water, which stops your chips from turning out soft and floppy instead of crispy.
- → How skinny should I cut my zucchini?
- Go for about ⅛-inch slices - getting them all the same thinness means they'll cook evenly and get equally crispy.
- → Why aren't my chips getting crunchy?
- They might need to bake longer, or maybe your slices were too chunky or still had moisture after the salting step.
- → Can I make a big batch for later?
- You can keep them for 2-3 days, but they won't stay as crunchy and taste way better when they're fresh out of the oven.
- → Can I try different spices?
- Sure thing! Play around with your favorite flavors while following the same prep steps.