
 Save
Save
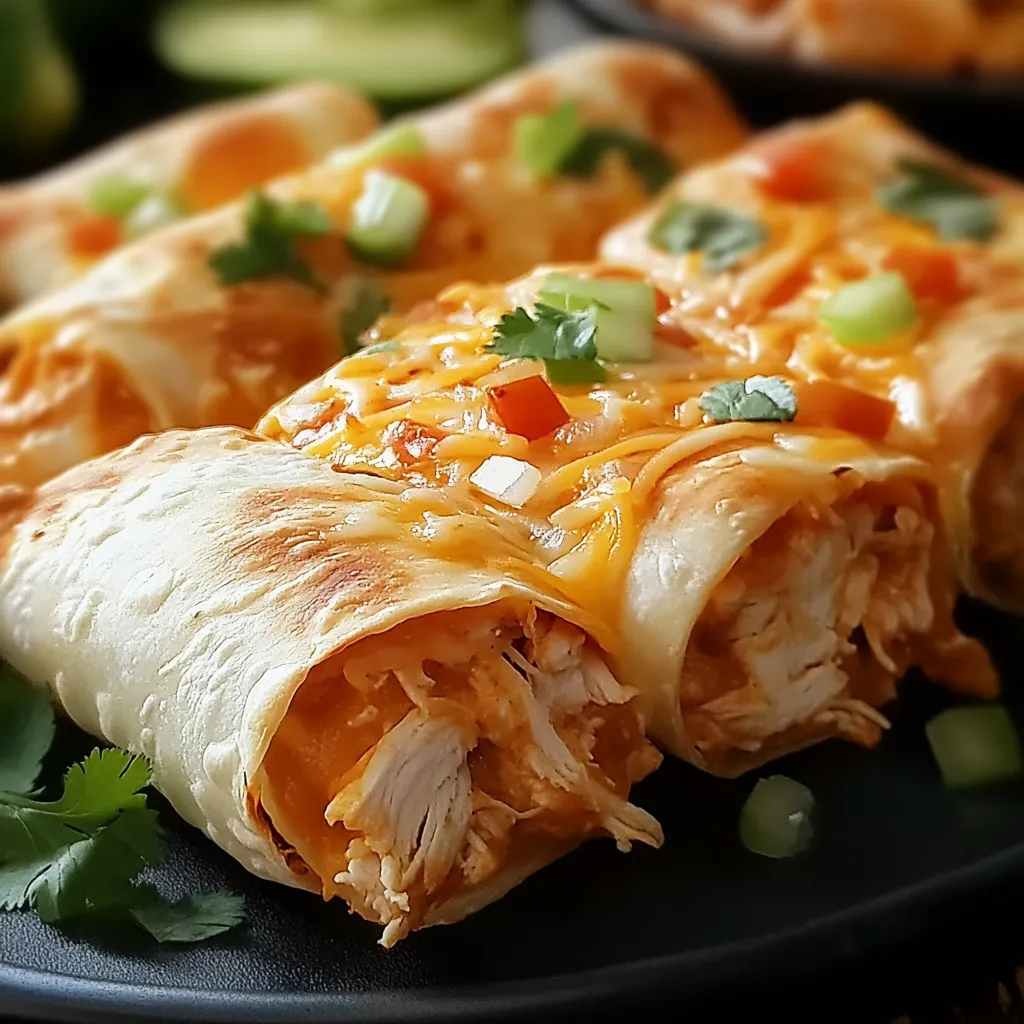
This oven-baked Mexican treat gives the traditional chimichanga a healthier spin while keeping its golden, crispy shell and tasty, creamy chicken filling. I stumbled on this baked method during my hunt for better-for-you comfort foods, and it's now my favorite way to knock out Mexican food cravings without feeling bad about deep frying. Baking instead of frying cuts down on calories and still gives you that amazing crunch that's just as good as what you'd get at a restaurant.
These chimichangas have become our top pick for Mexican-style meals at countless family get-togethers. There's something magical about how the tortilla gets crispy in the oven while the filling stays rich and flavorful - it's a combo that has everyone reaching for seconds.
Must-Have Ingredients Breakdown
- Cream cheese: Grab the full-fat kind and let it sit out until soft. Stick with the brick style, not the whipped stuff.
- Pepperjack cheese: Grate it yourself for better melting and a nice mild kick.
- Flour tortillas: Go for the big burrito size so you can wrap everything up. Make sure they're fresh and bendy with no holes.
- Cooked chicken: A store-bought rotisserie chicken works great and saves time. Pull it apart while it's still warm for the best results.
- Taco seasoning: Pick a low-salt version to keep the sodium in check, or mix up your own blend for exactly the flavor you want.
Making Flawless Chimichangas
- Getting Everything Ready:
- Take cream cheese out about 2 hours before cooking. Set your oven to 350°F (175°C) and give it 15 minutes to heat up properly. While waiting, pull together all your stuff and supplies. Shred your cheese if you bought blocks. Being organized makes assembly way easier.
- Putting The Filling Together:
- In a big bowl, stir the soft cream cheese with the shredded pepperjack and taco seasoning. Mix until it's totally smooth without any lumps. Carefully fold in your shredded chicken bit by bit to keep the texture nice. You want the mix creamy but still holding shape when you scoop it.
- Wrapping Them Up:
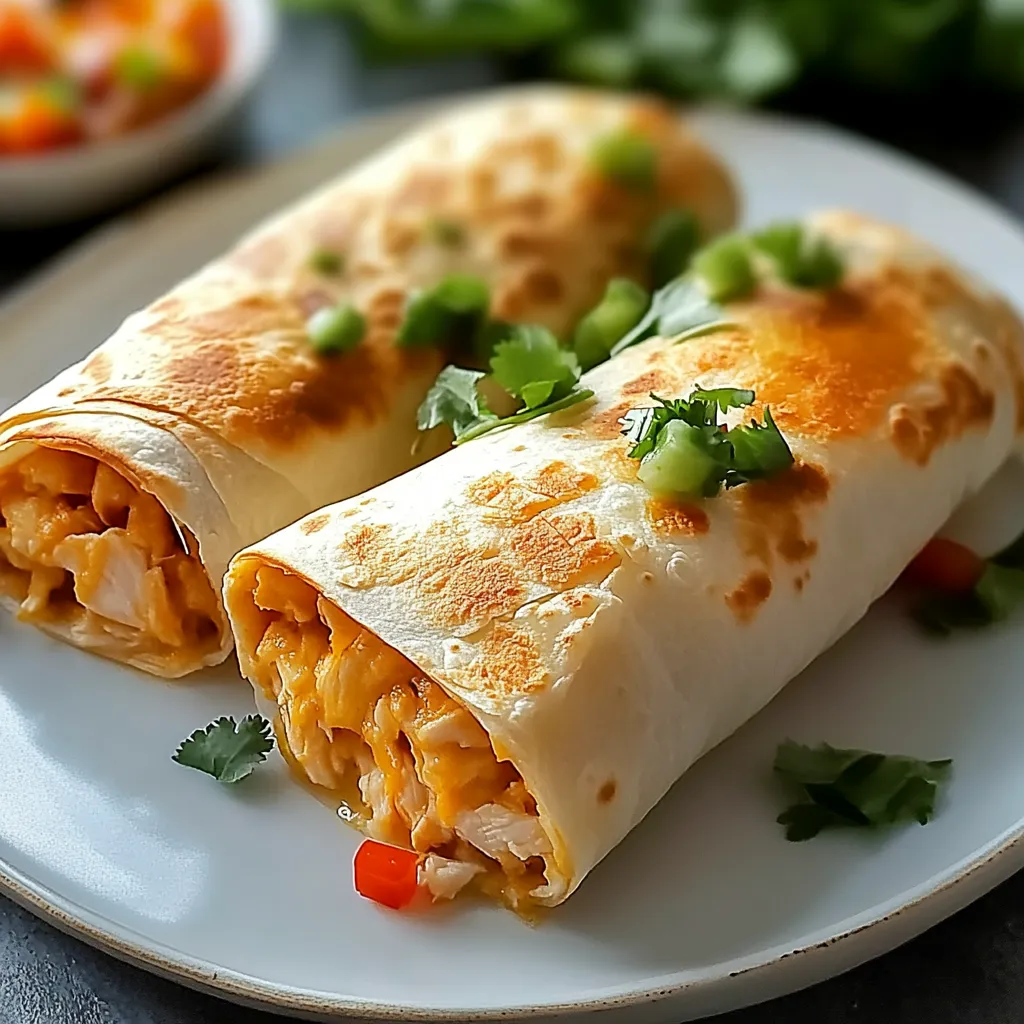
- Lay a tortilla on your counter. Put about 1/2 cup filling just below the middle. Fold the bottom edge up over the filling, making it snug. Then fold in both sides tightly, and roll it forward while keeping those sides tucked in. You should end up with a neat package with no filling showing. Put it seam-side down on your baking sheet.
- Making Them Crispy:
- Spray cooking oil all over each chimichanga, especially on the corners and seams. This helps them brown evenly and get that crucial crunch. Put them in the pan with at least an inch between each one so air can flow around them. This space lets them get crispy on all sides.
- Getting Toppings Ready:
- While they're baking, fix up your fresh toppings. Cut green onions, put sour cream in small bowls, and set out salsa in little dishes. Having everything ready means you can serve them right when they come out hot, giving you that perfect contrast of temperatures and textures.
After making these chimichangas for years, I've learned that getting the temperature right matters a lot. My grandma always told me to make sure the cream cheese is completely room temp—not just a little soft—to get the smoothest filling possible.
Tasty Pairing Ideas
Dish up these crunchy treats with lots of fresh toppings in colorful bowls around the table. Serve some warm refried beans with cotija cheese sprinkled on top. Add lime-cilantro Spanish rice to make it a full meal. Mix up a fresh cabbage slaw with lime juice and jalapeño for some zip and crunch. For special times, set up a topping station with different salsas, guacamole, Mexican crema, and pickled jalapeños.
Fun Twists To Try
- Mix in black beans and corn to add more veggies and heartiness to your chimichangas.
- Switch up your cheese choices—try Oaxaca for real Mexican flavor or smoked Gouda for extra richness.
- Throw in some roasted poblanos or chipotles in adobo sauce for smoky spiciness.
- Make a morning version with scrambled eggs and chorizo sausage.
- For a meat-free option, swap the chicken for roasted sweet potatoes and black beans.
Keeping Leftovers Fresh
Store any extra chimichangas in a sealed container in the fridge for up to three days. Put some parchment paper between them so they don't stick together. Warm them back up in a 350°F oven for 10-15 minutes to get them crispy again. Don't use the microwave—it'll make the tortillas mushy and ruin the texture. If you want to prep ahead, you can roll them up and keep them unbaked in the fridge for up to a day before cooking.
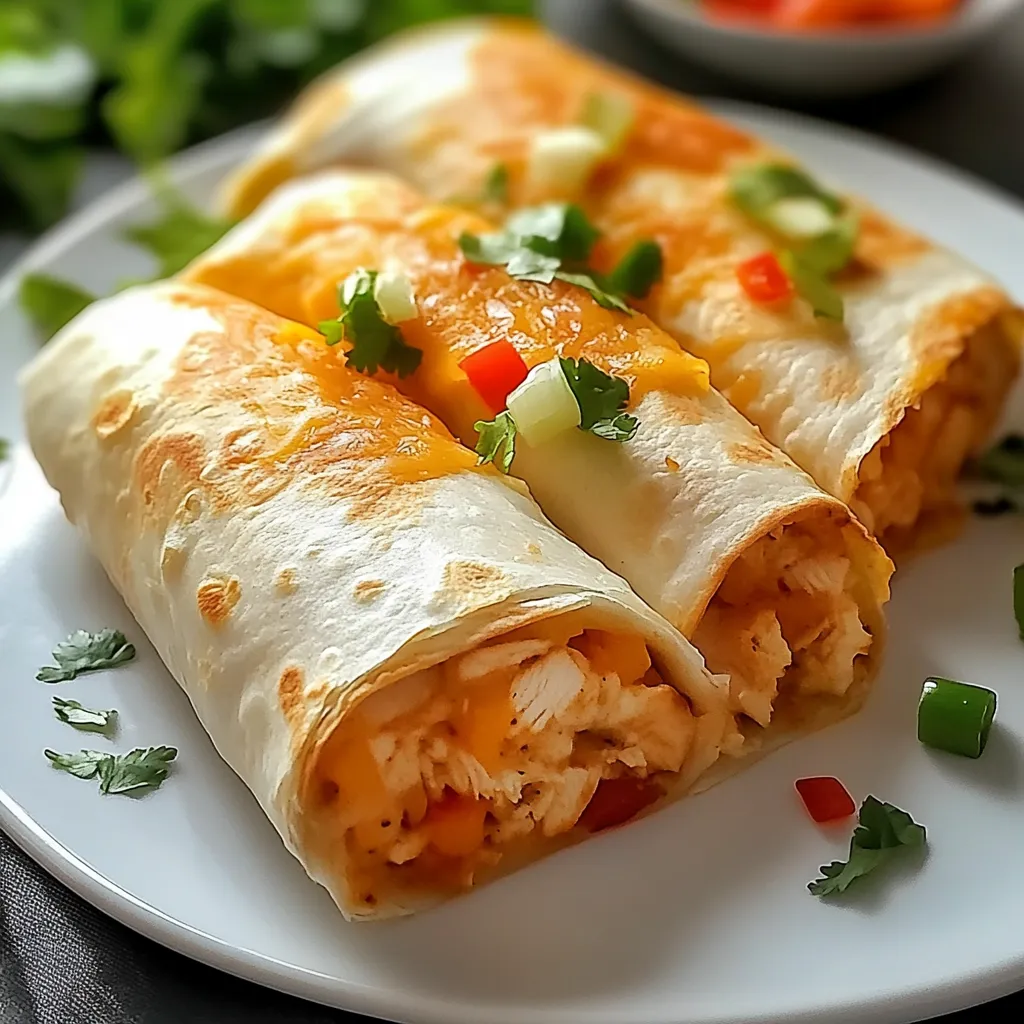
These baked chimichangas have completely changed how I cook Mexican food, showing me that healthier versions can be just as good as the classics. The mix of the crunchy outside, creamy inside, and all the toppings you can add makes this dish a hit whenever I make it. Whether it's just a normal family dinner or having friends over, these chimichangas always get compliments while keeping cooking simple and cleanup quick.
Recipe Q&A
- → How far in advance can I prepare these wraps?
- You can put them together up to a day ahead, cover and chill in the fridge, then bake when ready.
- → What’s the easiest way to shred chicken?
- Warm, cooked chicken breasts can be pulled apart with forks, or use store-bought rotisserie chicken for quick prep.
- → Can I store these wraps in the freezer?
- Yes, individually wrap uncooked wraps in foil, freeze up to 3 months, and bake straight from frozen, adding 10-15 extra minutes.
- → What sides go well with these wraps?
- Try serving them with guacamole, Mexican rice, refried beans, fresh salsa, or a crisp green salad.
- → Are corn tortillas a good substitute for flour tortillas?
- Flour tortillas are better since they’re more flexible and get nicely crisped, while corn ones might split.