
 Save
Save
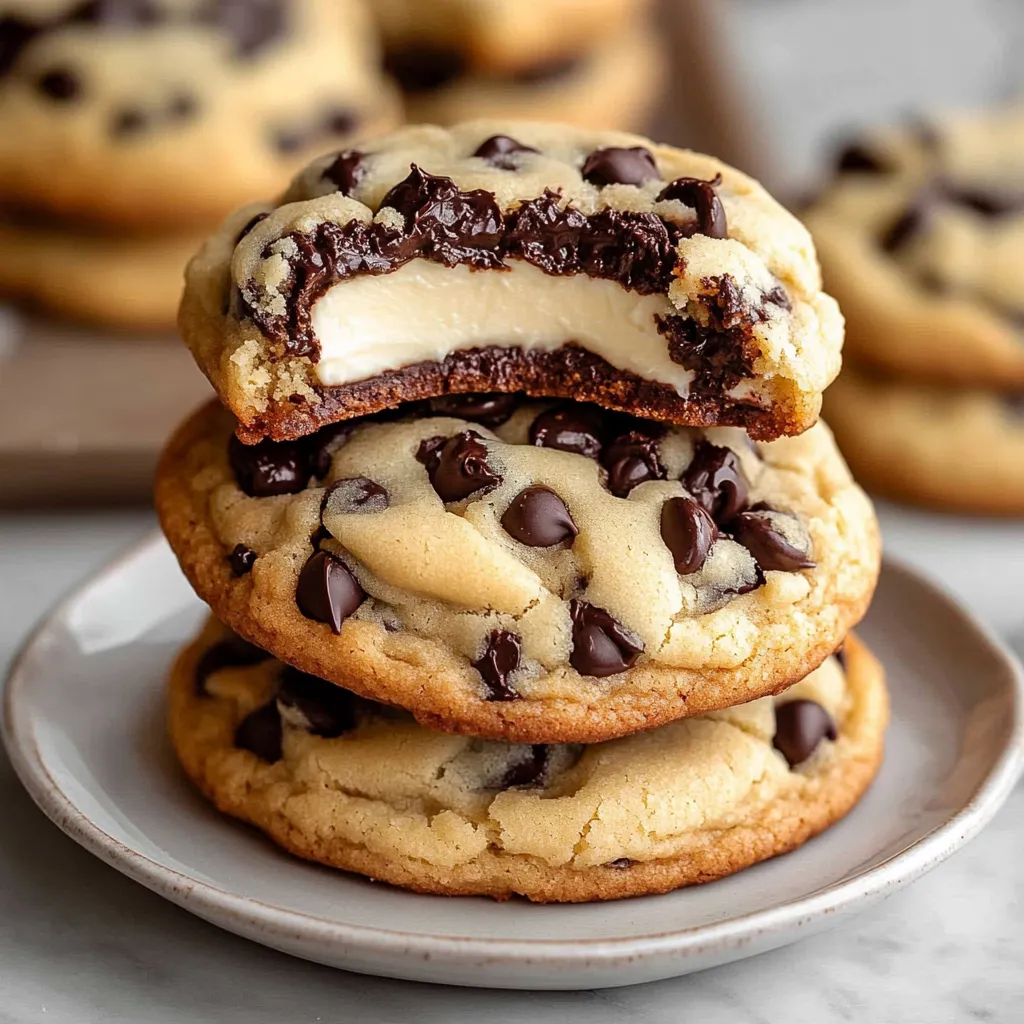
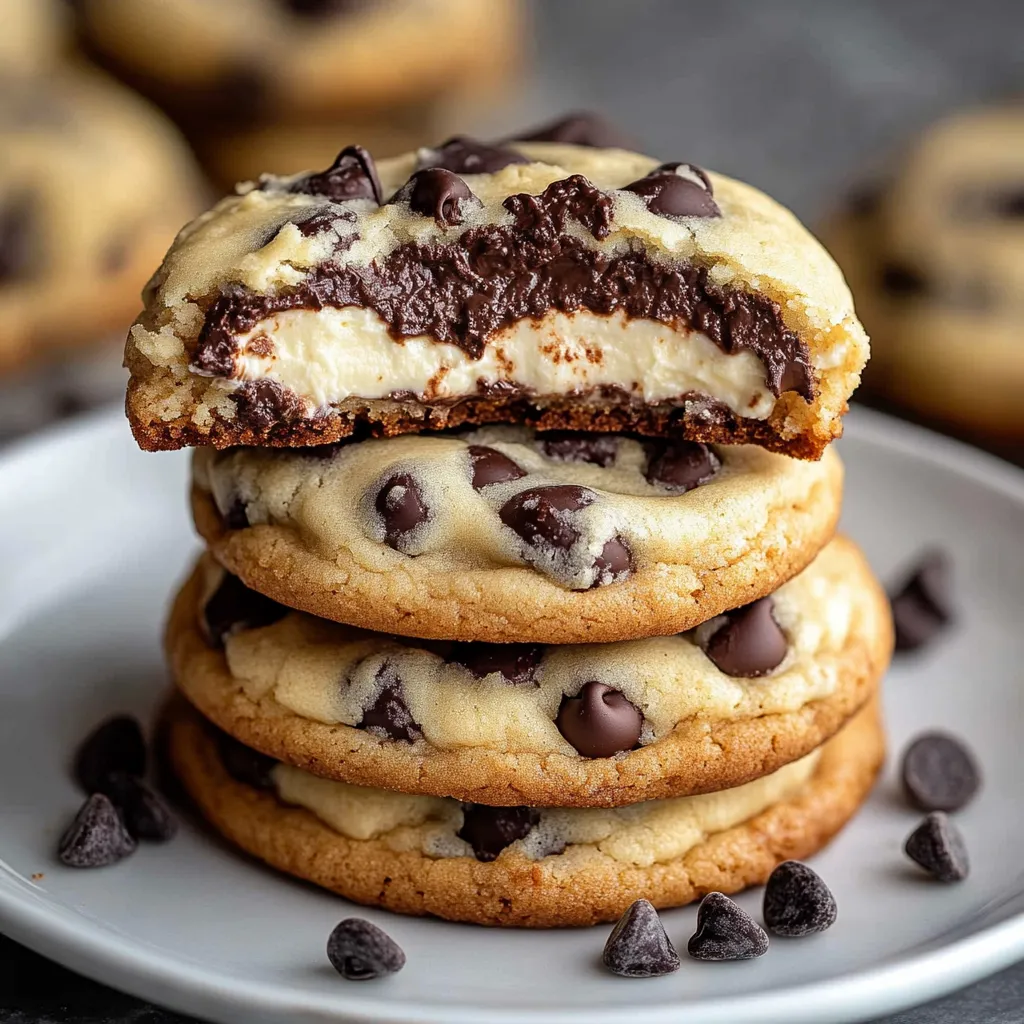
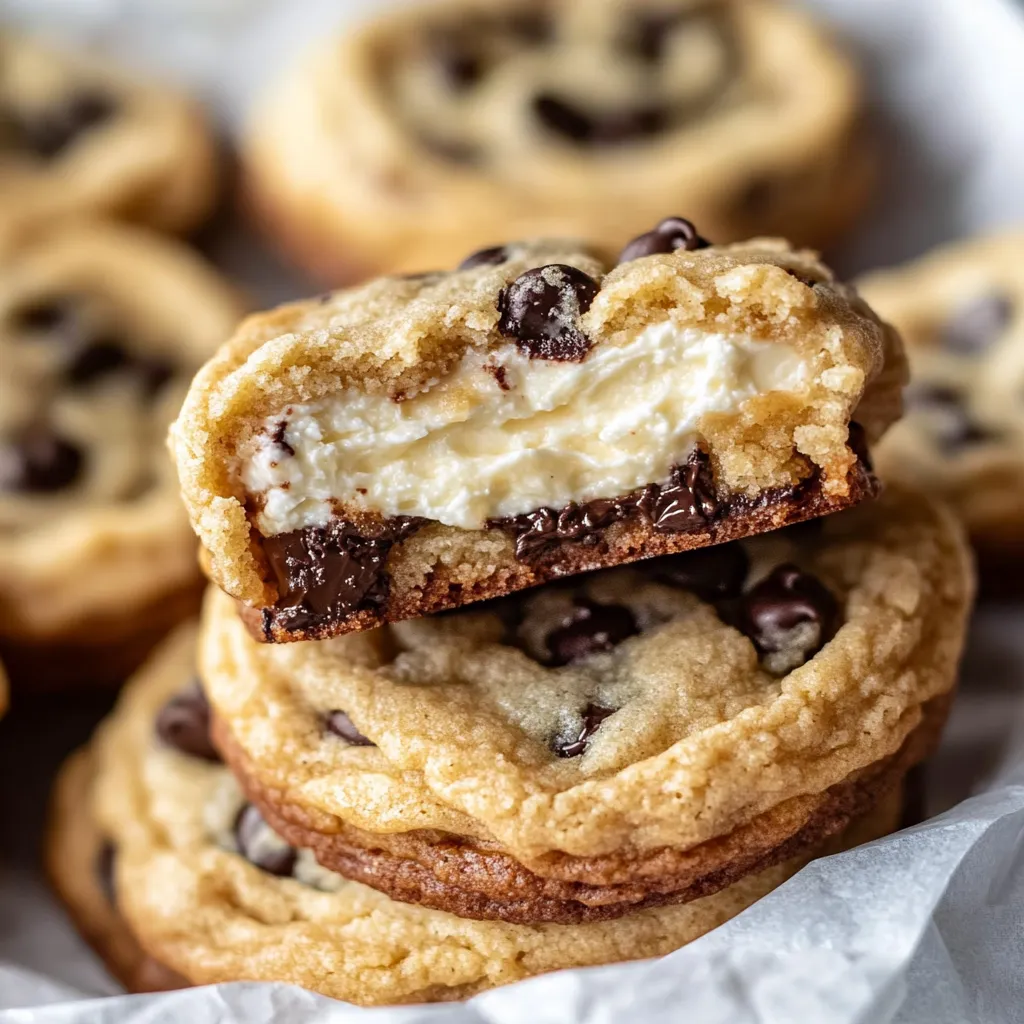
Indulgent chocolate chip cookies hiding a velvety cheesecake center offer a mouthwatering blend of two beloved treats. Each bite delivers crisp edges with a tender middle, while the tangy cream cheese surprise adds an exciting flavor kick that'll make these cookies stick in your memory forever.
When I first whipped these up, they vanished at our family party so fast I had to bake another batch the very next day. My little nephew calls them "the most amazing cookies in the world" and now he's my helper, tucking the cheesecake filling inside each one—we call it our hidden treasure.
Key Components
- Cream Cheese: Go for regular fat and make sure it's completely soft
- Butter: Pick the unsalted kind so you can adjust the taste yourself
- Chocolate Chips: Grab the good stuff so they melt properly
- Eggs: Let them sit out till they're not cold
- Brown Sugar: Brings dampness and subtle toffee hints
- Vanilla Extract: The real thing actually matters here
Step-by-Step Guide
- Step 1:
- Make sure everything's properly warmed up for easy mixing.
- Step 2:
- Whip that cream cheese till it's perfectly smooth.
- Step 3:
- Pop the filling in the fridge until it's firm enough to handle.
- Step 4:
- Mix butter and sugars until they're super airy and pale.
- Step 5:
- Put in one egg at a time, mixing completely after each one.
- Step 6:
- Stir dry stuff together before you add it to the wet mix.
- Step 7:
- Just barely mix after adding flour to keep things tender.
- Step 8:
- Form cookie balls a bit bigger than you normally would.
- Step 9:
- Push a hole in each for your filling.
- Step 10:
- Close up all the edges so nothing spills out.
My kid and I found out that warming these treats just a tiny bit makes the middles all gooey, exactly like a real bite of cheesecake. We've made it our favorite after-school snack, always with big glasses of cold milk on the side.
Mastering Cookie Perfection
- Keep an eye on the sides turning golden
- Take them out while centers remain soft
- Let them set up on the hot tray first
- Use a gentle touch when moving them
- Look at the bottoms to make sure they're done right
Back when I was small, my grandma always told me good cookies need time. "They'll show you when they're done," she'd say as we watched for that perfect golden rim to form.
Prep-Ahead Tricks
- Mix up your base and filling separately
- Put stuffed raw cookies in the freezer
- Keep finished cookies separated with paper
- Heat them slightly before you eat them
- Refrigerate any unused dough between batches
Wrapping & Sharing
- Use cute containers for gifting
- Tie them with bright strings
- Add notes about how to bake them
- Put wax paper between rows
- Attach little cards with storage advice
Fixing Common Problems
- If filling escapes: Cool dough more
- If cookies flatten too much: Double-check your oven temp
- If too crumbly: Pull them out sooner
- If cooking unevenly: Turn pans around midway
- If dough feels too wet: Sprinkle in a bit more flour
These stuffed cookies have turned into my trademark dessert that everyone asks for at family events and school sales. They show how mixing two basic sweets can create something way better than either one alone. Nothing beats seeing someone's face light up when they bite in and find that creamy surprise—it makes all the extra work totally worthwhile.
Recipe Q&A
- → Why mix two flour types?
- Using both cake and bread flour gives you cookies that are soft but still have a nice chew to them.
- → Do I have to chill the dough?
- Yes, you can't skip cooling the dough. It keeps cookies from flattening too much and makes the dough easier to handle during stuffing.
- → Can I store these in the freezer?
- Sure thing! They'll stay good in a sealed container in the freezer for up to 3 months.
- → My filling spilled out. What happened?
- You need to pinch the cookie dough edges together completely around the filling before you bake them.
- → Is it okay to make tiny cookies?
- Definitely! Just cook them for less time and add less filling to keep everything balanced.