
 Save
Save
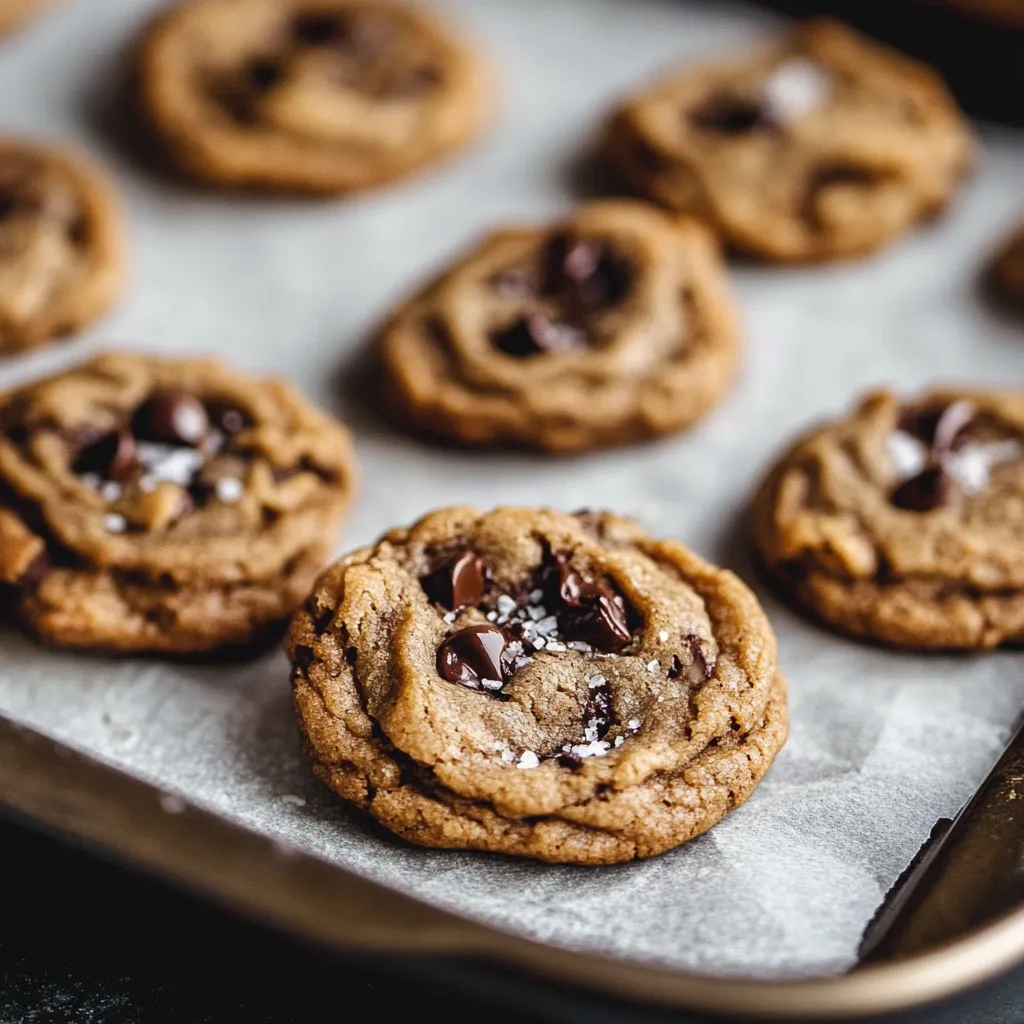
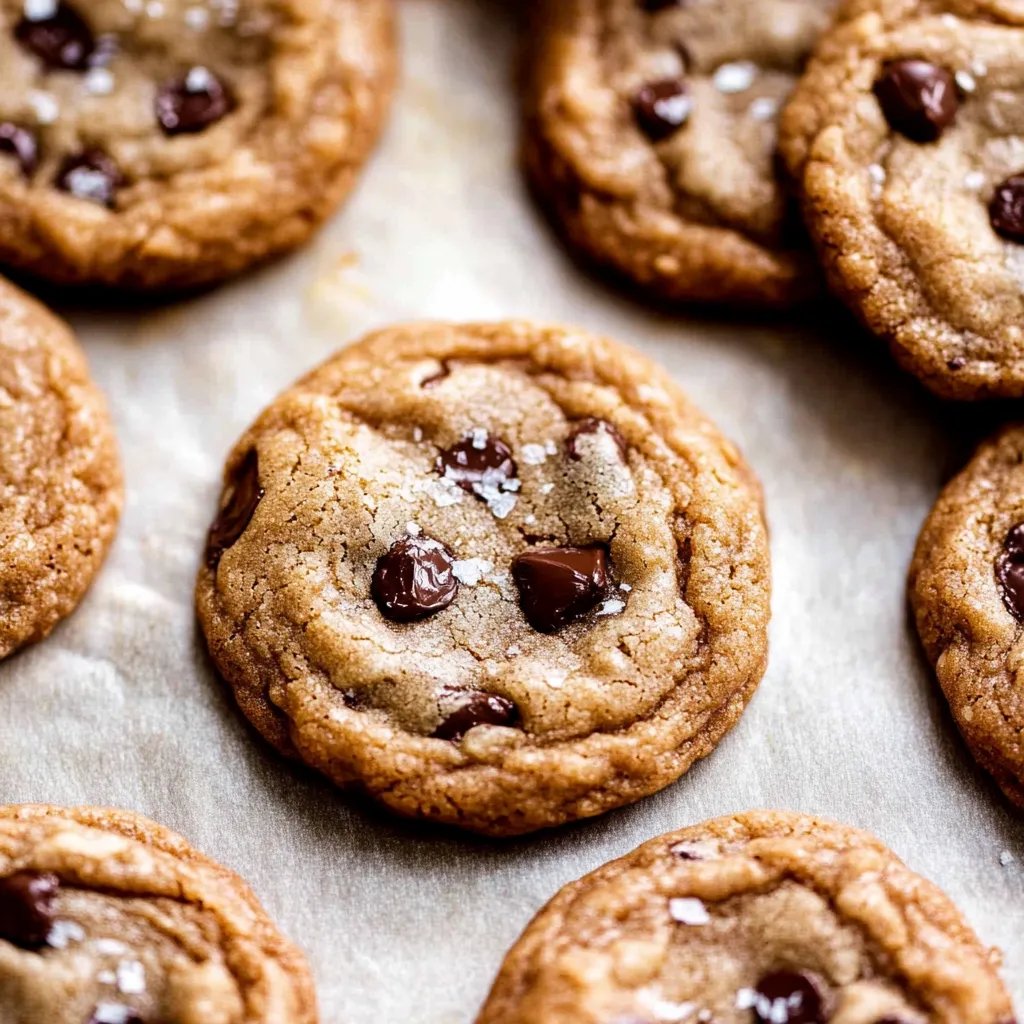
Elevate your basic chocolate chip cookies with these coffee-infused delights. The wow factor comes when nutty browned butter pairs with bold espresso, creating a grown-up cookie that satisfies both your morning java and sweet tooth cravings. Every mouthful gives you that dreamy mix of crunchy edges and soft middles, while the coffee brings out chocolate flavors in ways that'll make standard chocolate chip cookies seem boring.
I whipped these up for my kid's friends last Saturday, and they vanished quicker than anything I've ever baked. The smell of toasty butter mixed with coffee was so tempting that everyone grabbed them while they were still too hot to handle.
Key Ingredients Breakdown
- Unsalted butter: Go for the fancy European kind with extra fat to get more rich, toasty notes
- Ground espresso: Pick a newly opened dark roast for strongest taste without any harsh bitterness
- Light brown sugar: Its sticky sweetness helps make cookies chewy with hints of caramel
- Egg plus yolk: That bonus yolk pumps up the richness and keeps everything perfectly chewy
- Semi-sweet chocolate: Try to find bars around 60% cocoa, and chop them yourself for interesting texture
- All-purpose flour: The unbleached stuff works best for even cooking throughout
- Vanilla extract: Real vanilla makes both the coffee and chocolate taste better
Detailed Cooking Walkthrough
- Butter Browning Stage:
- Melt butter in a pale-bottomed pot over medium flame. Keep an eye on it as it starts foaming. Gently tilt the pan as golden bits start showing up. Keep going until butter turns amber and smells toasty. Take it off heat right when you notice tiny copper-colored bits. Stir in espresso while butter's still hot to get the most flavor. Cool it down until it's just warm when touched (about 15-20 mins).
- Wet Ingredient Mixing:
- Dump cooled butter mix with both types of sugar. Stir until it looks like damp sand. Drop in room-temp egg and yolk one after another. Mix each time until fully blended. Add vanilla and stir until the mix looks shiny.
- Dry Ingredient Incorporation:
- Put flour in gradually, mixing softly between additions. Sprinkle baking soda and salt across the top. Fold everything just until mixed with no dry patches. Toss in chopped chocolate with minimal stirring. Stop once chocolate is spread throughout.
- Dough Chilling Process:
- Use a big spoon (about 3 tablespoons) for even sizing. Put dough balls on a paper-lined tray. Cover fully with plastic. Chill for at least 3 hours, better overnight. Keep unused dough cold between batches.
- Baking Method:
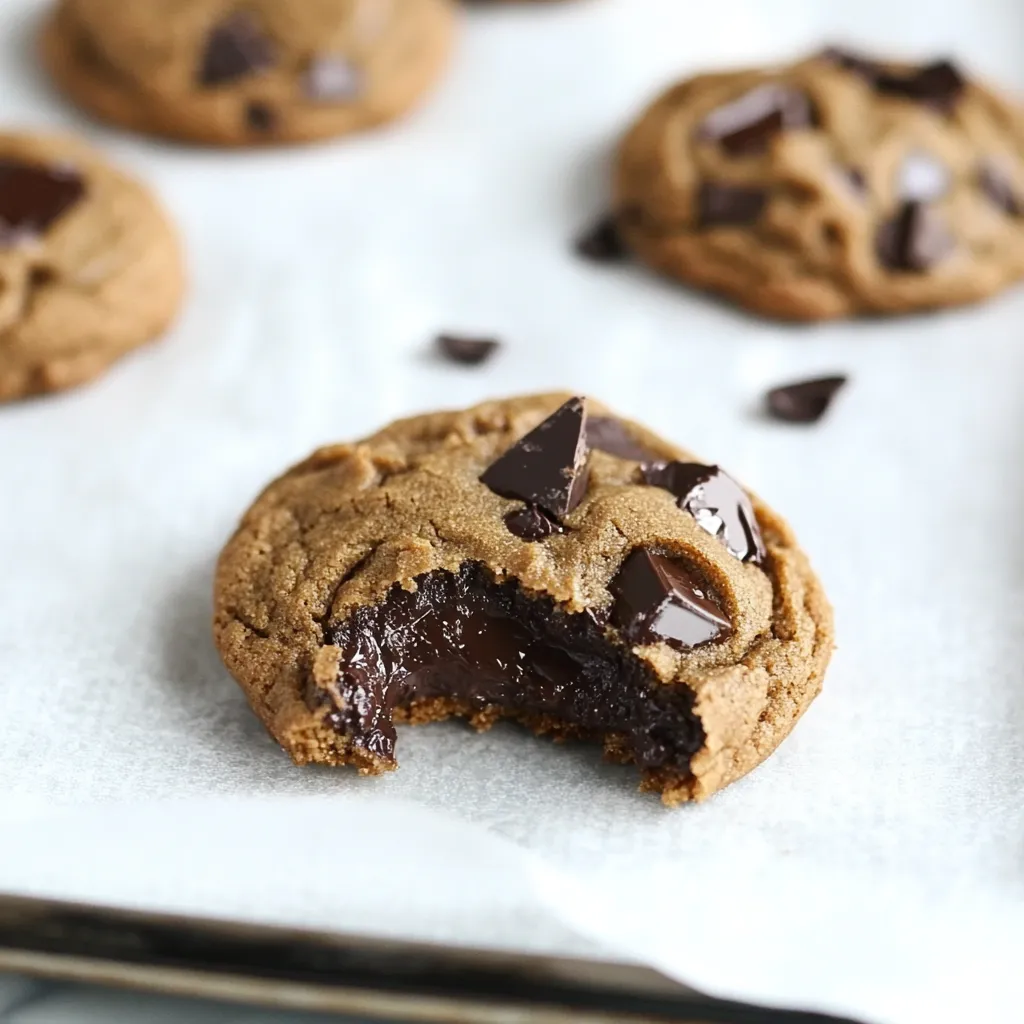
- Set cold dough balls on cool trays. Leave 2 inches between each. Bake in the middle of your oven. Look for gold-colored edges and puffy middles. Pull them out while centers still seem a bit gooey.
We love eating these cookies when they're a bit warm and the chocolate's still gooey but the edges are nice and crisp. Even my husband, who usually passes on sweets, can't say no to these with his nighttime coffee.
Smart Dough Temperature Tips
Getting your dough temp just right really changes how the cookies turn out. I've learned that letting browned butter cool till it's just warm, not totally hardened, gives you the best dough texture. When adding eggs, they shouldn't be cold from the fridge or they'll make the butter clump up.
Keeping Cookies Fresh Longer
After baking tons of these over the years, I've found that keeping them in sealed containers with a bread slice helps them stay soft for longer. Put parchment between layers so they don't stick together, and don't mix them with other cookie flavors since the coffee smell can rub off.
Choosing The Right Chocolate
Through lots of testing, I've realized that cutting up chocolate bars yourself creates those yummy melted spots throughout the cookie that chips just can't match. I like using a mix of 60% and 70% dark chocolate for more flavor layers, though my kids prefer them with only semi-sweet chocolate.
Planning Ahead Tricks
These cookies get better when you don't rush. You can make the dough and keep it in your fridge up to 3 days, which lets the flavors grow stronger. I usually mix double batches and freeze portions for surprise visitors or when I need a late-night sweet fix.
Ways To Serve Them
While they taste great by themselves, try them slightly warm with vanilla ice cream on top for dessert. They also work great as ice cream sandwich cookies - just make sure they're completely cool first. During holiday parties, I've noticed they're always the first cookies to disappear from the tray.
Getting The Perfect Shape
The size and form of your cookies affects how they look and feel when eaten. I've found using a 3-tablespoon scoop gives just the right thickness for that perfect mix of crunchy outside and chewy inside. Shaping the dough balls taller instead of wider keeps them from spreading too much.
After making batch after batch for many years, these coffee-enhanced chocolate chip cookies have turned into my go-to treat. The mix of toasty butter, coffee, and chocolate creates something really special that makes them way better than regular chocolate chip cookies. Whether you have them with morning coffee or as a snack later on, they always make people smile and ask how to make them. What makes them so good comes down to little things - getting that butter perfectly browned, using good coffee powder, and being patient with chilling time. Whenever I bake these, I'm reminded why homemade cookies will always beat anything from a package.
Recipe Q&A
- → Why should I toast the butter?
- Toasting butter creates a nutty, deeper flavor that works great with coffee and makes your cookies taste more interesting.
- → Can I chill the dough for less time?
- You can go with just 3-4 hours of chilling, but letting it sit overnight makes the cookies taste better and improves their texture.
- → What's the reason for using both whole egg and just a yolk?
- The extra yolk makes cookies richer and helps them stay chewy in the middle.
- → Is regular coffee ok instead of espresso?
- You can try regular ground coffee, but espresso gives you a stronger, more intense coffee taste in the cookies.
- → How can I tell when butter is properly browned?
- Look for the bits at the bottom to turn golden brown, which usually takes around 10 minutes of cooking.