
 Save
Save
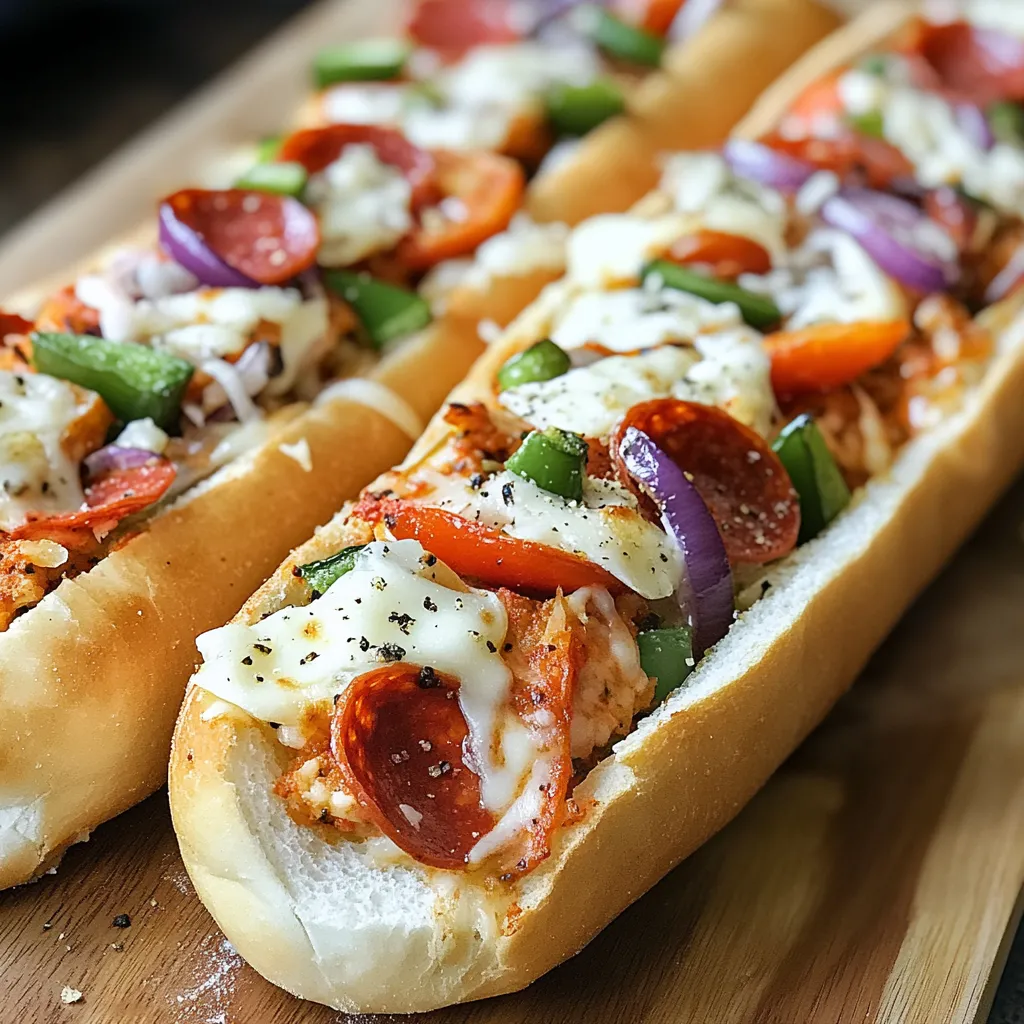
Pizza subs have a special way of turning an ordinary night into a fun and craveable dinner This is my go to meal when we want something cheesy satisfying and ready before anyone gets too hungry or impatient The classic flavors and easy assembly always bring back memories of Friday nights with my kids making their own subs on the kitchen counter
I first whipped up pizza subs during a game night The kids loved piling on their toppings and now these show up at every birthday sleepover because everyone can make their own
Ingredients
- French bread or submarine rolls: Soft pillowy bread holds all the tasty toppings and crisps up in the oven Choose fresh sturdy rolls for best results
- Pizza sauce: Rich tomato base brings the flavor Classic jarred sauce works or make your own with crushed tomatoes and herbs
- Pepperoni slices: Bold and spicy little circles add that familiar pizzeria kick Look for sliced pepperoni with balanced fat for perfect crisping
- Mozzarella cheese shredded: Pulls the whole sub together with gooey melty goodness Buy a block and shred it yourself for best melt
- Bell peppers sliced: Add sweet crunch and color Choose bright glossy peppers for the freshest taste
- Onions sliced: Delivers slight sharpness and depth Go for sweet or yellow onions and slice thin
- Olive oil: A little drizzle keeps the bread toasty and gives a golden finish Use extra virgin for flavor
- Salt and pepper: Heightens all the other tastes Sprinkle on top for balance
- Oregano: Classic pizza herb that gives a fragrant finish Dried oregano is all you need
Step-by-Step Instructions
- Prepare the Bread:
- Slice each roll lengthwise but not all the way through You want to make a hinge so there is a pocket for all the fillings Drizzle a bit of olive oil on the cut side This step helps crisp the inside edges and deepens the flavor as it bakes
- Add Pizza Sauce:
- Use a spoon to spread the pizza sauce onto both open sides of your roll Try to go all the way to the edges for every bite to have flavor
- Layer the Cheese:
- Top the sauce with a generous handful of shredded mozzarella The cheese is your glue layer to help toppings stick and also acts as a barrier so the sauce does not soak into the bread
- Include Toppings:
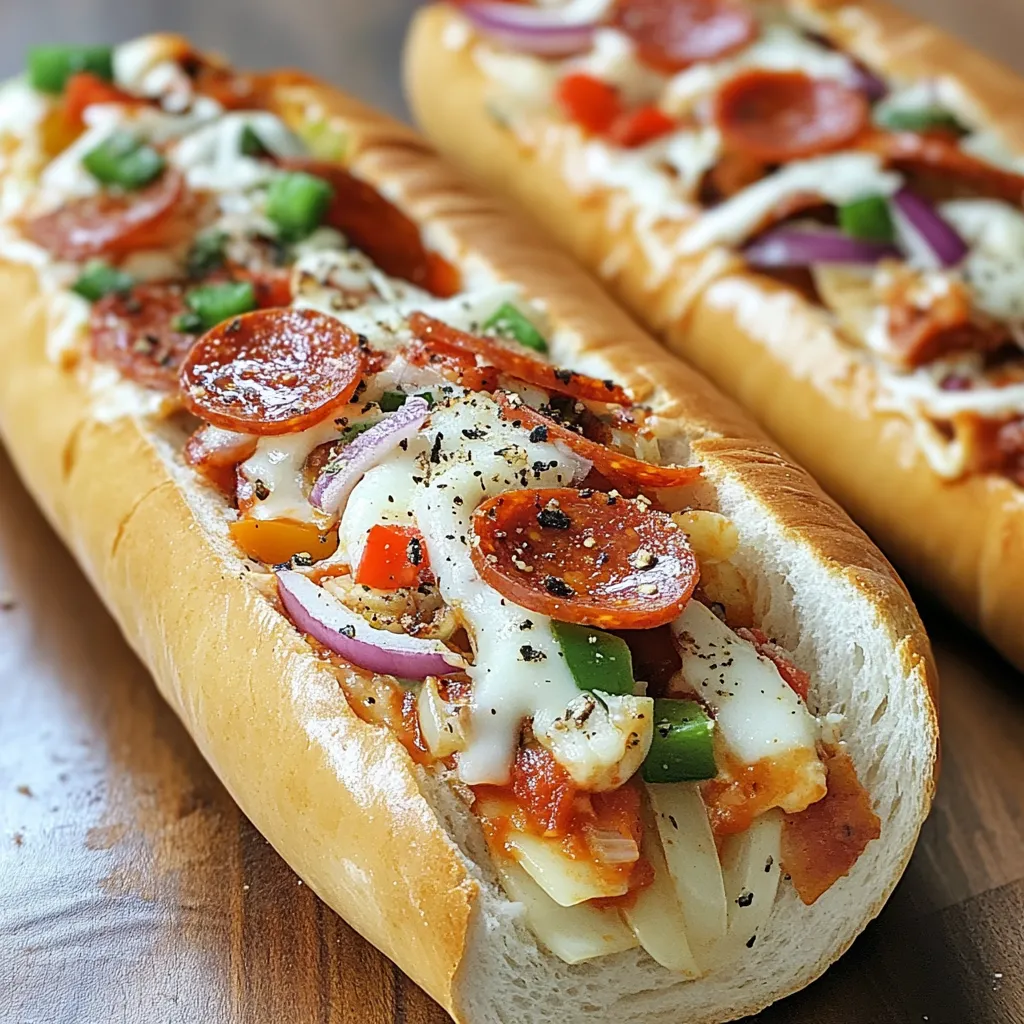
- Add your pepperoni slices over the cheese and scatter bell peppers and onions evenly across Grab any extra favorite pizza toppings you love like mushrooms or olives Make sure to distribute so each bite is balanced
- Bake the Subs:
- Arrange the stuffed subs on a baking sheet lined with parchment Bake in your preheated oven for ten to twelve minutes until the cheese is bubbling and melted and the bread is golden brown and crispy on the edges If you like a bit of browning turn on the broiler for the last minute but watch carefully
- Garnish and Serve:
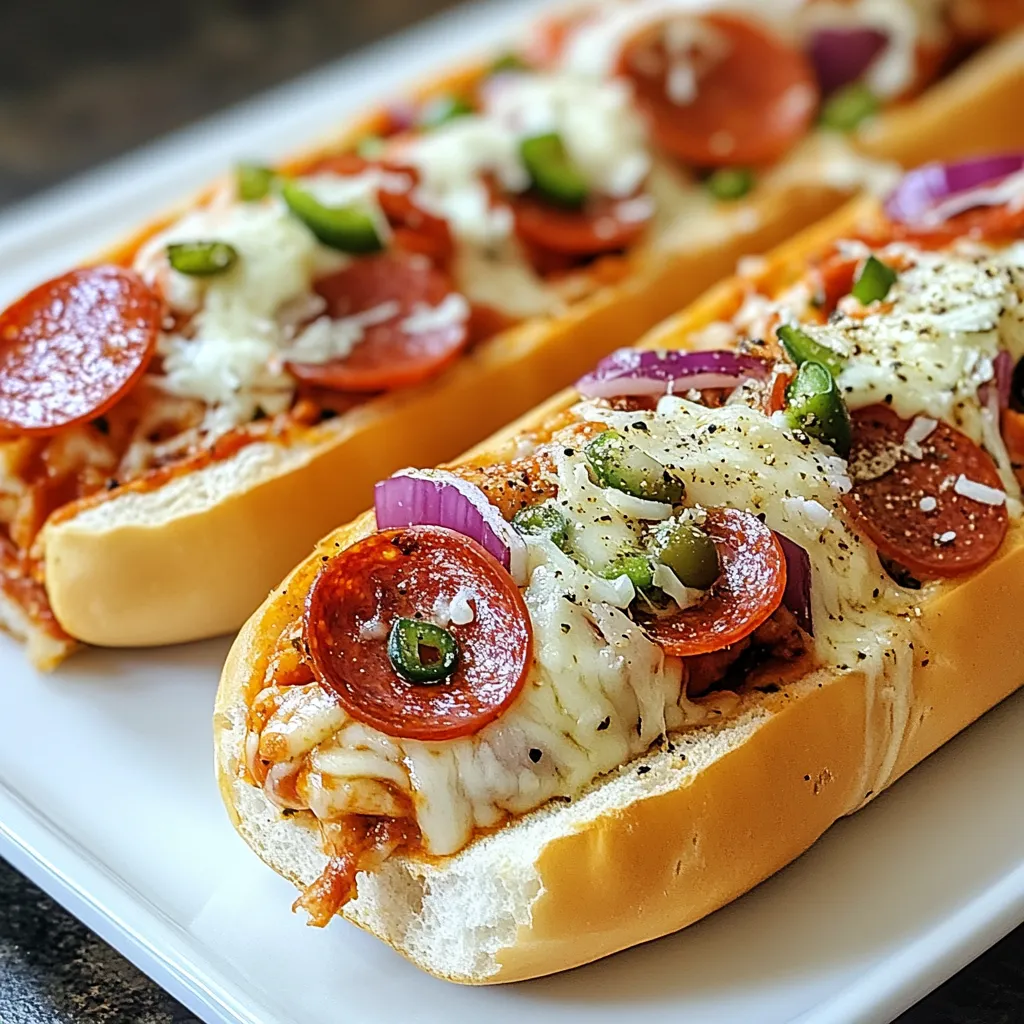
- Take the hot subs from the oven and let them cool for just a couple minutes before handling Get creative with finishing touches like a sprinkle of oregano or a handful of fresh basil You can even grate a bit of Parmesan on while it is hot for extra savoriness Slice and serve warm for the meltiest result
Bell peppers are my favorite in these subs Their sweetness comes alive after baking and reminds me of pizza nights with my family when we used to pick our own toppings Nothing beats the joy on my kids faces when that gooey cheese pulls away with every bite
Storage Tips
Pizza subs stay delicious for up to three days if stored in a sealed container in the fridge To reheat pop them in a hot oven for a few minutes to refresh the crust and remelt the cheese Avoid microwaving if you want to keep the bread from getting soggy A quick toast works great for a speedy option
Ingredient Substitutions
Try using whole wheat or gluten free rolls for a twist If you do not have pepperoni swap in cooked sausage or sliced mushrooms Vegan cheese and plant based pepperoni are tasty alternatives for dairy free or vegetarian diets Homemade pizza sauce or marinara also works beautifully if you like a fresher tomato flavor
Serving Suggestions
Pizza subs are the ultimate party food Serve with warm marinara on the side for dunking or a fresh green salad to lighten things up If you are entertaining set up a toppings bar so everyone can build their own sub These are delicious sliced into small pieces to serve as appetizers too
Cultural and Historical Context
The pizza sub has roots in Italian American delis where pizza meets the convenience of a grab and go sandwich Its origins probably date to the early days of sandwich shops and neighborhood pizzerias eager to offer something familiar but with a twist Today they remain a favorite lunch or quick dinner for people of all ages and a clever way to combine family favorites
Pizza subs have saved me on so many frantic weeknights Getting the whole family around the table and letting everyone add their own favorite toppings is a tradition that keeps dinner fun and stress free
Recipe Q&A
- → What bread works best for these submarine sandwiches?
French bread or submarine rolls work best as they have the ideal structure to hold all the toppings without becoming soggy. However, hoagie rolls or baguettes make excellent substitutes that can provide different textures and flavors to your sandwiches.
- → Can I make these sandwiches vegetarian?
Absolutely! Simply omit the pepperoni and increase the vegetables like bell peppers, onions, mushrooms, and olives. You could also add plant-based protein alternatives like vegetarian pepperoni or seasoned tofu crumbles for extra substance.
- → How do I prevent the bread from getting soggy?
To prevent soggy bread, avoid adding too much sauce and consider lightly toasting the bread before adding toppings. Another trick is to create a cheese barrier by sprinkling some cheese directly on the bread before adding sauce, which helps protect the bread from moisture.
- → What's the best way to reheat leftover submarine sandwiches?
For best results, reheat leftover sandwiches in an oven or toaster oven at 350°F for 5-10 minutes until warmed through. This maintains the crispy texture of the bread. If using a microwave, wrap the sandwich in a paper towel and heat for 30-second intervals to prevent sogginess.
- → Can I prepare these sandwiches ahead of time?
Yes, you can assemble these sandwiches a few hours ahead of time and refrigerate them unbaked. When ready to serve, simply bake them as directed, adding 2-3 minutes to the cooking time if baking from cold. For best results, don't prepare more than 8 hours in advance to maintain freshness.
- → What sides pair well with these sandwiches?
These sandwiches pair wonderfully with a crisp green salad, potato chips, pasta salad, or a cup of tomato soup. For a more substantial meal, serve with garlic knots or fries. A small cup of marinara sauce on the side makes an excellent dipping option.