
 Save
Save
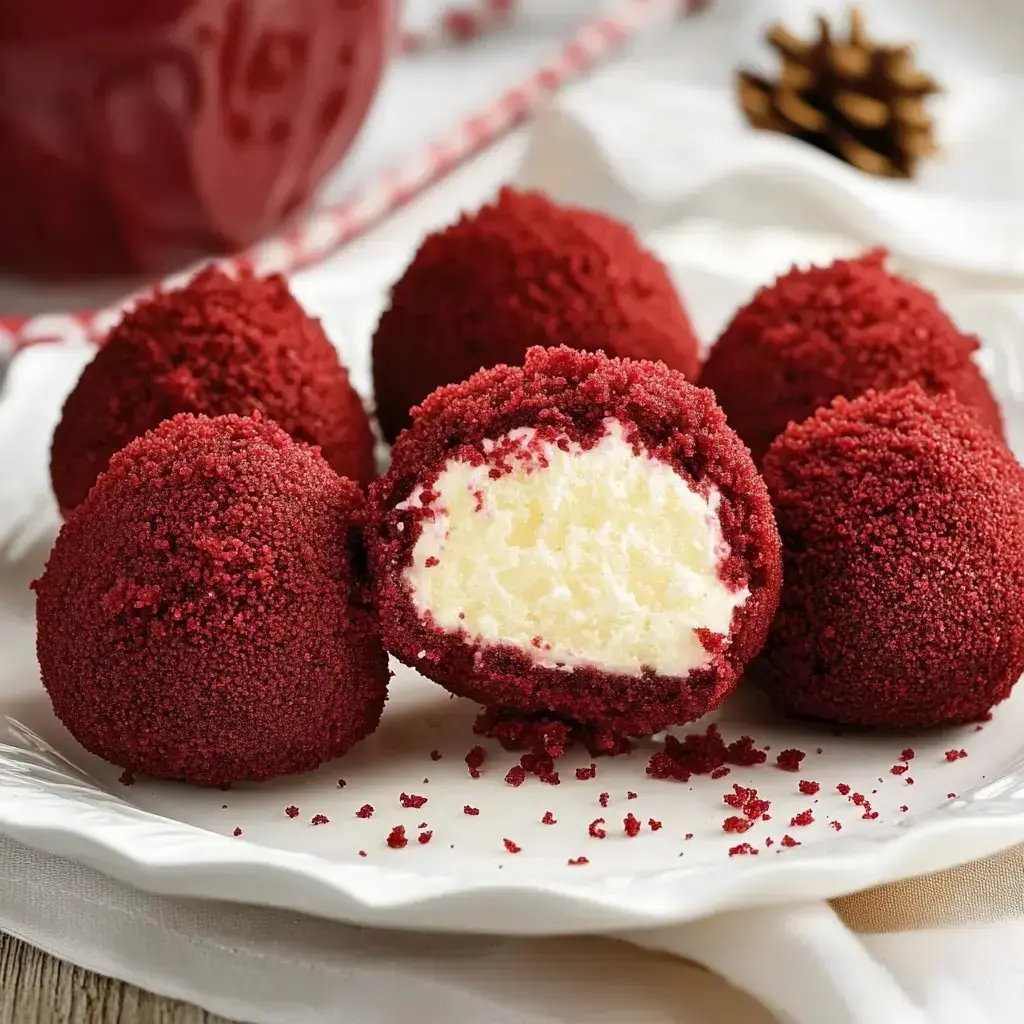
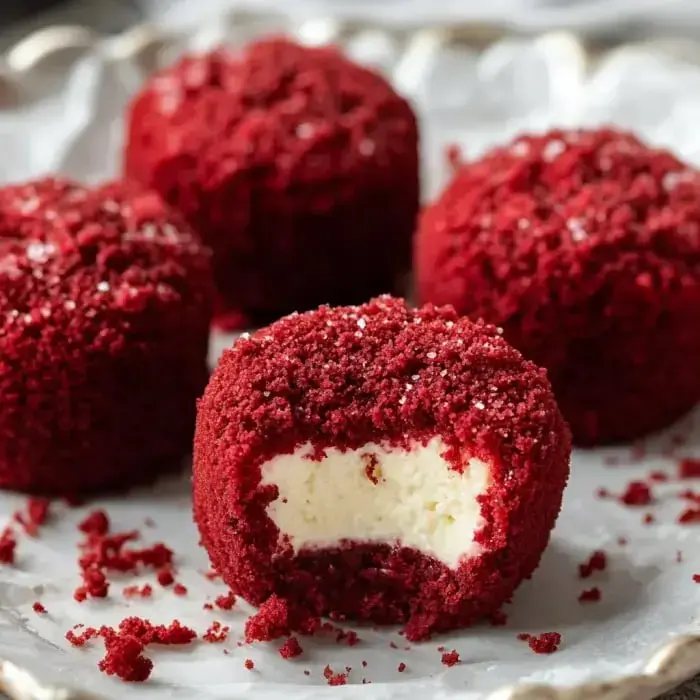
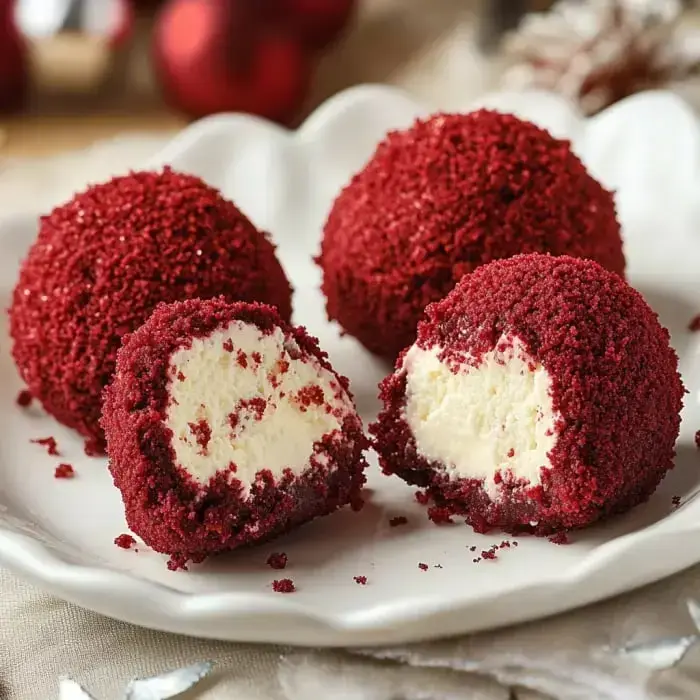
Cheerful No Bake Red Velvet Cheesecake Bites
Hey friends you’ve got to try these awesome Red Velvet Cheesecake Bites. I’ve whipped them up so many times and they never last long at my get-togethers. The inside is creamy with that signature red velvet taste tucked into perfect little bites. Best thing you don’t even turn your oven on. Trust me once you try these you’ll want to make them every time you need a sweet treat that looks fancy but takes almost no time at all.
Why Folks Can't Resist These
Here’s what I adore about these cheesecake balls. They mash up all the goodness of cheesecake and red velvet cake into one little treat. I keep the stuff to make them on hand because sweet cravings strike anytime. Super easy to pack for potlucks or gatherings and since you prep them in advance they’re a real help when things get busy in the kitchen.
Your Go-To Kitchen Checklist
- The Fluffy Base: Grab whatever red velvet cake mix you like any brand will do. If you’re in the mood switch to chocolate or vanilla cake mix for a change.
- Creaminess: Use full fat cream cheese and make sure it’s at room temp so it blends easily.
- Butter Up: Soft butter’s what you want—use either salted or unsalted.
- Sugar Sweetness: Powdered sugar adds sweetness adjust to your liking.
- Graham Power: Smash up those graham crackers they add just the right touch.
- Flavor Boost: Splash in a bit of vanilla it makes everything tastier.
- Cake Mix Essentials: You’ll also need eggs milk and oil for the cake directions.
How to Whip Up These Treats
- Start with Baking the Cake
- Whip up your red velvet cake like the package shows. Cool it all the way then crumble it into tiny bits.
- Mix it All Together
- Blend your soft cream cheese softened butter powdered sugar smashed graham crackers and vanilla until the mix is totally creamy.
- Shape it Up
- Roll small balls out of the cheesecake mixture. Chill the balls in your fridge until they get firm.
- Add a Little Flair
- Coat those balls in the red velvet crumbs and chill again until you’re ready to show them off.
Fun Ideas to Change it Up
Thinking of something different? Swap in crushed red velvet Oreos for the cake crumbs sometimes. Toss in sprinkles chopped nuts or chocolate shreds. You could mix in fresh berries or lemon zest for a fresh twist. For a fun surprise push a bit of chocolate inside each one. Or if you’re feeling extra pour on some melted chocolate to finish them off.
Making Them Last
Stick these treats in a sealed container and they’ll be good in your fridge for four to five days. Want to keep them longer? Wrap them up and keep them in your freezer for about three or four months. Just make sure to let them thaw in the fridge overnight so they keep their shape looking cute.
Recipe Q&A
- → How should I store these cheesecake bites in the fridge?
Pop your cheesecake bites in an airtight box in the fridge. They'll keep tasting fresh for around 5 days. Let them sit overnight so those flavors soak in even more.
- → Can I stash these cheesecake bites in the freezer?
You sure can. Freeze the bites in a sealed container and they'll be good for about 3 months. Just let them defrost in the fridge the night before you want them.
- → What's up with drying the cake out first?
If your cake's too wet, drying it helps so you don't end up with sticky dough. That way, you get the cake bits just right and the outside stays nice and crisp.
- → Can I swap in a different cake flavor?
Totally! Any cake will do – chocolate, funfetti, vanilla, whatever you're in the mood for. Go wild with it.
- → Should these cheesecake bites stay cold before serving?
Yeah, since they’ve got cream cheese, they need to stay in the fridge until you’re ready to put them out. They'll be fine on the table for a couple of hours.