Effortless Strawberry Crunch Cake

As seen in: Cakes & Cupcakes for Any Occasion: Sweet Celebrations Made Simple

Stack creamy cheesecake between layers of strawberry cake. Cover in a tangy frosting, then press strawberry Jello cookie crumbs around the outside. Feels like a throwback to strawberry shortcake bars, but perfect for sharing at parties.

iamcooker.com
Refreshed on Sat, 17 May 2025 21:55:55 GMT
Moist pink cake slices with creamy filling and a crispy strawberry crumb topping, plated up with whole berries. Save it
Moist pink cake slices with creamy filling and a crispy strawberry crumb topping, plated up with whole berries. | iamcooker.com

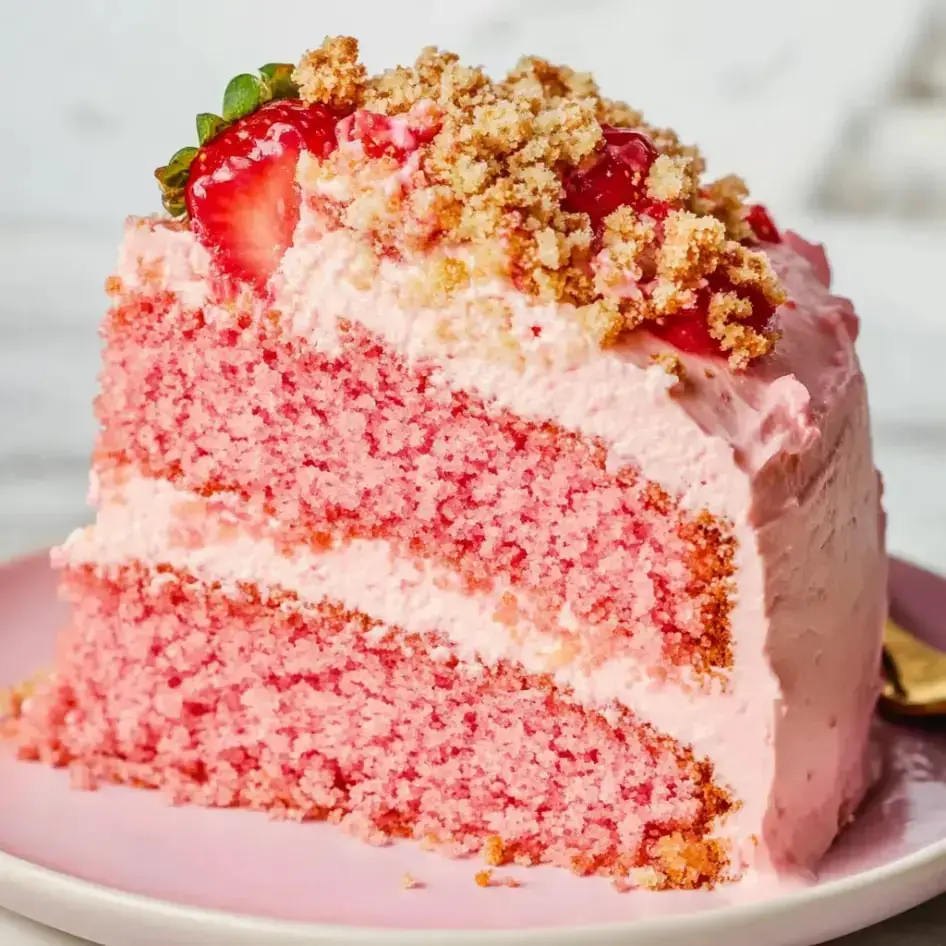
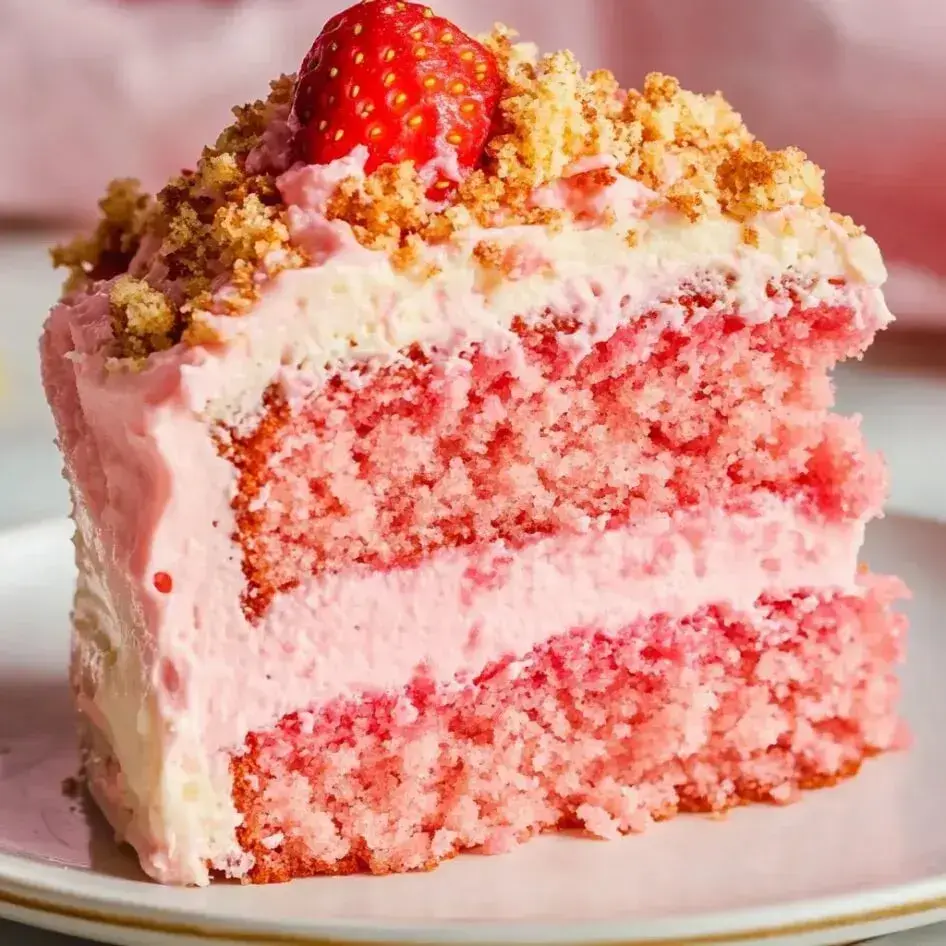
This Strawberry Crunch Cake brings that nostalgic ice cream bar vibe to the table with layers of fluffy strawberry cake, a creamy cheesecake middle, and a crunchy outside that totally steals the show. You'll love sharing it at parties or just when you're craving something a little fancy.

Irresistible Dessert Magic

Bite into this Strawberry Crunch Cake and you'll hit fluffy cake, rich cheesecake, and that buttery cookie crunch all in one mouthful. Super easy thanks to a boxed mix, but no way anyone will ever guess—it's got big bakery energy.

Stuff You Need

  • Easy Cake Mix: Grab strawberry cake mix for a shortcut.
  • Sugar Cloud: Powdered sugar to finish the frosting just right.
  • Dreamy Layers: Cream cheese makes everything rich and smooth.
  • Crunch Time: Vanilla sandwich cookies give the classic crumb.
  • Berry Blast: Strawberry gelatin turns things up a notch.
  • Extra Creamy: Heavy cream for that luxe feel.
  • Silky Hold: Butter helps everything stick together perfectly.

Try This Build

Cheesecake Filling
Beat up the creamy stuff, bake it, chill it quick so it holds together later.
Layer It Up
Once cooled, spread on the frosting, sandwich everything and press your crunch layer right on top.
The Crunch
Mix cookie crumbles, its pink flavor boost and butter, then toast them for major flavor.
Bake That Base
Follow the box with a flavor twist for a super pink, super yummy base.
Pink strawberry cake slice with a fresh strawberry and crumbly topping in close view. Save it
Pink strawberry cake slice with a fresh strawberry and crumbly topping in close view. | iamcooker.com

Winning Tips

Chill your cheesecake layer first to avoid a mess. Just combine your cake batter gently—no need to beat it up. Seal the whole cake with a thick frosting layer before you stick on the crunch. If you want even more berry flavor, toss in crushed freeze-dried strawberries with your crumbs.

Stay Fresh

Pop your creation in the fridge—lasts up to three days. For the best taste, whip it up a day ahead and let those flavors get cozy. Don’t freeze the finished cake, but the cheesecake layer can hang out in the freezer for another day.

Common Questions

→ Can I make the layers ahead of time?

You can totally bake your cake and cheesecake a night before and chill them. Just don't build or frost the cake until you're set to eat it so you keep that crunch and everything's nice and fresh.

→ Why do I need to freeze the cheesecake?

Sticking the cheesecake in the freezer helps it firm up, so it won't fall apart when you move it around. It also means the cheesecake will hold steady when you pile the cake and frosting on top.

→ Do I really need all the cookie coating?

The crumbly coating is what brings that classic strawberry shortcake crunch and flavor. It also covers up any rough frosting spots—no worries if things aren't picture-perfect underneath.

→ How long does it keep?

Just pop leftovers in the fridge and cover them. It'll be good for 5 days, but that cookie layer might lose its crunch after a few days. Let each piece warm up a little before biting in for the best texture.

→ Can I use a different cake flavor?

If you like, swap in a vanilla or white cake mix. Just toss in some strawberry gelatin so you keep the pink hue and fruity taste. That strawberry vibe is kinda the secret sauce for this one.

Effortless Strawberry Crunch Cake

Strawberry cake meets creamy cheesecake and crunchy cookies, all in one treat. It's just like the summertime ice cream you remember.

Preparation
30 Mins
Cooking Duration
95 Mins
Complete Duration
125 Mins
By: sofia


Complexity: Advanced

Origin: American

Output: 13 Portions (1 whole cake)

Diet Types: Plant-Based (with dairy/eggs)

What You'll Need

01 36 crushed vanilla sandwich cookies.
02 Small box (3 oz) strawberry-flavored gelatin.
03 Melted butter, about 4 tablespoons.
04 A few drops (5-6) of red food dye.
05 1 box of strawberry-flavored cake mix.
06 3 eggs, at room temp.
07 1/2 cup of melted butter.
08 1 cup whole-fat milk.
09 Another small box (3 oz) of strawberry gelatin mix.
10 3/4 cup regular sugar.
11 1/4 cup cornstarch.
12 16 oz softened cream cheese.
13 A quarter cup heavy cream.
14 2 teaspoons of vanilla extract.
15 3 more eggs, still room temp.
16 8 oz of softened cream cheese.
17 1/2 cup of heavy cream.
18 Softened butter, about 1/2 cup.
19 1 teaspoon vanilla extract.
20 2 cups powdered sugar.

Preparation Steps

01 Step

Mix half the cookies with the gelatin powder. Stir the other half with the melted butter. Add the dyed butter to the gelatin cookie mixture. Bake the mix in the oven at 350°F for 10 minutes. Let everything fully cool.

02 Step

Combine the cake mix and other ingredients until smooth. Pour evenly into two greased 9-inch pans. Bake at 350°F for 24-28 minutes. Cool the layers down before assembling.

03 Step

Combine cornstarch with sugar. Whip together cream cheese, cream, and vanilla until fluffy. Add eggs one at a time, mixing gently. Stir in the sugar-cornstarch mix. Bake at 325°F for 40 minutes. Turn off the oven, but leave the cake in there another 20 minutes before chilling it in the freezer for about an hour.

04 Step

Blend together the cream cheese, butter, and cream until smooth. Add vanilla and powdered sugar, mixing till creamy.

05 Step

Stack the layers: cake, cheesecake, then more cake. Frost the whole thing, then stick those cookie crumbs all over the outside.

Additional Tips

  1. Feeds a lot of people.
  2. Takes a while but totally worth the effort.
  3. Freezing the cheesecake helps while assembling.
  4. Stays good in the fridge for 5 days.
  5. Cookies might lose crunch after a bit.

Required Equipment

  • Nine-inch springform pan.
  • Pair of 9-inch cake tins.
  • Stand or hand mixer for blending.
  • One baking tray.
  • Cooling racks for cakes.

Allergen Notice

Review ingredients for possible allergens and seek professional medical advice if uncertain.
  • Contains dairy like butter, cream cheese, and milk.
  • Has wheat from cake mix and cookies.
  • Includes eggs.

Nutritional Information (Each Portion)

Consider these values as estimates rather than definitive health guidance.
  • Energy: 1081
  • Fat Content: 77 g
  • Carbohydrates: 85 g
  • Protein Content: 17 g