
 Save
Save
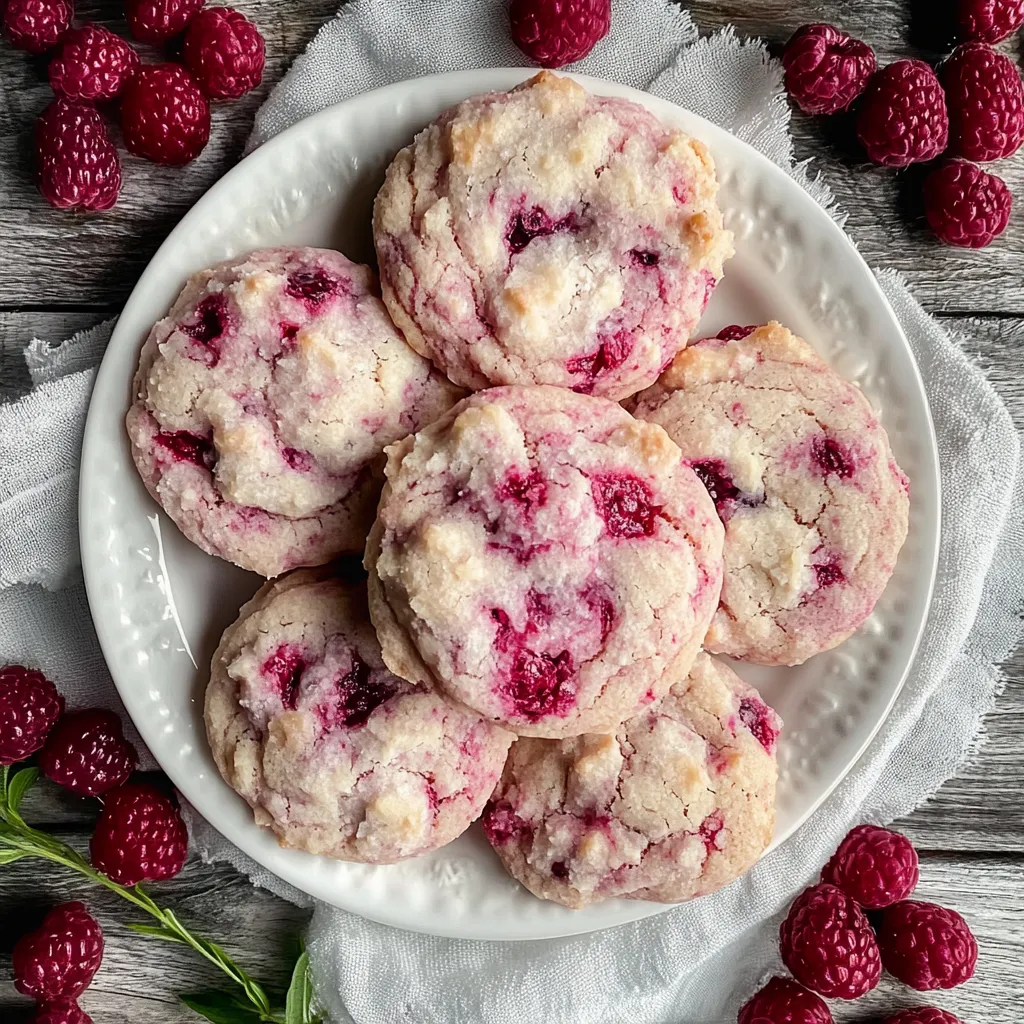
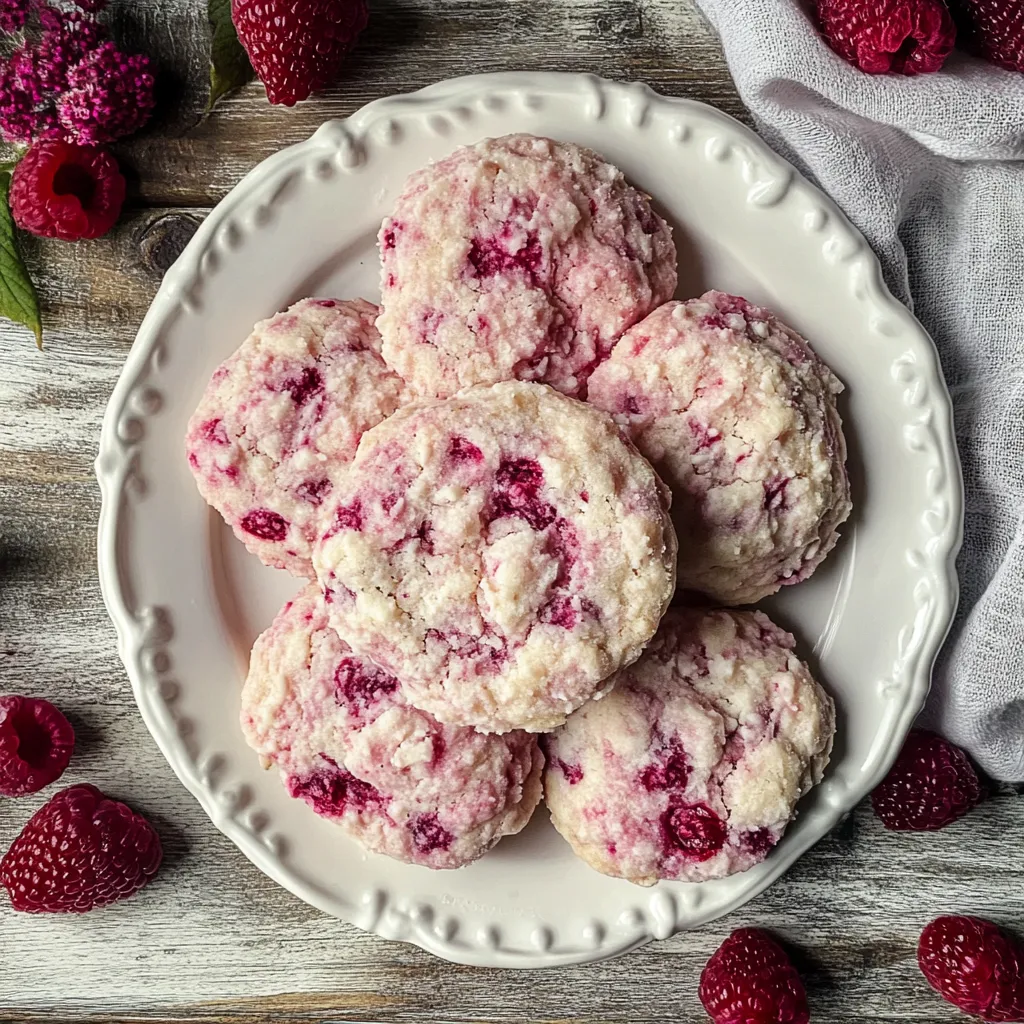
Experience a delightful mix of sweetness and tangy flavor in these cloud-like raspberry sugar cookies. Without eggs and customizable for different dietary needs, these rosy delights contain actual frozen raspberries for genuine fruit taste that makes them stand out from run-of-the-mill sugar cookies.
I created these cookies for my niece's party, where many kids had various food restrictions. Seeing their excitement when they found out they could enjoy these pretty cookies just like everyone else made all my testing efforts worthwhile!
Key Ingredient Choices
- Frozen Raspberries: Pick vibrant red, separately frozen berries with no ice buildup for maximum flavor
- Gluten-Free Flour: Go for a 1:1 mixture containing xanthan gum to get the right texture
- Butter/Vegan Sticks: They need to sit at room temperature to cream properly - don't forget!
- Cornstarch: The hidden hero that makes them super soft; it's a must-have
- Granulated Sugar: Stick with cane sugar for better results and even browning
Crafting Flawless Cookies
- Get Your Foundation Ready:
- Start with making raspberry syrup - taking your time here gives better taste. All ingredients should be room temperature for smooth mixing. Scoop flour into measuring cups then level off for the right amount.
- Blend Your Dough:
- Beat butter and sugar till it's truly airy and pale. Slowly add wet ingredients to mix properly. Gently fold in the frozen raspberries with minimal stirring to avoid color bleeding.
- Form and Bake:
- Grab a cookie scoop for same-sized cookies that cook evenly. Give them a sugar coating for that classic sparkle and crunch. Keep an eye on them while baking - you want just-set edges.
- Final Touches:
- Shape them into perfect circles while they're hot. Let them cool completely for the best texture. Store them right to keep them soft.
When I baked with my grandma as a kid, she always told me that being patient leads to perfect cookies. This recipe shows she was right - every step from syrup-making to dough-chilling adds another flavor layer.
I'm always surprised by how adaptable these cookies are. I've baked them for backyard parties, Christmas gatherings, and everything in between. They're a huge hit at bridal showers where their pink color fits the theme perfectly.
They've become my go-to for our neighborhood cookie swap. Their unique color and taste always catch everyone's eye among the typical cookie offerings.
When I help new bakers learn the ropes, this recipe works great for introducing them to gluten-free flour options and egg substitutes. It's forgiving but still gives pro-quality results.
The natural pink makes them perfect for Valentine's celebrations, but their fruity kick and soft, tender bite make them popular in our home all year long.
After making these countless times, these cookies show how dietary limits don't mean you can't have amazing taste and texture. They've brought smiles to many celebrations, showing that inclusive baking can be tasty and beautiful too.
Recipe Q&A
- → Can I swap gluten-free flour with regular flour?
- Absolutely, just use 2 packed cups (336g) of all-purpose flour. Don't skip the chilling step.
- → Why freeze the dough first?
- It helps the cookies keep their shape while baking and avoids too much spreading.
- → How do I make these vegan?
- Just use plant-based butter, non-dairy milk, vegan sugar, and skip the food coloring or use vegan options.
- → What’s the shelf life of these cookies?
- Keep them in a sealed container in the fridge for 3 days, or freeze the dough for 30 days.
- → Is food coloring really needed?
- Not at all! The raspberries add a natural pink hue, though it might not be as bright.