
 Save
Save
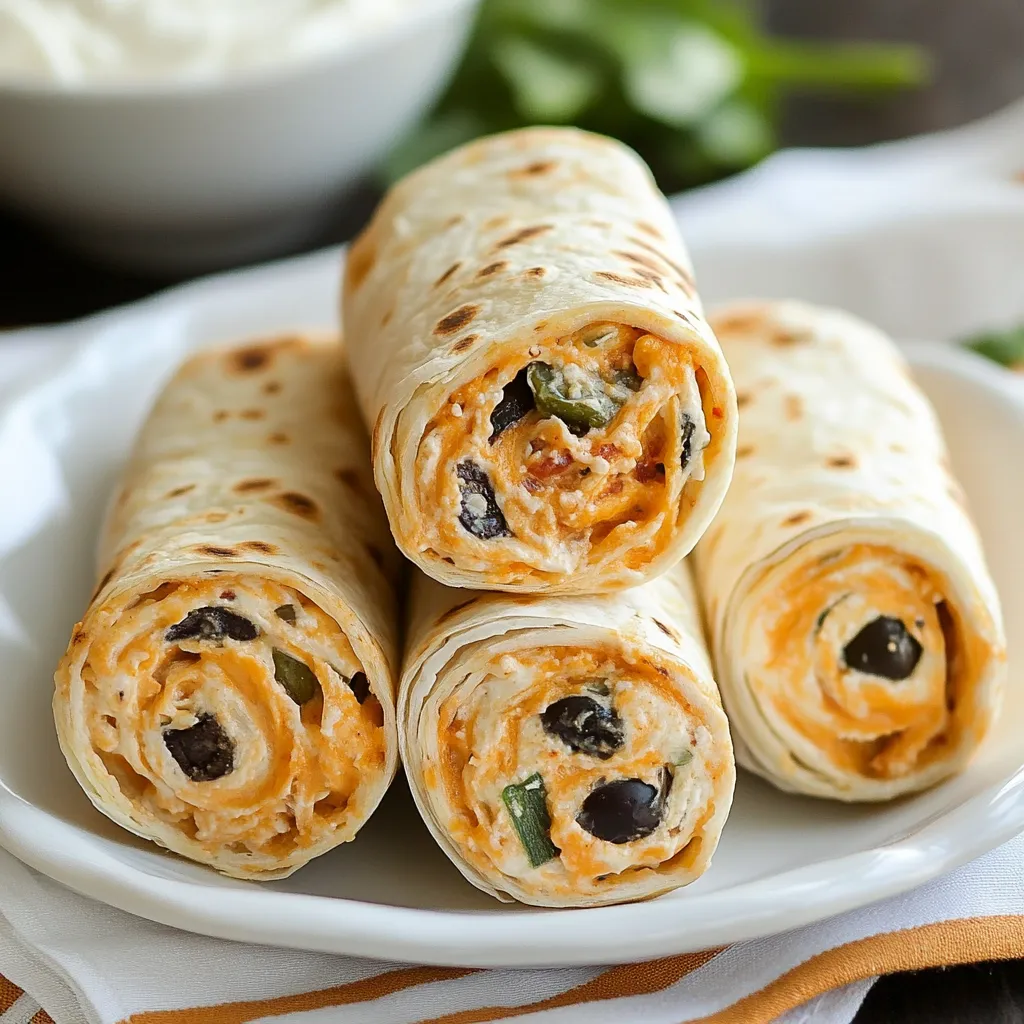
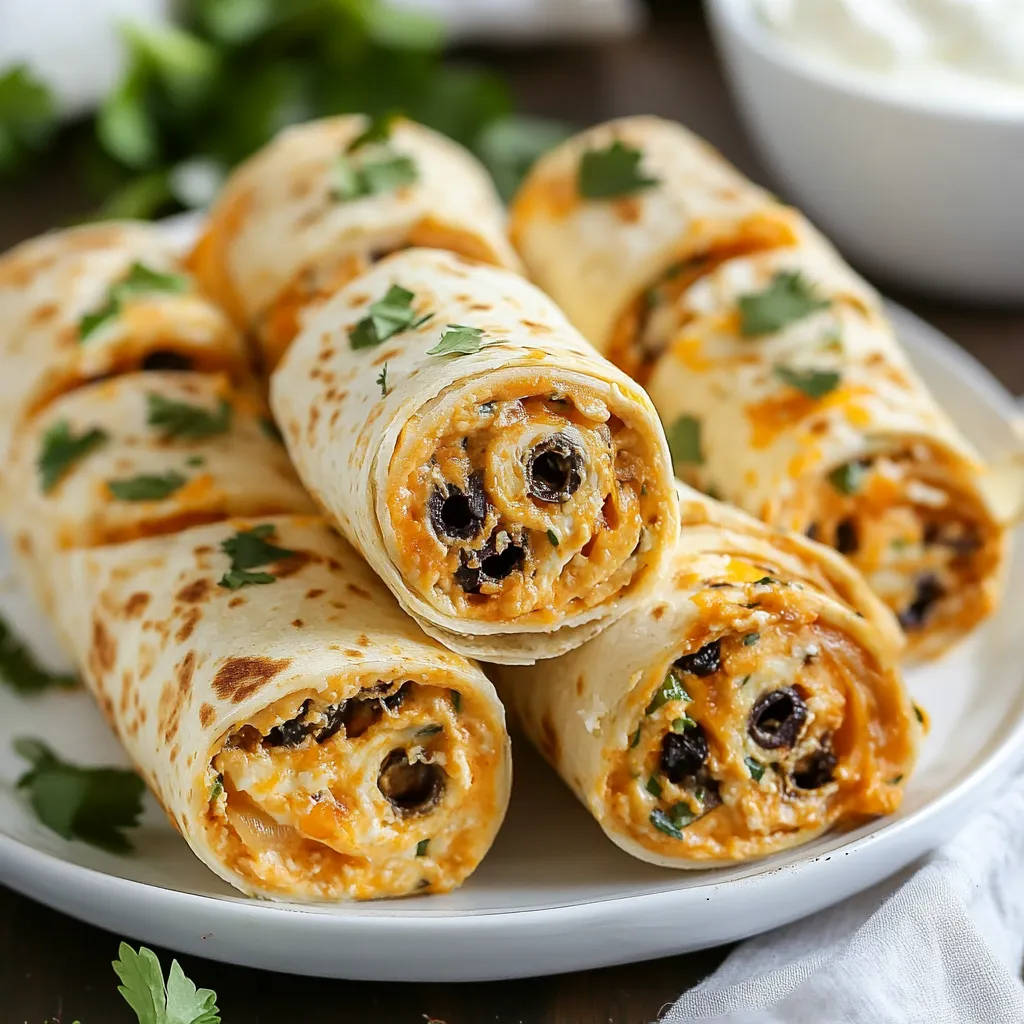
Southwestern tortilla spirals pack punchy Mexican flavors in every bite. These crowd-favorite snacks blend smooth cheesy filling with bold taco spices, making them the ultimate finger food that won't last long at any get-together.
I whipped up three batches of these for my sister's birthday bash last week. Even the folks who don't eat much grabbed extras, and many guests wanted to know how I made them. The key trick is letting them cool properly in the fridge before cutting - it really makes them look so much better.
Key Components
- Cream cheese: Go with regular Philadelphia-type cream cheese left out to soften - it blends smoother and creates a better mix than the reduced-fat kinds
- Sour cream: Brings a nice tang and extra smoothness to the filling. You can also use Mexican crema if it's available near you
- Taco seasoning: Homemade blends are my favorite, but packaged versions do the job too. Try to grab ones without fake additives
- Large flour tortillas: Pick the most supple ones you can - they should bend easily with no crusty spots
- Colby Jack cheese: Grate it yourself for better melting into the mix. The natural oils in freshly shredded cheese help everything stick together
- Black olives: They add that wonderful salty kick that cuts through the richness. Just make sure they're totally dried after draining
- Diced green chiles: The mild variety from small tins are perfect. Drain them super well before using
Step-by-Step Guide
- Step 1:
- Set out the cream cheese for at least 2 hours to soften completely. If it's still cold, you'll end up with bumpy filling
- Step 2:
- In a big bowl, whip the cream cheese with an electric mixer until it's light and totally smooth, around 2-3 minutes. Don't forget to scrape the bowl sides a few times
- Step 3:
- Mix in the sour cream and taco seasoning, beating until everything's blended with no color streaks left. Your mix should be a consistent light orange shade
- Step 4:
- Stir in the well-drained green chiles, making sure they're spread throughout. Their water content can thin your filling, so draining them is super important
- Step 5:
- Lightly fold in the grated cheese and finely diced olives just until mixed. Too much stirring can make everything heavy
- Step 6:
- Spread your tortillas on a clean counter. Put about 1/3 cup of filling on each one, leaving a small border around the edges
- Step 7:
- From one side, roll each tortilla up firmly but gently so the filling stays put. You want it snug but not squished
- Step 8:
- Wrap each roll tightly in plastic wrap and twist the ends closed. This helps them keep their nice round shape
- Step 9:
- Chill the rolls at least 4 hours or overnight - this step is vital for nice, clean slices
- Step 10:
- When you're ready to serve, unwrap and cut into 1-inch rounds with a sharp knife. Wipe the blade between cuts for the neatest look

Choosing the Right Wraps
The quality of your tortillas really matters for these pinwheels. Look for ones that feel soft and bendy without any stiff or dry spots that might crack when you roll them. I've found that quickly warming them between damp paper towels in the microwave for about 15 seconds makes them extra easy to work with.
Prep Time and Keeping
These rolls actually taste better when you make them a day ahead, as the flavors get a chance to mix together. Unlike other similar snacks, the filling won't turn your tortillas mushy. Just keep them wrapped up tight until you're ready to slice and put them out.
Ways to Present
Make your platter look fancy by setting the pinwheels in a circle pattern on a round dish. Tuck some fresh cilantro between the rows for a pop of green, and put small dishes of salsa, guacamole, and extra sour cream around them for dipping.
I was raised in a Mexican-American family where we often had similar snacks at our big gatherings. My grandma would mix in tiny chopped jalapeños in hers, which got me playing around with different heat levels in my own version.
I always bring these pinwheels to parties because they never let me down, they taste amazing, and guests always love them. There's something really special about the mix of creamy filling with those zippy taco flavors that keeps everyone reaching for another one.
Recipe Q&A
- → Can I make these pinwheels ahead of time?
- Definitely! You can make them a day early. Just keep them wrapped up tight in the fridge until it's time to eat.
- → Why do the pinwheels need to be chilled?
- The cold time lets the filling get firm. This makes cutting easier and helps the wheels stay nice and round.
- → What can I serve with these pinwheels?
- They go great with sides like sour cream, mashed avocado or any salsa you love for dipping.
- → Can I use different cheese?
- For sure! Try some pepper jack if you want more heat or a Mexican blend works really well too.
- → How long do leftover pinwheels last?
- You can keep them in a sealed container in your fridge for up to 3 days but they're tastiest when eaten within 2 days.