
 Save
Save
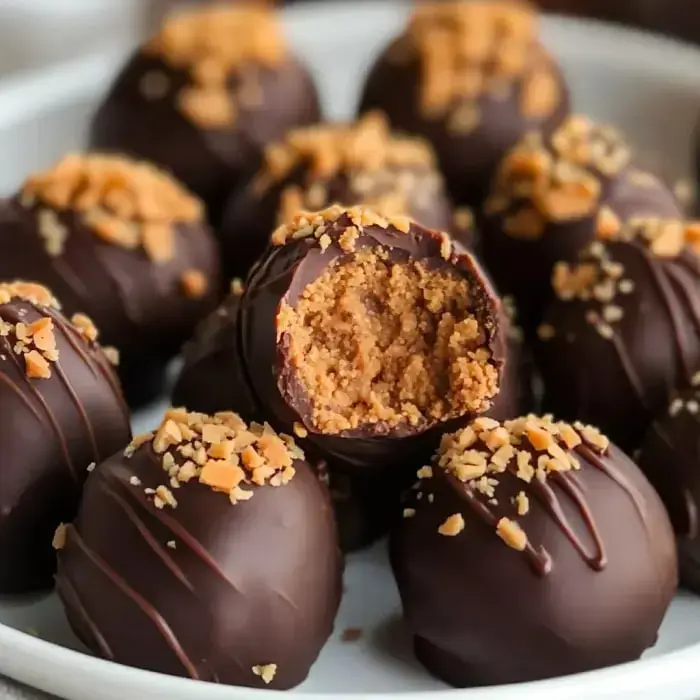
When I whip up these Butterfinger balls, my home gets filled with that mouthwatering smell of chocolate mixed with peanut butter. Something magical happens when you bite through that smooth chocolate coating into a creamy center packed with candy pieces. I first made them for holiday get-togethers, but now my friends beg for them all year long.
The Delightful Treat Journey
My whole family goes wild for these goodies that blend the best of peanut butter treats with Butterfinger's signature crunch. They're super easy to put together - no oven needed! I can't help but smile when I see someone's eyes widen after they take their first bite and discover what's waiting inside.
What You'll Need
- 2 cups peanut butter: Smooth works great, but feel free to use chunky too. If you go with natural, just throw in more graham crackers to get it firm enough.
- 1 stick unsalted butter: Make sure it's nice and soft before you start mixing.
- 2 cups crushed graham crackers: These help our treats hold their shape perfectly.
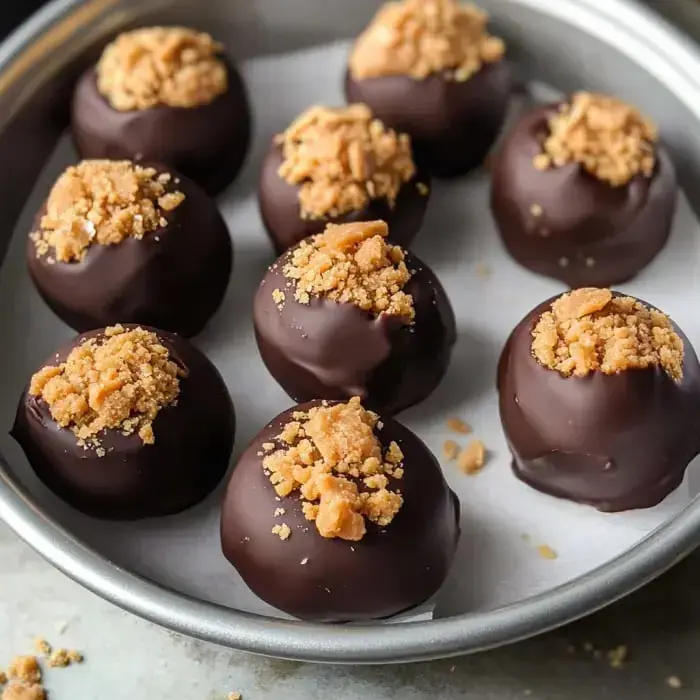
- 6 full size Butterfinger bars: Keep a bit of the crushed candy aside for sprinkling on top for that fancy touch.
- 2 packages chocolate bark: It melts wonderfully and hardens just right.
- 1 teaspoon vanilla extract: A tiny bit makes everything taste so much better.
How To Make Them
- Create Your Base
- Beat the soft butter with peanut butter until it's light and creamy. Stir in vanilla, then fold in your graham crumbs, powdered sugar and smashed Butterfingers until it all comes together nicely.
- Form Your Balls
- Scoop out good-sized portions and roll them into balls. Stick them in the freezer for about half an hour to get nice and firm.
- Coat With Chocolate
- Warm up your chocolate until it's smooth, then dunk each ball and let the extra chocolate run off.
- Add The Finishing Touch
- While the chocolate's still wet, sprinkle on those saved Butterfinger bits. I sometimes add a tiny bit of sea salt too for extra flavor.
Put Your Spin On It
You can always try using different candy like Heath or Snickers instead. Adding seasonal sprinkles makes them perfect for any celebration. A little extra chocolate drizzled on top turns them into fancy treats that look store-bought.
Storage Secrets
Pop these tasty bites in the fridge in an airtight container and they'll stay good for a couple weeks. Want to save them longer? Put layers of them between parchment paper in the freezer and they'll last for months. Just let them warm up a little before you serve them.
Helpful Tricks
A food processor works wonders for breaking up those candy bars. Don't let any water get near your melting chocolate or it'll turn grainy. After dipping each ball, give it a gentle tap to shake off extra chocolate for the smoothest finish.
Recipe Q&A
- → Can I use natural peanut butter?
Stick to brands like Jif or Skippy. Natural peanut butter tends to split or feel too oily, which messes with consistency.
- → What’s the point of freezing them?
It firms them up, making chocolate dipping easier, and your end result looks cleaner and polished.
- → Which chocolate works best for dipping?
Chocolate bark is ideal because it melts smoothly without fuss. Chips work too, but you'll need to temper them right.
- → How long can I make them in advance?
They’re fine in the fridge for about a week if stored airtight. Great for prepping before events!
- → Why add graham crackers?
They add some structure and a hint of honeyed sweetness, rounding out the flavor mix beautifully.