
 Save
Save
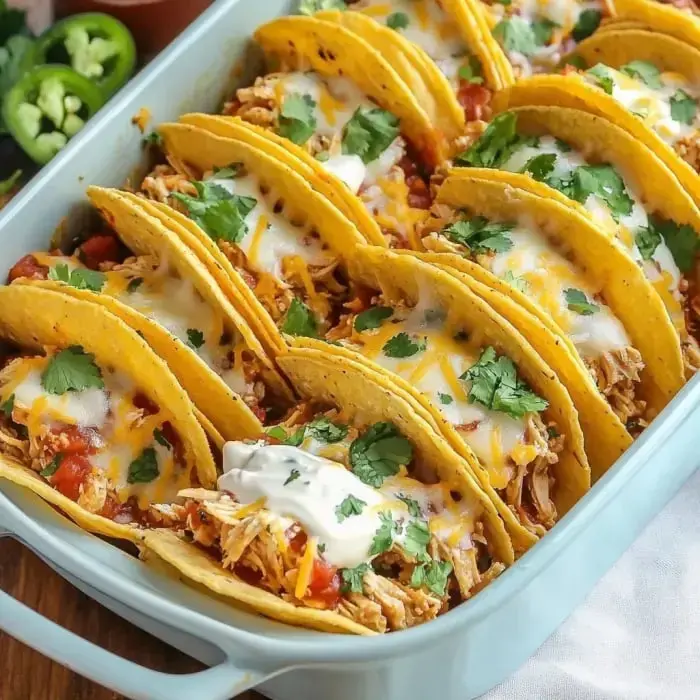
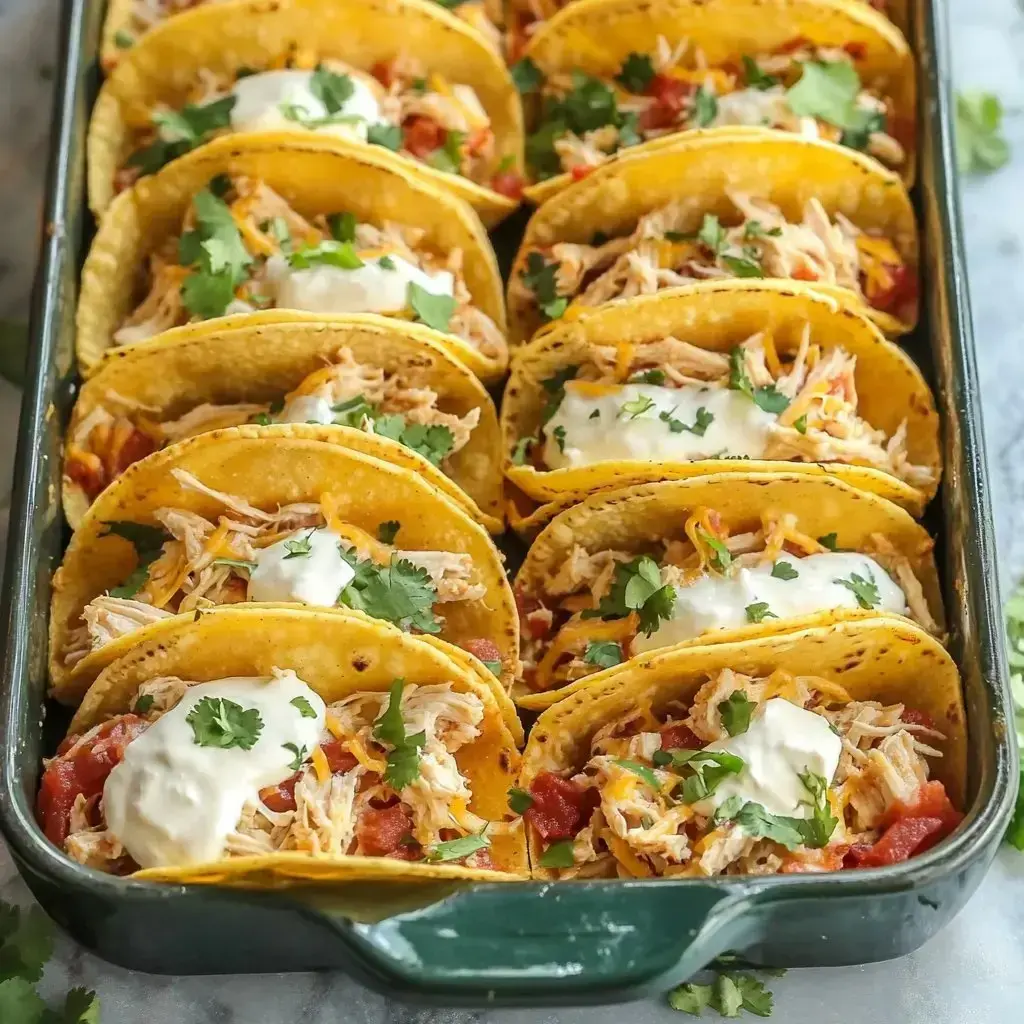
Crunchy Oven Tacos with chicken make dinner time simple for hectic evenings or special gatherings. The whole crew will love these spicy chicken-stuffed crispy shells layered with smooth beans and melty cheese. They cook up in under 30 minutes, making them a quick fix that'll definitely become part of your regular meal rotation.
An Instant Hit
I stumbled upon this dish one crazy evening when I needed something fast that everyone would enjoy. It's now our standard taco night meal. There's something special about the way the shells turn super crunchy while baking as the cheese turns into that perfectly gooey texture. What I really love is watching everyone pile on their favorite toppings, turning dinner into a fun activity for all.
What You'll Need
- Shredded Chicken: Already cooked and pulled apart chicken works best, grab a rotisserie one to save time.
- Taco Seasoning: Mix of chili powder, paprika, garlic powder, onion powder, cumin, and red pepper flakes.
- Taco Shells: Crunchy ones that get even better in the oven.
- Cheese: Mexican blend shreds or any type that melts well.
- Green Chiles: For a bit of kick, use the canned kind, well drained.
- Refried Beans: Forms a tasty foundation layer.
- Diced Tomatoes: Gives nice chunks, drain them completely to keep things crisp.
- Onion: Pick white, red, or sweet varieties for more flavor.
Let's Make Them Together
- Prepare the Shells
- Give your taco shells a head start by warming them at 350°F for 5 minutes so they stay crunchy.
- Mix the Filling
- Stir your shredded chicken with taco spices, tomato chunks, green chiles, and chopped onions.
- Layer the Ingredients
- Smear some refried beans on the bottom of each shell, then add your chicken mix on top.
- Add Cheese
- Sprinkle plenty of cheese over each taco and line them up in a baking dish.
- Bake
- Pop them in the oven at 350°F for 15-20 minutes until you see bubbly, melted cheese.
Making Them Perfect
After countless taco nights, I've picked up some handy tricks. Always make sure to drain your canned stuff really well because nobody wants a soggy shell. That little warm-up in the oven before filling makes the shells stay amazingly crisp. And putting beans down first creates this awesome barrier that keeps everything inside when you take a bite.
Serving and Storing
My favorite way to serve these is with a bunch of toppings laid out so everyone can add what they want. We're talking fresh guac, salsa, sour cream, and extra cheese. Leftovers don't happen much at our house, but when they do, I keep all the parts separate and build fresh tacos later. For bigger get-togethers, I'll keep a bunch warm under foil in a cool oven, and they'll stay perfect for when people are ready to eat.
Recipe Q&A
- → Are these tacos super spicy?
- They've got a kick from taco seasoning, chiles, and optional jalapeños, but it's manageable. Leave out the jalapeños and chiles if you prefer mild.
- → Why bake taco shells first?
- It makes the shells crispier and keeps them from getting soggy when filled.
- → What's the shelf life of leftovers?
- Store in the fridge, sealed up, for 3 days max. The shells might soften a bit over time.
- → Why drain tomatoes and chiles?
- It keeps the filling from getting too wet, so shells stay crunchy and hold their shape.
- → Can I fit more shells in the dish?
- You can fit 10 shells in a 9x13 pan by arranging 2 extra on each side, but overfilling might make them harder to serve.