
 Save
Save
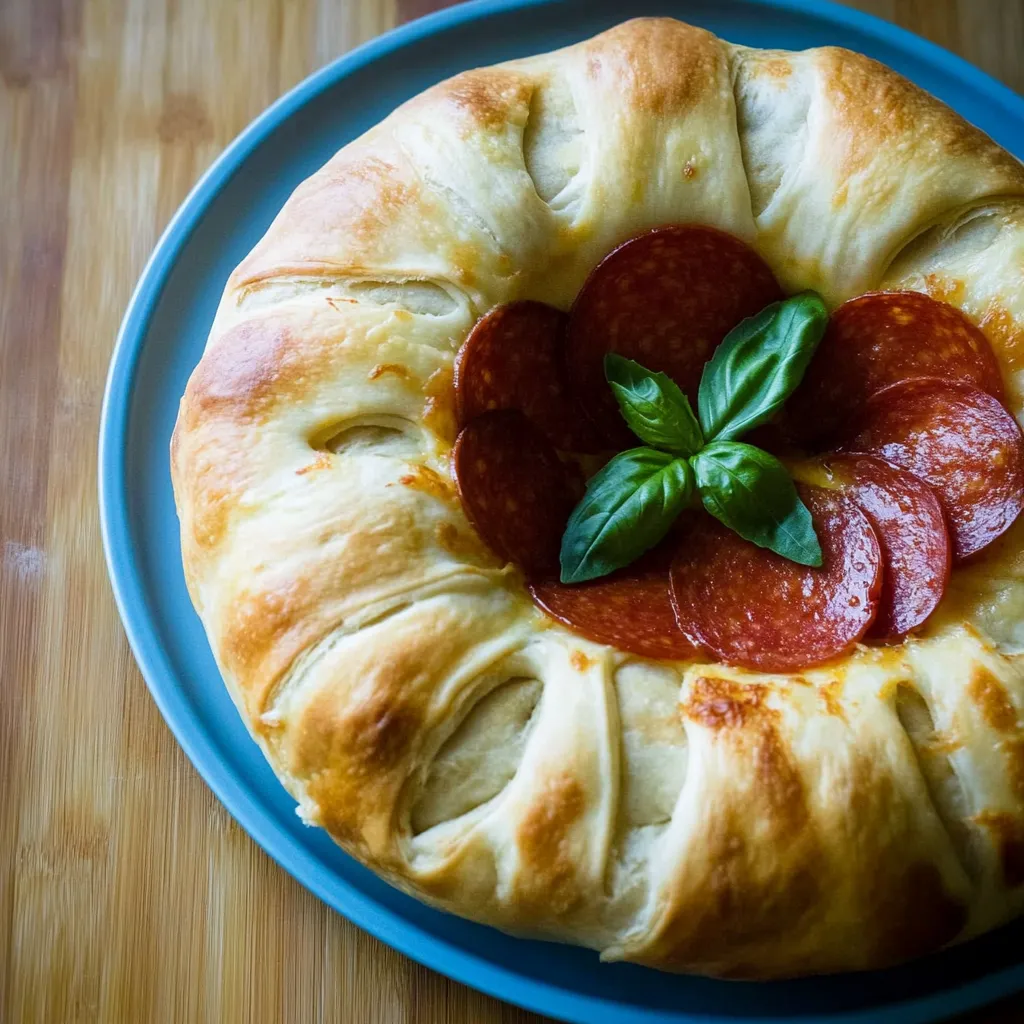
This ring-shaped treat combines all our pizza favorites - stretchy melted cheese, zippy pepperoni, and tasty seasoned dough - wrapped up in an eye-catching circle that's great for groups. This beloved Italian-American dish turns basic pizza stuff into a knockout meal that's actually pretty simple to whip up in your kitchen.
I've brought this ring to tons of family parties, and it always gets gobbled up right away. My picky nephew who normally just pushes food around his plate always wants more when I serve this.
Complete Ingredient Guide
- Pizza Dough: Go for warm, not cold dough for easy handling and better results. Grab some fresh stuff from a nearby bakery if you can - it makes a real difference
- Mozzarella Cheese: Take the extra minute to grate your own - it'll melt way better than the bagged kind that's full of starch and other stuff
- Pepperoni: Ask for cuts at the deli counter for tastier slices with the right thickness. If you're grabbing packaged ones, pick brands without fake additives
- Italian Seasoning: This mix of dried herbs makes every bite pop with flavor. You can use fresh herbs too, but go easy so things don't get soggy
- Parmesan Cheese: The real grated stuff adds a rich, nutty kick that makes the whole thing taste better
Building Your Tasty Ring
- Getting The Dough Ready
- Let your dough sit out for about half an hour. This makes it way easier to work with. Throw plenty of flour on your counter so nothing sticks.
- Flattening And Flavoring
- Stretch the dough into a big 12x20 inch flat rectangle with the same thickness all over. You need this shape for good slices later. Sprinkle your spices all across the surface so every bite tastes great.
- Adding The Cheese
- Spread your hand-shredded mozzarella across the dough but stay about an inch away from the edges. This clean border helps everything stay sealed. Sprinkle the Parmesan lightly on top.
- Laying Out Pepperoni
- Put your pepperoni slices down in rows that slightly overlap. This way, you'll taste pepperoni in every bite without any empty spots.
- Rolling It Up
- Start from the longer side and roll everything away from you, kind of like a Swiss roll. Use gentle, steady pressure to avoid air bubbles inside.
- Making The Ring
- Carefully move your roll to the bundt pan and connect the ends to make a circle. Push the ends together firmly so the filling stays put during baking.
- First Oven Round
- Bake at 375°F for about 20-25 minutes until you see a nice golden color. This step gets the structure set and starts melting all that cheese.
- Finishing Touch
- Flip it onto a baking sheet and pop it back in the oven for 5 more minutes to get that perfect crunch on all sides.
I grew up in an Italian-American family where this dish showed up regularly for our casual dinners. My grandma always tossed in some red pepper flakes with the seasonings, and I still do that in my kitchen today.
Matching With The Perfect Sauce
Good dipping sauce takes your ring from just tasty to absolutely amazing. While grocery store marinara works fine, a quick homemade sauce with San Marzano tomatoes creates that true Italian flavor that goes perfectly with all the goodness inside.
How To Serve And Save
This dish tastes best right after baking, but you can save leftovers and warm them in a 350°F oven for about 10 minutes. Skip the microwave though - it'll make the crust soft and the cheese weird and rubbery.

After making this countless times, I've learned that taking your time makes all the difference - letting the dough warm up, rolling it carefully, and giving it time to rest before slicing. These little steps turn basic ingredients into an amazing meal that brings the whole table together.
Recipe Q&A
- → What does a bundt pan do?
- It gives the roll its circle shape and bakes it evenly all the way through.
- → Can I switch up the toppings?
- Absolutely! Toss in peppers, mushrooms, or whatever pizza toppings you love.
- → Why rest before slicing it?
- Letting it sit 5 minutes keeps the cheesy filling from spilling out when cut.
- → Can I prep this ahead of time?
- Yes, assemble it in advance and leave it in the fridge. Bake fresh when ready to serve.
- → What’s the point of flipping mid-bake?
- Flipping guarantees even browning, so both sides get that crispy crust.