
 Save
Save
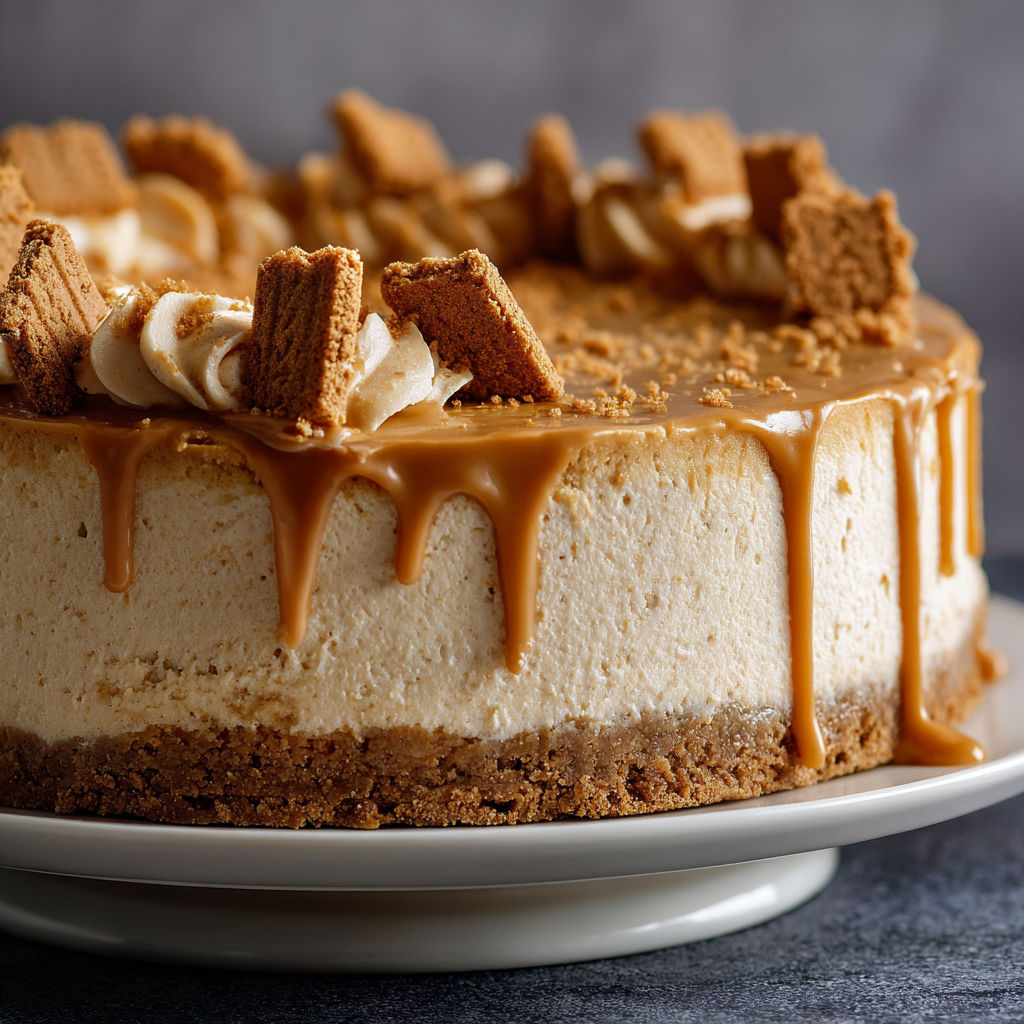
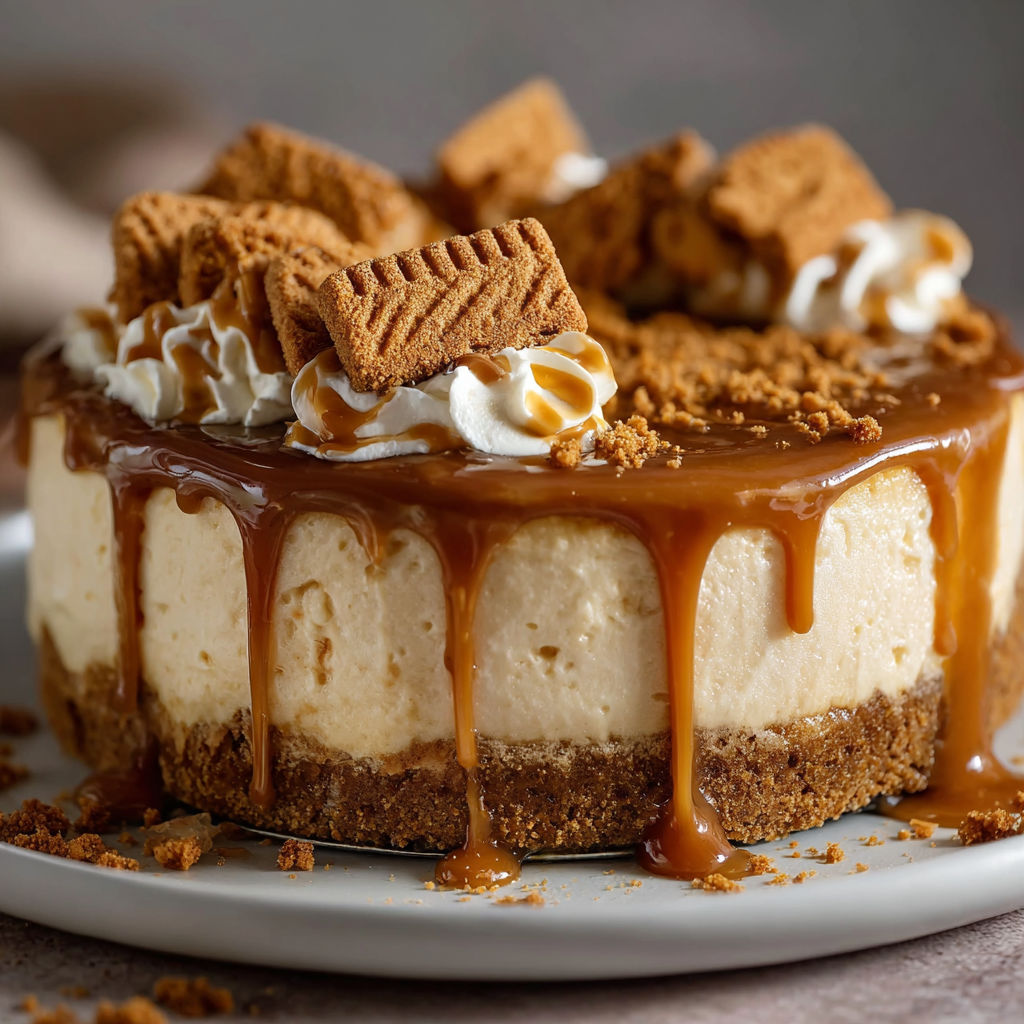
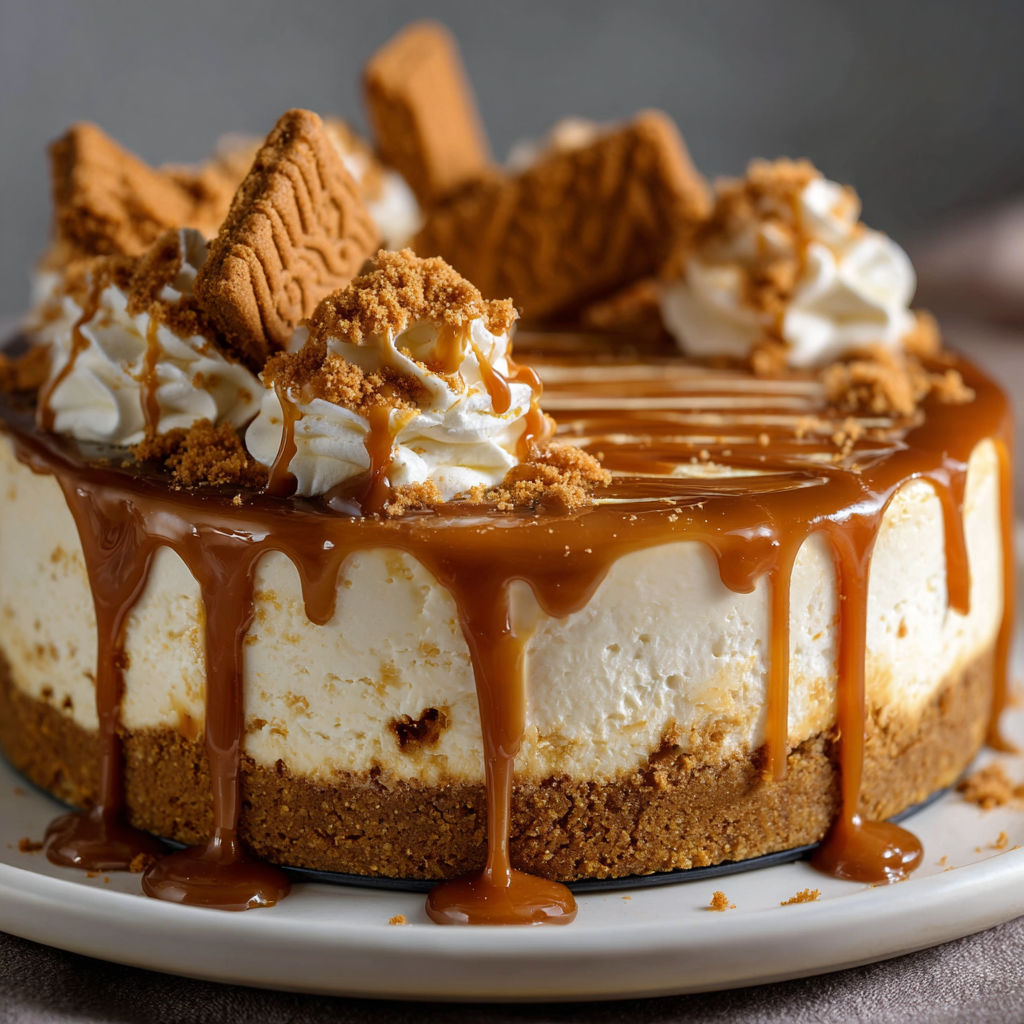
Showcasing that irresistible sweet spiced biscuit flavor in its creamiest form this no-bake Biscoff cheesecake is hands-down the treat I turn to when a celebration calls for something special but oven space is tight From topping off family birthdays to weekend gatherings it has earned that wow from every corner of the table
The first holiday I served this my cousins just about licked their plates clean and now I get requests for it year-round even from the self-proclaimed chocolate lovers
Ingredients
- Biscoff biscuits: these are the backbone of both the crust and the garnish so grab a fresh pack with crisp texture no soggy or broken pieces
- Biscoff spread: for maximum caramelized flavor choose the smooth style it melts easily and binds the filling beautifully
- Cream cheese: make sure it is full-fat and truly softened at room temperature nothing worse than a lumpy base
- Heavy cream: gives the filling lift and airiness use well-chilled cream that whips to firm peaks
- Powdered sugar: blends seamlessly and keeps things smooth sift it if in doubt
- Unsalted butter: keeps the crust tight and light so opt for a European-style for rich notes if you can
- Vanilla extract: lends warmth and rounds out those spiced cookie notes pure vanilla works best if possible
Instructions
- Mix the Base:
- Combine all crushed Biscoff biscuits with melted butter in a large bowl Stir until every crumb is moistened and fragrant Press the mixture firmly and evenly into the bottom of a nine-inch springform pan Use the base of a glass or measuring cup to really pack it down so nothing crumbles later Slide this into your refrigerator to set while you move on
- Make the Filling:
- In a stand mixer or large bowl using a hand mixer beat together softened cream cheese powdered sugar Biscoff spread and vanilla Keep going until you get an ultra-smooth silky texture Scrape the bowl well so no lumps hide
- Fold in Whipped Cream:
- Gently add your whipped heavy cream to the cheesecake base Use a spatula to fold not stir preserving as much air as possible This is how you get that dreamy cloudlike finish
- Layer the Filling:
- Spoon the prepared cheesecake mixture onto your chilled crust and smooth the top with an offset spatula For clean tidy edges gently run a damp paper towel around the inside rim of the pan
- Let It Set:
- Transfer the pan back to the fridge and let it chill for at least six hours The patience pays off since this wait ensures clean even slices later
- Finish and Garnish:
- Before serving drizzle the cooled melted Biscoff spread right over the cold cheesecake Let it drip down the sides for a tempting finish Press on extra Biscoff biscuit shards or whole cookies for crunch and drama
My go-to ingredient is honestly the Biscoff spread There is something about its spiced caramel edge that brings every element together The first time my nephew helped decorate this cheesecake he managed to sneak more biscuits onto his plate than onto the actual cake
Storage and Leftover Tips
Leftover cheesecake holds well in the fridge for up to four days Just make sure it is kept tightly wrapped to avoid picking up any fridge odors If you freeze individual slices place a small piece of parchment between them for easier separation later Always let it sit out for ten minutes at room temp before slicing for the neatest pieces
Easy Ingredient Swaps
Swap any other spiced biscuits if Biscoff is out of stock Lotus or speculoos cookies also work If you need a dairy-free version full-fat coconut cream blends surprisingly well in place of heavy cream Try using light cream cheese for a slightly tangier taste though the texture will be a little less rich
Perfect Ways to Serve This
Pile on fresh berries for a tart bite against the sweetness Dust with cinnamon for even more warming spice Cut into mini squares for party-ready finger food
The Story Behind This Recipe
After a whirlwind trip to Belgium I came back obsessed with putting Biscoff in everything The idea for this cheesecake came together while experimenting during a particularly cold winter weekend It soon became a family tradition and we now debate who makes the straightest drizzle on top Grandad always claims his comes out most artistic Some helpful notes Always start with room temperature cream cheese for easy blending The crust presses easier if you use a measuring cup with a flat bottom For the neatest drizzle wait until the cheesecake is fully chilled
What People Are Saying
Friends always insist on getting their own slice at potlucks and multiple cheesecake fans have asked for the recipe My aunt even once insisted I hide a slice for her before serving guests
Freezer Meal Conversion
To freeze wrap the sliced and chilled cheesecake in plastic then in foil Label and stash for up to two months Thaw overnight in the fridge for best flavor and texture
Bring this cheesecake to your next celebration and enjoy raves from every guest The hint of spice and creaminess make it unforgettable for any sweet occasion
Recipe Q&A
- → How do I achieve a firm no-bake base?
Press the crushed Biscoff biscuits and melted butter firmly into the pan, then chill thoroughly before adding the filling.
- → Can I use alternative biscuits?
While Biscoff biscuits give a unique caramel flavor, digestive or graham crackers work if preferred.
- → What type of cream cheese is best?
Use full-fat, room-temperature cream cheese for the smoothest, creamiest results in the filling.
- → How long does it need to chill?
Chill the assembled cheesecake for at least 6 hours, or overnight for best firmness and sliceability.
- → Can I prepare this dessert ahead?
Yes, prepare a day in advance for convenience—keep it refrigerated until ready to serve and garnish just before serving.