
 Save it
There is something magical about pulling fresh homemade crumpets off the stovetop their cloudlike texture with golden crisp edges has me making them again and again for cozy weekends or surprise brunches Nothing compares to the scent of warm yeasty crumpets wafting through your kitchen and the satisfaction of toasting them to your ideal crunch
Crumpets became a chilly weather ritual for me a few years back My kids love peeking in the pan to see the signature bubbles appear and I can always count on them to disappear fast as soon as they hit the table
Ingredients
- Plain flour: the foundation for chewy structure always opt for unbleached and fresh flour if possible
- Sugar: just a hint to balance the yeast and encourage browning a fine granulated sugar mixes in easily
- Table salt: enhances flavor and keeps the yeast in check use a fresh regular salt for consistent results
- Instant yeast: the power behind the rise choose a yeast within its freshness date for perfect bubbles
- Baking soda: adds lift and helps those classic holes form make sure your baking soda is active and lumpfree
- Warm tap water: activates the yeast and brings the batter together lukewarm to touch is best not hot
- Oil: needed only if your pan is not nonstick a light vegetable oil does the trick without imparting flavor
Step-by-Step Instructions
- Mix Dry Ingredients:
- Whisk together plain flour sugar salt instant yeast and baking soda in a large bowl Keep the yeast and salt on opposite sides of the bowl as you pour them in to avoid salt directly killing yeast
- Make the Batter:
- Pour in the warm tap water Beat with a handheld electric beater on low to start moving to mediumhigh for a total of one minute The batter should get smooth and slightly bubbly This extended mixing is important for crumpet texture
- Rest the Batter:
- Cover the bowl with a clean tea towel or plate and let it sit in a warm spot for thirty to fortyfive minutes At the end the surface will appear puffy or lightly frothy indicating the yeast has done its job The batter will not double like regular bread dough
- Prep the Crumpet Rings:
- Coat the inside of three or four crumpet rings with a thin layer of butter then dredge with flour Tap off the excess to minimize sticking during cooking and set the rings aside
- Heat the Pan:
- Set a large flatbottomed nonstick frying pan over mediumhigh heat Allow the pan to get fully hot about two minutes You can test by hovering your hand a few inches above it to feel for steady warmth
- Cook Stage One:
- Place twothree crumpet rings in the pan Fill each with a scant quarter cup of batter The batter should sizzle gently Cook five to six minutes until a rim of dry batter forms around each edge and bubbles are clearly popping across the surface
- Cook Stage Two:
- Lower the heat to mediumlow Continue cooking another five to six minutes until all the surface bubbles have burst and the tops look dry This ensures the insides are fully cooked with no raw pockets
- Flip and Finish:
- Carefully lift off the rings then flip each crumpet over for just two to three seconds This seals the top without coloring or toughening the crumb Set aside on a wire rack to cool and repeat with remaining batter greasing the rings each time
- Toast and Serve:
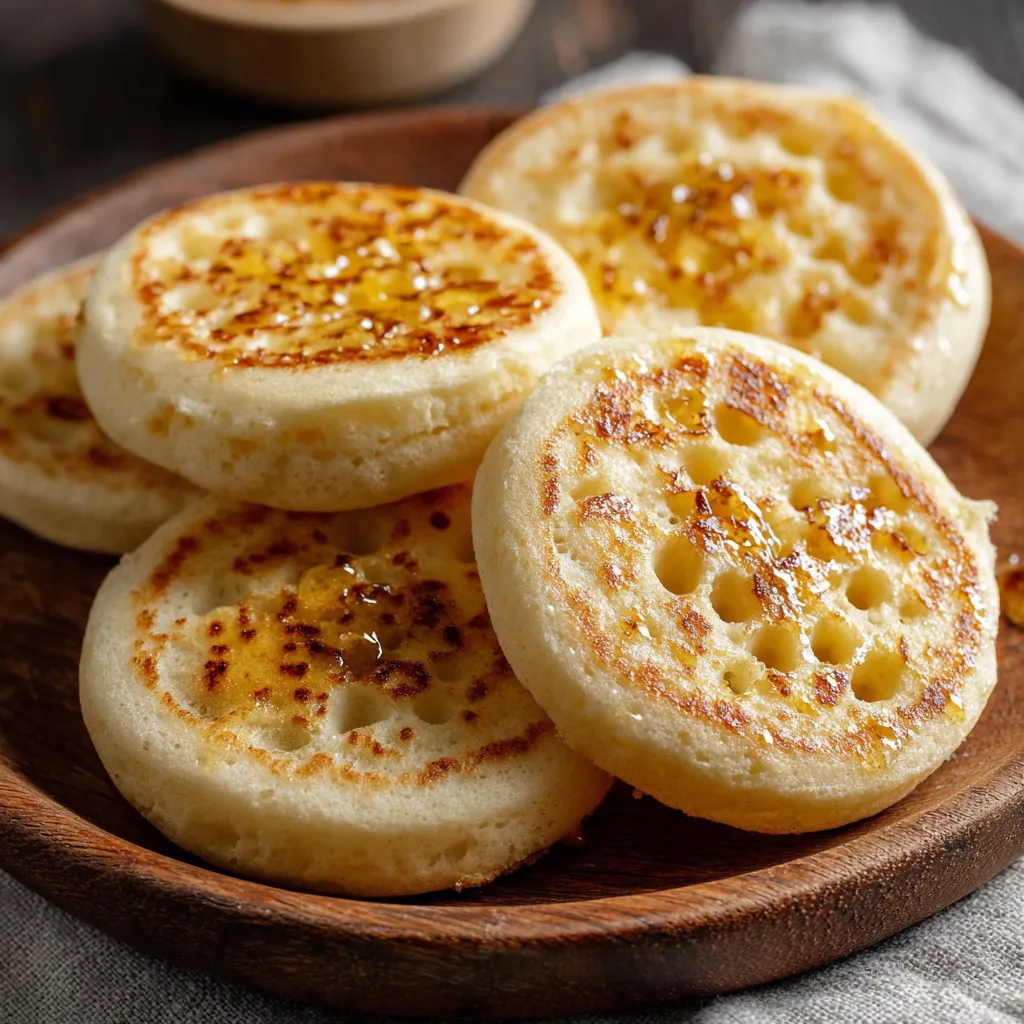
- For best texture always toast crumpets until the tops are golden and crisp If serving immediately leave them in the pan for a bit more golden color Otherwise once cooled toast in a toaster or use a broiler to define that perfect crunch
 Save it
Baking them has become a sort of mindfulness practice for me I adore watching the bubbles develop and wafting the warm aroma around my kitchen When my son took his first fluffy bite his eyes lit up and I knew I had a new family tradition
Storage Tips
Completely cool crumpets before storing for best texture Tuck them in an airtight container or bag at room temperature for up to three days but for longer keeping pop them in the freezer where they will taste fresh for up to three months Reheat straight from frozen by toasting until hot and crisp
Ingredient Substitutions
If you find yourself missing instant yeast active dry yeast will work just proof it in the warm water with a pinch of sugar for a few minutes before adding to the dry mix Whole wheat flour brings earthiness and extra fiber though your crumpets may be a touch denser For those without crumpet rings clean tuna cans with both ends removed make a thrifty substitute
Serving Suggestions
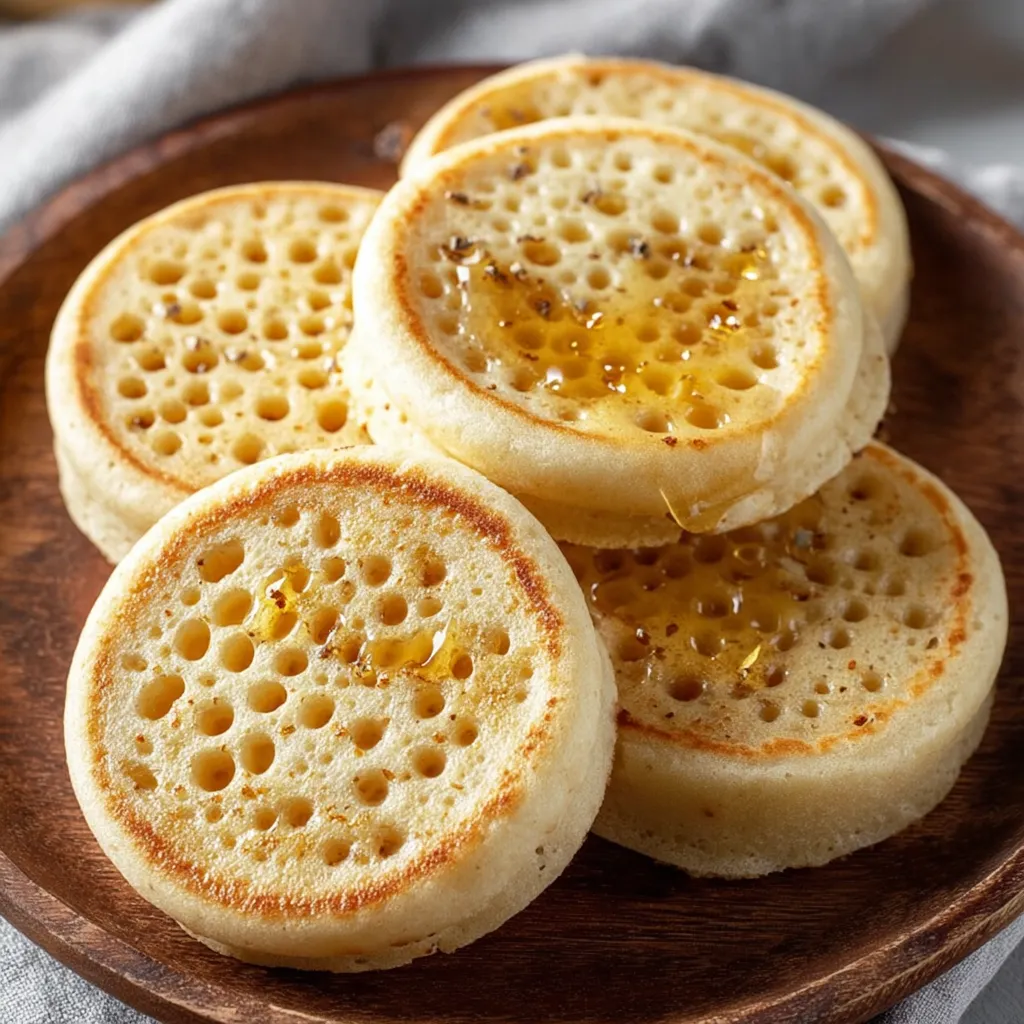
Enjoy crumpets hot from the toaster with a slab of salted butter and a drizzle of honey for classic comfort Sliced strawberries or soft cheese make elegant upgrades For savory spins try them as a base for poached eggs and smoked salmon or even topped with a piece of sharp cheddar and a crack of pepper
Cultural and Historical Context
Crumpets are a beloved teatime treat with roots in Victorian England traditionally served warm with lashings of creamy butter English bakers prided themselves on the perfect balance of chewy middles and lacy golden tops The ritual of sharing crumpets in the afternoon endures today in British kitchens and homes around the world
 Save it
Whichever way you top them homemade crumpets guarantee breakfast happiness every time Toast hot savor every airy bite
Common Questions
- → Why use crumpet rings?
Crumpet rings help shape the batter into tall, uniform rounds and encourage the traditional trademark holes on top.
- → Can I freeze homemade crumpets?
Yes, cool them completely first, then freeze in an airtight container for up to 3 months. Toast from frozen as needed.
- → Why is my crumpet batter not bubbly?
This may be due to water being too cold, insufficient resting time, or inactive yeast. Ensure ingredients are fresh and resting occurs somewhere warm.
- → How do I prevent crumpets from sticking?
Thoroughly grease and flour the inside of your rings and use a non-stick pan or a little oil for best release.
- → What’s the best way to serve them?
Toast until golden and serve warm with butter, honey, jams, or your favorite spreads for a classic treat.