
 Save it
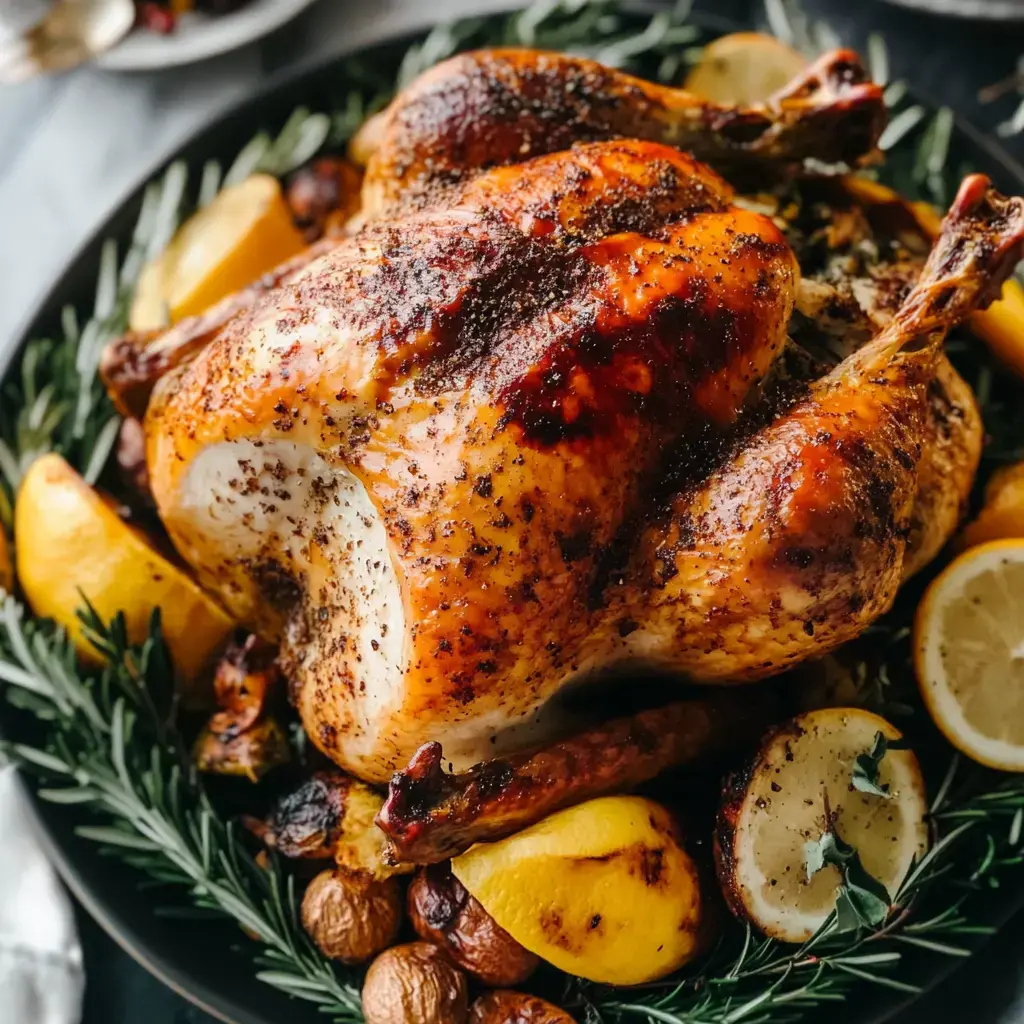
This laid-back turkey how-to skips stuff like brining or basting. Great for pros and newbies, you’ll end up with juicy meat and a deep golden crust each time. Just some easy herby butter and sticking to the right temp will get any turkey between 12-18 pounds tasting awesome.
Top Reasons You'll Love This
No more stressing over turkey. It’s all about the basics here. Herby butter keeps everything moist—no need to keep basting. No guessing the right temp, just follow the guidelines. You just need three things: a roasting rack, a good sharp knife, and a meat thermometer. The laid-back instructions work like a charm whether you’re feeding a crowd or just your crew.
Essentials To Grab
- Optional veggies: Throw in 2 diced carrots, 3 chopped celery sticks, and an onion cut in four for the roasting pan
- Seasonings: Salt and pepper go in the butter and inside the bird
- Butter mix: Use ¾ cup room temp butter, 6 garlic cloves (chopped up), and a bit each of thyme and rosemary
- Inside the bird: Tuck in a lemon and an onion (both quartered), plus 2 sprigs each of rosemary, sage, and thyme
- Turkey: Go with a 12-18 pounder, fully thawed and not straight from the fridge
Easy-To-Follow Steps
- Finishing Up
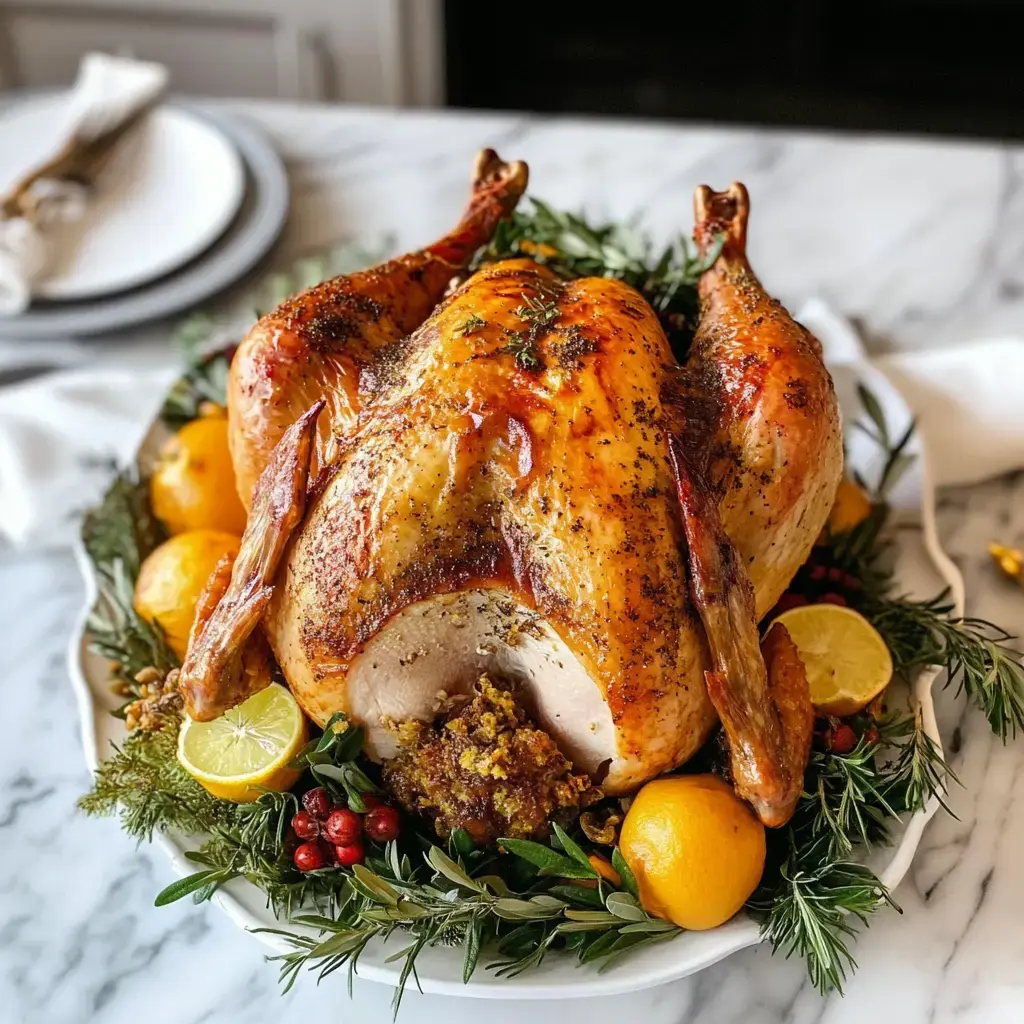
- After baking, give your turkey a 30-minute nap before you carve into it. Make sure it gets to 165°F before slicing. Serve hot and enjoy.
- Roast Away
- Put the turkey on your rack or those veggies. Roast for about 15 minutes a pound. Check it’s hitting 160°F deepest in the breast. If the top gets really brown quick, lay a sheet of foil over it.
- Slather On Butter
- Gently pull up the skin without ripping it. Work one-third of that buttery mix under the skin. Rub the rest all over the outside. Get it in every nook and cranny.
- Season & Prep
- Sprinkle salt and pepper inside the bird. Stuff with your lemon, onion, and fresh herbs. Stir the butter, salt, pepper, chopped garlic, and herbs together so everything’s even.
- First Moves
- Pull the turkey out of the fridge about an hour before it goes in the oven. Heat oven to 325°F. Take out the giblets and dry off the turkey using paper towels.
Thawing Tips
Give yourself enough time for thawing—it always takes longer than you think. Let it defrost in the fridge, figuring about a day for every five pounds. With a 15-pounder, you’ll want to start three days out. Leave it wrapped on a tray on the fridge’s bottom shelf in case it leaks. Never let it thaw on the counter—it's risky. In a pinch, dunk it in cold water, swapping the water out every half hour.
 Save it
Forget The Rinse
Skip washing the turkey—it’s pointless and just splashes bacteria where you don’t want it. Heat from the oven knocks out anything bad. Press it dry with paper towels so the outside crisps up nice, and your kitchen stays cleaner. Use separate boards, and always give your hands a solid scrub after touching raw turkey.
Bake Stuffing On the Side
Always bake the stuffing outside the bird, in its own pan. Stuffing the turkey means way longer cooking times, and you’ll get mushy stuffing. Instead, fill the inside with lemon, herbs, and onion for flavor. This way, stuffing bakes up crunchy and tasty, and the turkey gets done faster and more evenly.
Get That Skin Extra Crispy
Want seriously crispy skin? Pat it really dry, then park your turkey on a fridge shelf (uncovered) for several hours or even overnight. Just before baking, pile on that herby butter under and over the skin. Keep the oven door closed—every time you peek, you cool it off and slow things down. The butter takes care of crisping, so you don't need to keep basting.
 Save it
Let It Chill A Bit
Right after cooking, let the turkey sit for at least a half hour before cutting it up. For big birds, even an hour is good. This way the juices stay in so the meat stays nice and moist. Loosely pop on some foil to keep it hot. Use this break to make gravy, finish sides, or call everyone to the table. Trust me—the wait is worth it for super juicy slices.
Common Questions
- → Can I prep the butter early?
You can make it up to a couple of days sooner. Keep it airtight in the fridge and let it get soft before spreading. Some folks freeze it way ahead, but don't use it frozen or it's a pain to smear. If you're adding lemon zest, do that on the day for the best taste.
- → What if there's no fresh herbs?
If all you've got is dried, use about a third as much as you would fresh. Mix them right in so the flavors pop. Fresh gives better flavor, but dried gets the job done. They're more intense, so start slow. Rosemary and thyme dry great—basil, not as much.
- → How do I know it’s ready?
Pop a thermometer into the thigh and it should read around 158-160°. Don’t hit the bone or the temp’s off. Check a few spots just to make sure. Don’t trust the color—go by the number. White meat cooks a bit faster than dark, so check both. Let it rest to 165°—that holds in all the juice.
- → Stuff bird or not?
I say cook stuffing apart so everything cooks evenly. Just toss onions, herbs, maybe lemon inside for that good smell. Stuffing outside gets a crunchy top, too. Plus, it’s way quicker. Some folks just put herbs and citrus in the middle for flavor and skip the stuffing altogether.
- → Resting time—how long?
At least half an hour, longer's better. That gives time for all the juice to get back in. Cover it with foil, not too tight—you want it warm but not soggy. Makes it easy to finish your sides or gravy. Cutting too soon spills all the juice, so hang tight. Resting keeps it juicy, promise!
Final Thoughts
If you want easy meals, check out herby roast chicken too. Go for lemony veggies on the side. Garlic mashed potatoes with these flavors taste awesome as well!