
 Save
Save
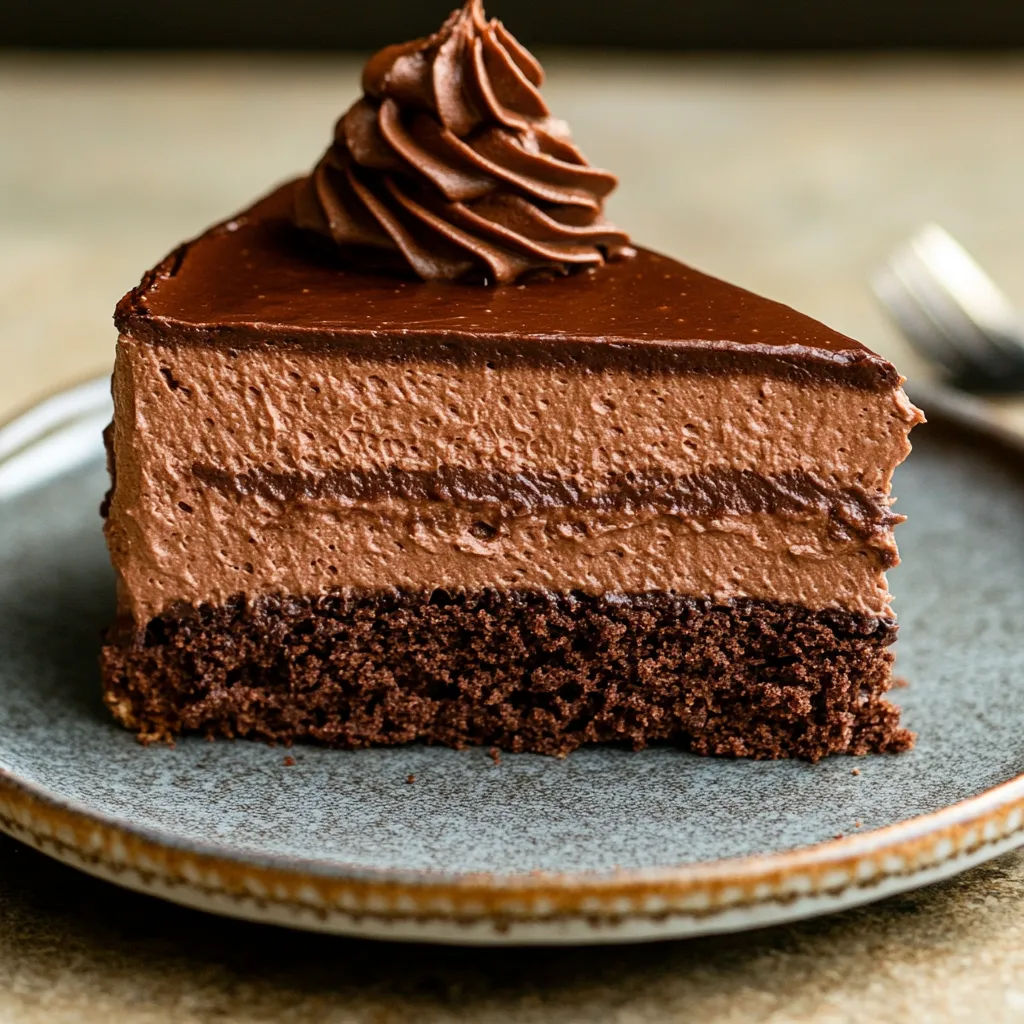
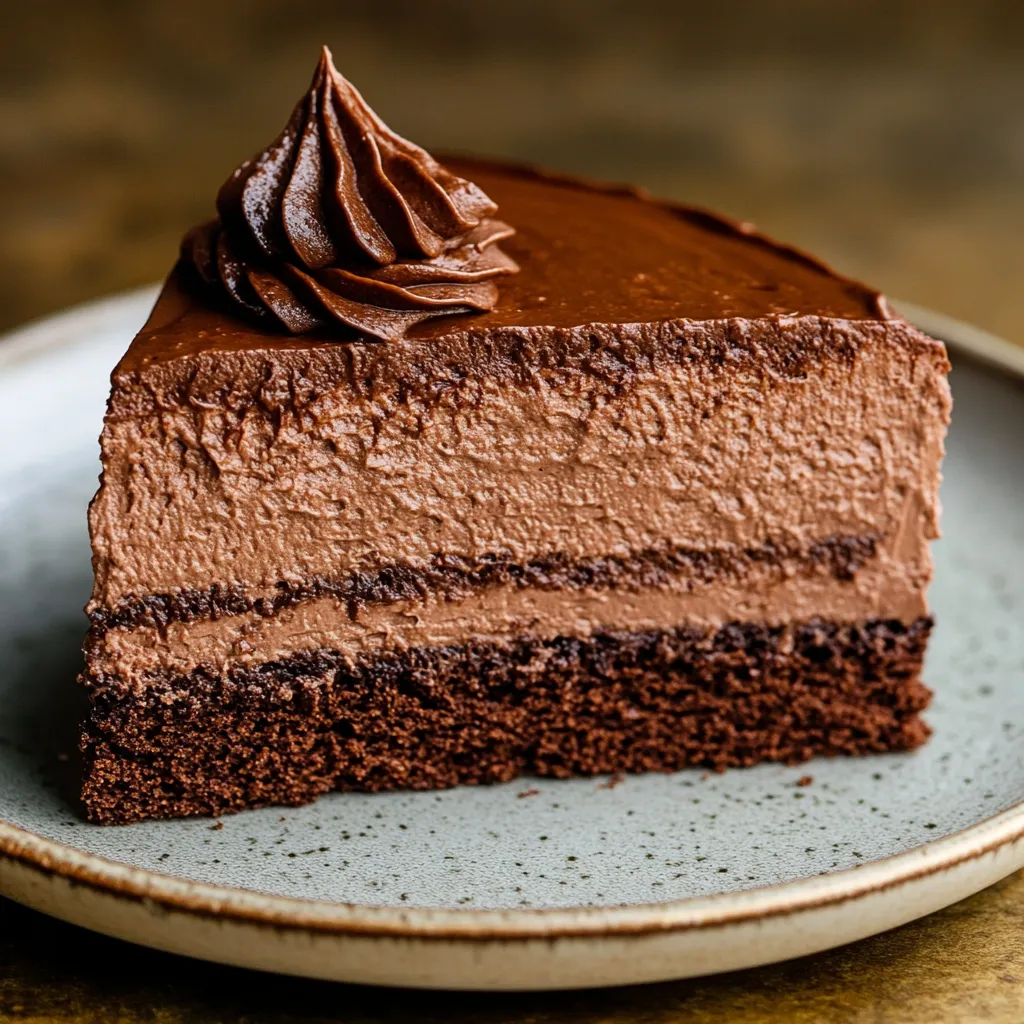
I've reworked this fancy dessert into a step-by-step breakdown for making the ultimate chocolate treat. This three-layer chocolate wonder mixes a soft chocolate base, creamy mousse center, and shiny chocolate topping for a dessert that'll blow everyone away.
After making tons of mousse cakes over the years, I think this one hits the sweet spot between too heavy and too light. The first time I brought this to a family gathering, everyone thought I'd stopped at a fancy pastry place on the way over.
Key Ingredients and Shopping Advice
- Dark Chocolate: Go for good 70% cocoa for better taste. Look for the shiny surface as a quality sign.
- Milk Chocolate: Spend a bit more on name brands for better melting and flavor.
- Dutch Process Cocoa: It makes the cake darker and more chocolatey than regular cocoa powder.
- Fresh Eggs: Split them up while they're cold but let them warm up before using.
- Heavy Cream: Need the kind with at least 36% fat so it'll whip up right.
Step-by-Step Baking Guide
- Step 1: Getting the Cake Base Right
- Check your oven with a thermometer before you start. Mix all dry stuff really well to break up cocoa clumps. Put the hot coffee in last to wake up the cocoa flavor. Don't leave it in too long. Take it out when the tester still has a few wet crumbs.
- Step 2: Making Perfect Mousse
- Melt your chocolate on low heat so it won't get grainy. Warm the egg yolks gradually or they'll scramble. Make sure the gelatin completely melts in the warm cream. Stir with a light touch to keep all the air bubbles.
- Step 3: Nailing the Ganache Top
- Cut chocolate into same-size pieces for even melting. Just heat cream until you see small bubbles. Let it sit for 3 minutes without touching it. Pour when it's the right warmth for good dripping.
I spent years watching my grandma make chocolate treats, and she always said you can't rush good desserts. This one takes some time, but every step adds flavor that makes it way better than average.
The trick to making this cake amazing is watching your temperatures. I've learned that giving each layer enough time to set creates those distinct layers that make every bite interesting.
This cake has turned into my go-to dessert for birthdays and holidays. Putting together these three different chocolate elements creates something people talk about long after the party ends.
Recipe Q&A
- → What's the purpose of the acetate or cake collar?
- It gives you perfectly neat, straight edges when you're stacking up the mousse portion.
- → Can I make this dessert beforehand?
- Absolutely, you can fix it up to 2 days early and keep it in the fridge.
- → Why should I drench the cake in coffee?
- Coffee both keeps the cake moist and boosts the chocolate taste without making it taste like coffee.
- → Is the gelatin really needed?
- Yes, you can't skip it as it helps your mousse stay firm when you cut into the cake.
- → How many days will this cake last?
- You can keep it in your fridge for up to 5 days, but it's best when eaten within 3 days.