
 Save
Save
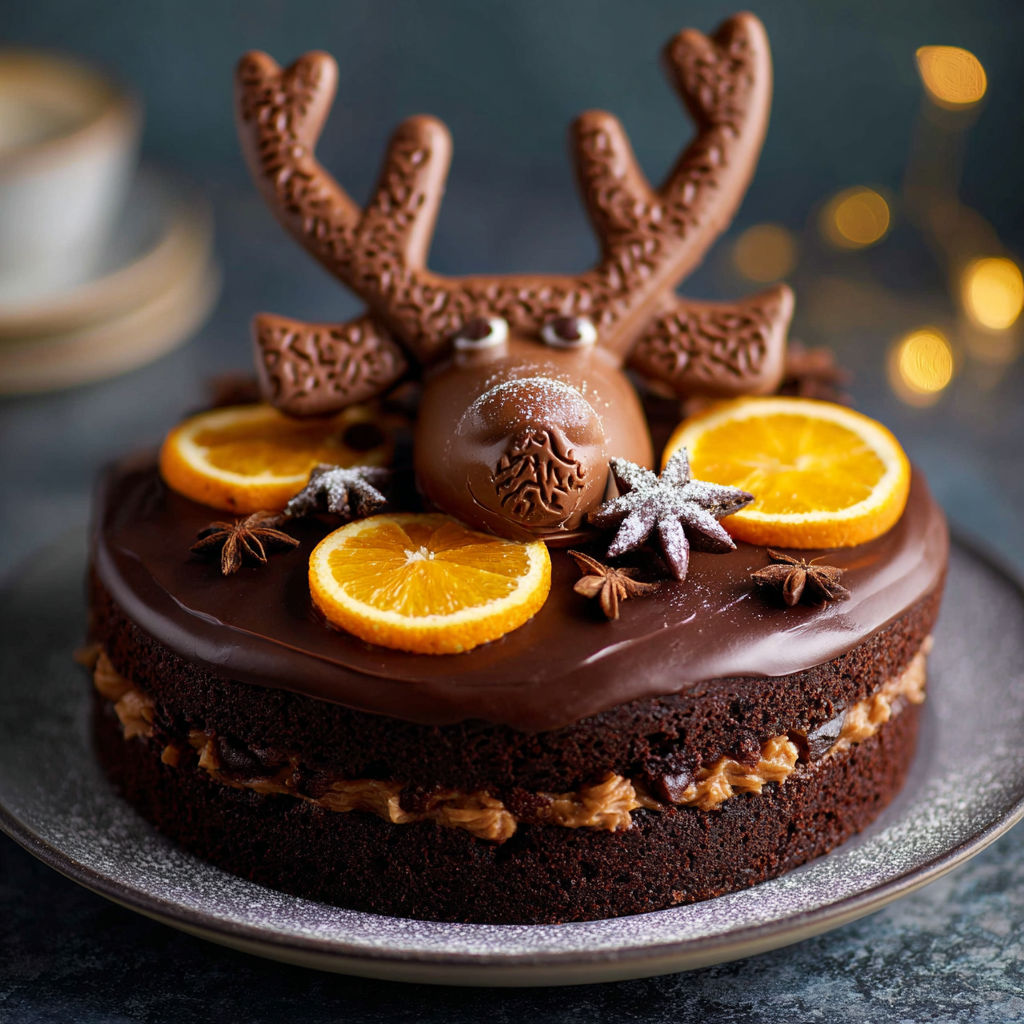
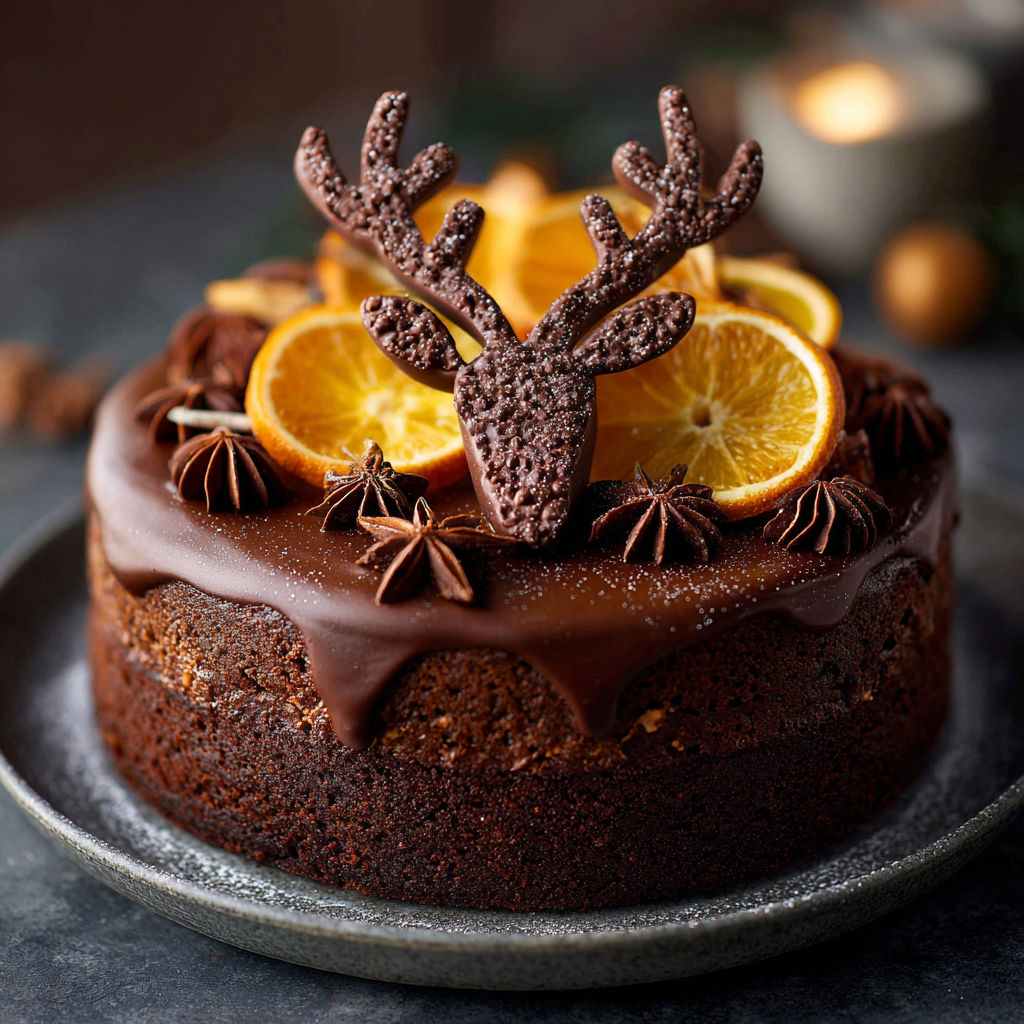
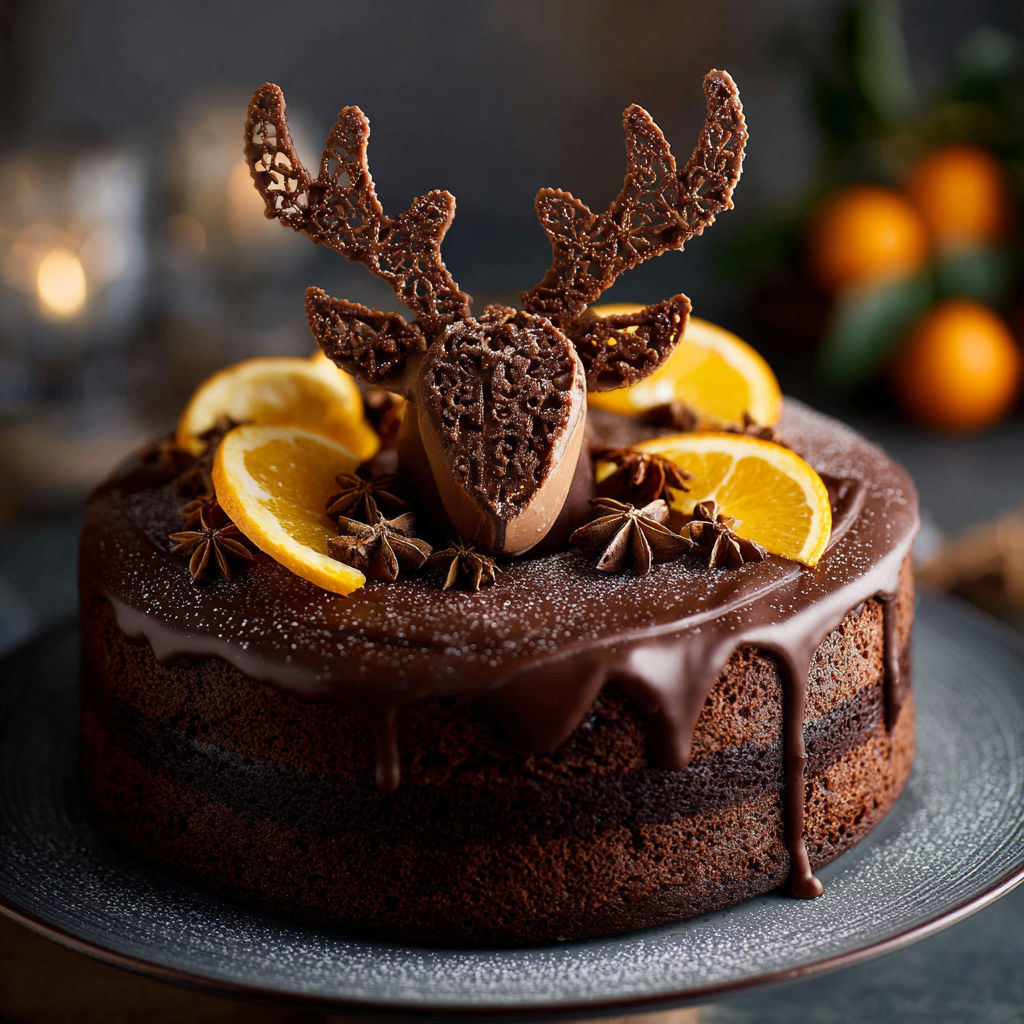
When winter rolls around and the celebrations kick off, nothing gets my family more excited than the chocolate orange reindeer cake I bring to the table. This playful bake transforms rich chocolate and zingy orange into a characterful showstopper with antlers and bright red noses, perfect when you want a centerpiece that tastes just as good as it looks.
I still remember the sense of fun when my nieces insisted on arranging every reindeer face by hand. Now it is our December tradition and they look forward to it every year.
Ingredients
- White or golden caster sugar: Creates a light texture and helps the sponge come out fluffy. Look for finely milled sugar for best blending
- Self-raising flour: Guarantees the right rise. Try to use a fresh bag to keep your cake airy
- Cocoa powder: Gives the chocolate layer real depth. I always check that it smells intensely chocolaty
- Vegetable oil: Makes the sponge extra moist and keeps it soft even after a couple of days
- Fresh orange: Delivers bright citrus flavor. Choose a heavy orange with shiny skin
- Chocolate orange butter: Adds a double hit of chocolate and sweet orange. Try to find a reputable brand for reliable smoothness
- Butter at room temperature: Helps the frosting turn creamy and easy to spread. High-quality butter makes a difference
- Icing sugar: Ensures the buttercream is silky. Sift it to avoid lumps
Instructions
- Prepare the Pan:
- Grease your nine-inch round cake tin and line both the base and the sides with baking paper. This is essential for getting the finished cake out in one piece without sticking.
- Mix the Dry Ingredients:
- In a roomy mixing bowl, combine your sugar, self-raising flour and cocoa powder together with a large spoon. Stir until everything looks evenly blended and any lumps of sugar are broken up.
- Combine the Wet Ingredients:
- Pour in the vegetable oil and milk. Crack the eggs into a separate bowl and beat lightly with a fork before adding. Stir everything together gently until your mixture is mostly smooth.
- Add Orange:
- Use a microplane or zester to grate the outer zest from your orange right into the bowl. Slice the orange and squeeze in every drop of juice. Give the batter another thorough mix to ensure the orange flavor is evenly distributed.
- Bake:
- Tip the mixture into the prepared tin and smooth the top with a spatula. Bake in your oven set to 160 degrees fan or 180 degrees standard. Check for doneness after forty-five minutes by gently pressing the top. It should spring back. Cool for twenty minutes before removing from the tin then let it cool completely on a wire rack.
- Prepare the Chocolate Orange Buttercream:
- Finely chop your chocolate orange and melt it in the microwave using short bursts. Stir until smooth and set aside. Meanwhile, beat the room temperature butter in a bowl with a hand mixer until it looks pale. Sift over the icing sugar and beat again until fluffy then fold in your cooled melted chocolate. Add cocoa powder and a splash of boiling water then mix until glossy.
- Decorate:
- Spread the buttercream across the cooled cake with a palette knife. Arrange chocolate buttons in a neat ring in the centre. Stick red Smarties onto the buttons with a dab of buttercream to create noses then place the edible eyes just above. Break pretzels carefully and use the pieces to build antlers for each face.
My favorite part is breaking up the buttery pretzels to make antlers. Sometimes we all end up in fits of laughter if a batch turns out a bit lopsided but that just makes every cake unique.
Storage and Leftover Tips
Keep leftovers well wrapped in the fridge and they will stay fresh for up to four days. If you want to enjoy the cake later in the week, cut into portions and wrap each slice tightly in baking paper. You can also freeze pieces for up to a month then thaw overnight for a ready treat.
Easy Ingredient Swaps
You can swap vegetable oil for melted coconut oil in equal amounts for a subtle twist. If you do not have self-raising flour on hand, combine plain flour with a teaspoon and a half of baking powder for every cup. Vegan chocolate works as a replacement in the buttercream for a dairy free alternative.
Perfect Ways to Serve This
This cake always shines as a centerpiece at festive gatherings and kid parties. For extra indulgence, pair each slice with a scoop of orange gelato or serve with whipped cream for added drama. I often take it to potlucks where it charms everyone at first glance.
The Story Behind This Recipe
I first made this cake for a classroom holiday party when my son was little. Everyone giggled at the reindeer faces and the plate was empty in minutes. After that I kept the tradition alive and adjusted the recipe over time to nail down a super moist crumb and rich chocolate flavor.
Adapting for Every Season
Brighten up spring by swapping the orange for lemon zest and juice. In summer, try a raspberry buttercream for a fresh pop of color. For autumn gatherings, a dash of warming mixed spice in the sponge brings a cozy feel.
This recipe brings so much personality to any celebration and is always a hit at family parties. Every time I serve it, kids treat it like a craft project before digging in. Nothing beats that blend of chocolate and orange in such a cheerful package.
Recipe Q&A
- → How do I ensure the sponge stays moist?
Use oil and milk as directed and avoid overbaking. Check with a skewer at 45 minutes and remove when it comes out clean.
- → Can I substitute regular chocolate if I can't find chocolate orange?
Yes, use milk chocolate and add extra orange zest for a similar flavor profile.
- → Is it possible to make this cake in advance?
Yes, bake and cool the sponge a day ahead, and add buttercream and decorations on the serving day.
- → What can I use if I don't have edible eyes?
Mini chocolate chips or small dots of icing can be used to create the eyes for the reindeer decoration.
- → Can a different tin size be used?
If using a different tin size, adjust baking time accordingly. Thin layers require less time; thicker cakes need more.