
 Save
Save
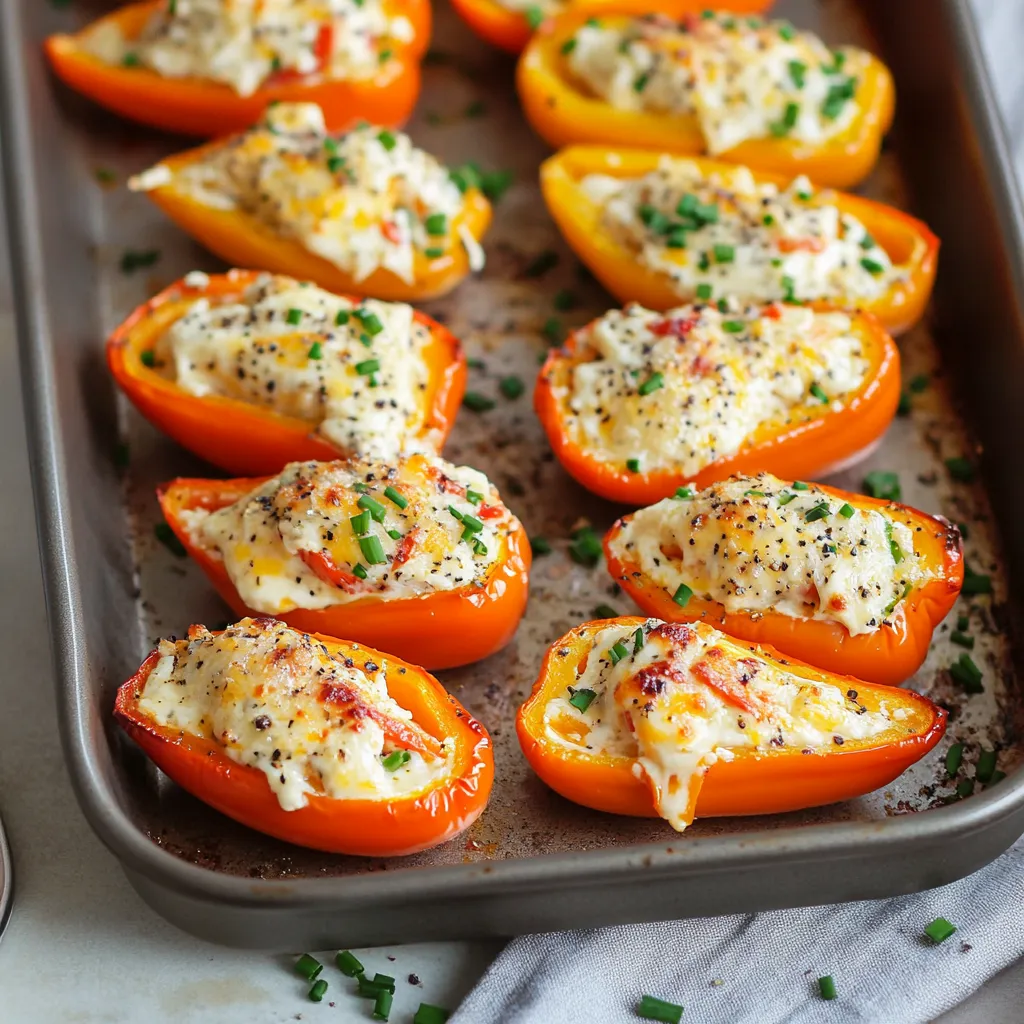
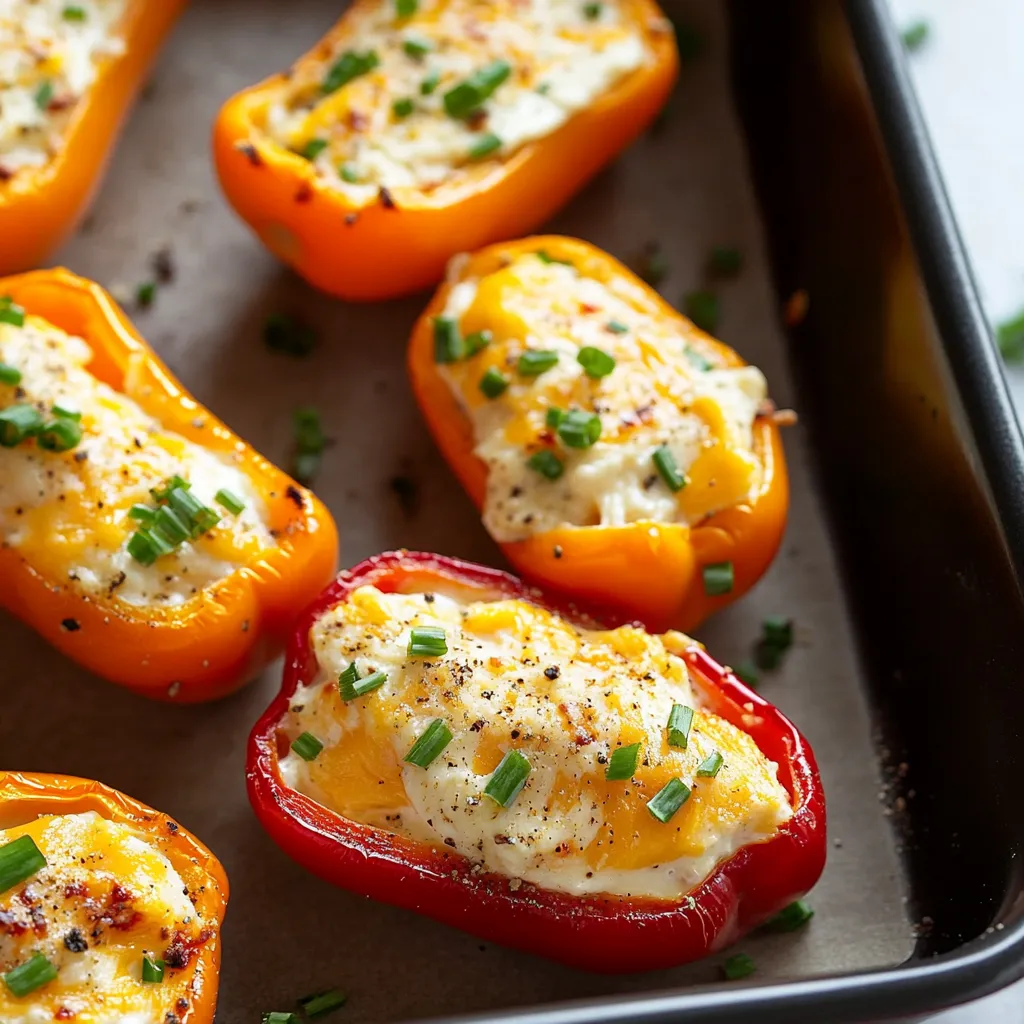
These bite-sized treats feature tiny peppers filled with velvety cheese that'll wow any crowd. Each colorful morsel delivers the perfect mix of sweet pepper crunch and rich, tangy filling that'll have everyone grabbing just one more.
The first time these appeared at our family dinner, they vanished before I could grab seconds. I've learned my lesson and now make twice as many - they're that good. My trick? Pick peppers roughly the same size so they'll cook evenly.
Key Ingredients
- Mini Sweet Peppers: Go for crisp, vibrantly colored ones with no mushy parts
- Cream Cheese: Don't skimp on fat content for the creamiest result
- Cheddar Cheese: Grate it yourself instead of buying pre-shredded bags
- Fresh Chives: They add a gentle oniony kick and pretty green flecks
- Salt and Pepper: Basic seasonings that let the pepper's natural sweetness come through
- Optional Garnishes: Sprinkle with extra chives or a dash of paprika for eye appeal
Step-By-Step Directions
- Step 1:
- Find peppers that match in size for even baking time
- Step 2:
- Slice peppers down the middle, leaving stems on for a prettier look
- Step 3:
- Scoop out seeds and ribs while keeping the pepper's shape intact
- Step 4:
- Let cream cheese sit out until it's completely soft at room temperature
- Step 5:
- Whip cream cheese until it's silky before mixing anything else in
- Step 6:
- Mix in shredded cheese and chives with a light touch
- Step 7:
- Stuff each pepper half just below the top to avoid spillage
- Step 8:
- Leave space between peppers on the baking sheet
- Step 9:
- Keep an eye on them while cooking - they're done when edges just start to pucker
- Step 10:
- Cool for 5 minutes after baking to let flavors settle
Smart Party Planning
These colorful bites look amazing on snack boards next to other finger foods. Their bright colors will jazz up any spread instantly.
Prep-Ahead Tricks
Do all the work a day early, pop them in the fridge, and bake right before guests arrive. The filling actually tastes better after sitting overnight.
My grandma always told me the best party snacks look fancy but come together easily. These stuffed peppers prove her right every single time.
I'm known for bringing these cheese-stuffed peppers to gatherings now. They show how sometimes the easiest combos - just peppers and cheese - turn into the snacks everyone remembers.
Tasty Twists Worth Trying
- Italian-Style: Stir in some pesto, chopped sun-dried tomatoes, and herbs
- Mexican-Inspired: Mix with taco spices and pepper jack instead of cheddar
- Mediterranean: Blend in crumbled feta, oregano, and diced olives
- Buffalo Style: Add hot sauce and blue cheese bits
- Garden Fresh: Mix in tiny cucumber pieces and fresh dill
Serving Temperature Options
- Fresh from the oven: When cheese is all melty and warm
- Room temperature: When you can really taste all the flavors
- Cold: Extra refreshing for hot summer days
- Do-ahead: Can sit in the fridge up to a day before cooking
Presentation Ideas
- Group peppers by their colors for a rainbow effect
- Put small plates and napkins close by
- Stick toothpicks in for mess-free grabbing
- Offer some dipping sauces nearby
- Scatter fresh herbs around for a fancy touch
We discovered these make fantastic picnic food - they taste just as good at room temp and don't fall apart when packed up.
These little stuffed peppers have become our go-to party snack because they're both simple and sophisticated. They work for casual backyard hangouts or fancy dinner parties, always pleasing guests with their bright colors and creamy, irresistible filling.
Recipe Q&A
- → Can I make these before my event?
- Sure, you can stuff them up to a day ahead and pop them in the oven right before your guests arrive.
- → How do I warm up any extras?
- Pop them in the oven at 350°F for about 5-10 minutes till they're warm through, or just eat them cold.
- → Will big bell peppers work too?
- Absolutely, just cut those bigger bell peppers into chunks and cook them a bit longer, about 5-10 extra minutes.
- → What other cheeses taste good in this?
- Switch it up with pepper jack, monterey jack, or try gouda instead of cheddar for new flavors.
- → Why does the filling spill out sometimes?
- Make sure your peppers sit flat on your baking tray and don't put too much filling in each one.