
 Save
Save
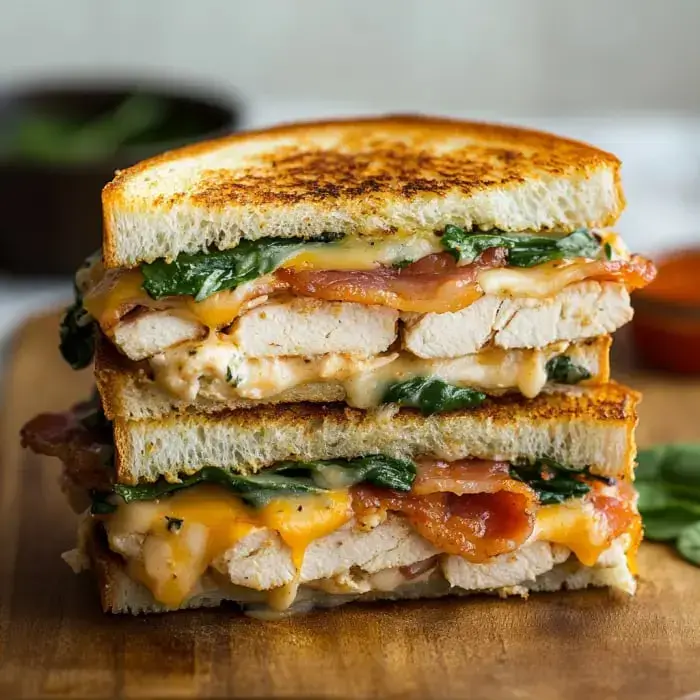
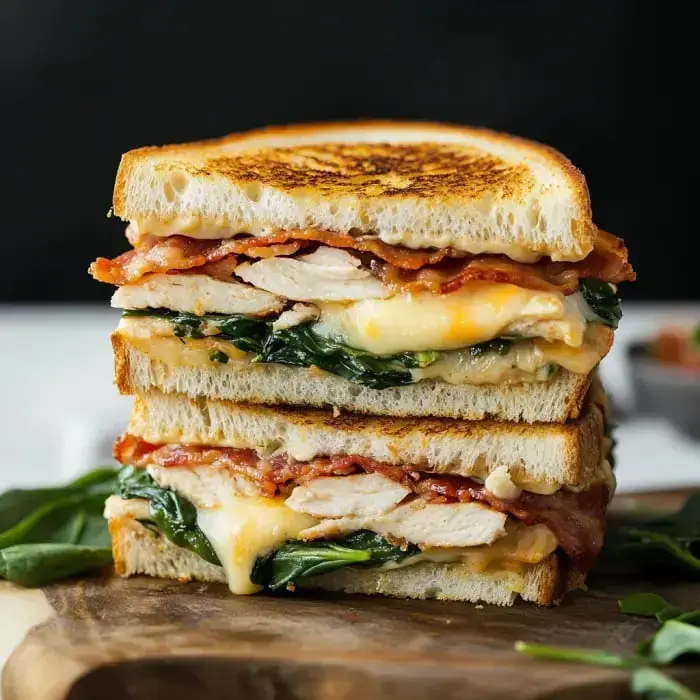
This bacon turkey melt sandwich with spinach and cheddar cheese makes for a super cozy lunch when it's cold outside. When you bite into this warm treat, you'll taste the tasty turkey, fresh spinach, juicy tomatoes, crunchy bacon, and gooey cheddar all tucked between two crispy slices of buttered sourdough bread.
A Mouthwatering Grilled Sandwich
I think making a good sandwich is really like creating art and this turkey melt is my favorite creation. I tried so many different ways to make it and found that when you mix crispy bacon, crunchy sourdough and melted cheddar together, it's just amazing. It's my favorite comfort food now, especially when I'm really busy but still want something yummy without spending too much time cooking.
What You'll Need
- 4 slices sourdough or thick, crusty bread: Pick bread that can get nice and toasty without getting mushy.
- 2 tablespoons honey mustard: This gives your sandwich a nice sweet and zingy taste.
- 2 slices white cheddar cheese: Get good quality cheese for the tastiest melt.
- 4 slices deli turkey: Try smoked turkey or leftover holiday turkey for extra flavor.
- Thin tomato slices from 1 medium red tomato: They add a juicy freshness to every bite.
- ½ cup fresh baby spinach: Gives you some green crunch and good nutrients too.
- 4 strips cooked bacon: For that awesome crunch and smoky flavor.
- 2 tablespoons butter softened: Spread this on your bread to get that golden outside.
Let's Make It Together
- Assemble the Sandwiches
- Put your 4 sourdough slices flat and spread ½ tablespoon honey mustard on each one. Add your cheese, turkey, spinach, tomato pieces, and bacon spread out evenly. Put them together so everything stays in place for the best taste.
- Toast the Sandwiches
- Butter the outsides with ½ tablespoon per side. Get a big pan medium hot and cook each side about 3-4 minutes until they're golden and the cheese gets all melty. Flip them carefully so both sides cook the same.
- Serve Warm
- Put your finished sandwiches on plates and eat them right away with something like soup or a fresh salad on the side.
Making It Perfect
After making tons of these sandwiches I've learned you can't rush the toasting part. Going slow lets the cheese melt just right while the outside gets perfectly golden brown. I always grate my cheese myself because it melts way better than the pre-cut stuff. And don't forget to butter the bread it's super important for getting that awesome crunch and color.
Make It Your Own
What's great about this sandwich is you can change it up however you want. Sometimes I'll use different bread like ciabatta or rye instead. When I'm feeling a bit brave I'll throw in some caramelized onions or a little pesto. Around Christmas time I love adding cranberry sauce it brings this amazing sweet and tangy flavor to every bite.
Recipe Q&A
- → Why use fresh-sliced cheese?
- Freshly sliced cheese straight from a block gives a better taste and melts smoother compared to pre-packaged ones. You’ll notice the difference.
- → Can this sandwich be dairy-free?
- Absolutely! Swap the cheese and butter for dairy-free versions to keep it warm and melty, even without the dairy.
- → What’s the reason for buttering the bread?
- Butter on the outside makes it golden and crisp when toasted, plus it prevents it from sticking to your pan.
- → When’s the right moment to flip the sandwich?
- Toast for 3-4 minutes per side. Look for a golden crust and gooey cheese—it’s a sign it’s done.
- → Why is the layering order important?
- The way you layer holds things in place, lets the cheese melt evenly, and keeps every bite flavorful.