
 Save it
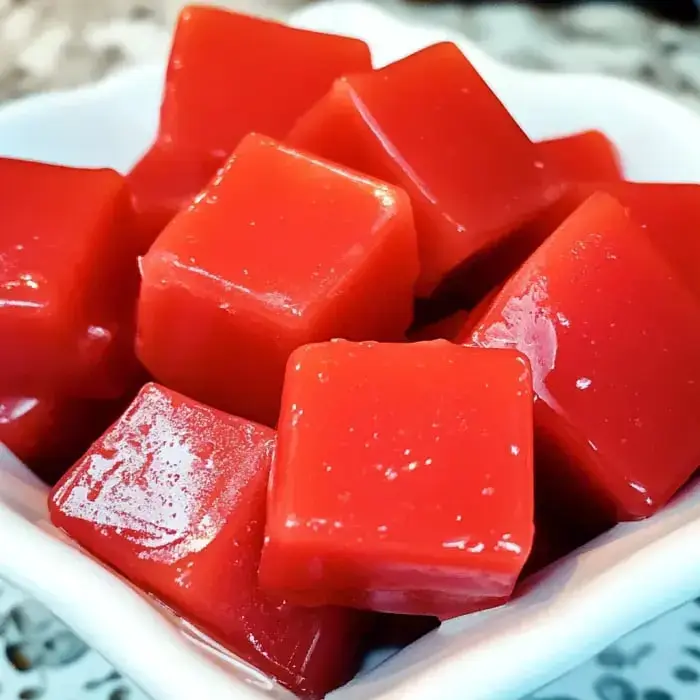
These Red-Hot Chewy Candies deliver a bold, fiery cinnamon kick in every bite. They're a must-try for anyone who loves spicy-sweet combinations. Using traditional candy techniques with a modern spin, these soft, stretchy treats stand out with their bright red appearance and warming flavor, making them perfect for holiday gatherings or special sweet tables.
A Fiery Sweet Journey
I still remember my first attempt at these candies and how surprised I was by cinnamon's ability to elevate regular caramel into something totally new. There's real magic in watching the mixture shift to that gorgeous crimson shade while filling your home with those warm, spicy scents. It's now part of my yearly holiday routine, adding excitement to old-school candy crafting.
What You'll Need
- Granulated Sugar: 2 cups, creating the candy's sweet foundation.
- Corn Syrup: 1 cup, keeps your candies perfectly soft to chew.
- Heavy Cream: 1 cup, gives them that luxurious creamy quality.
- Butter: 1/2 cup, unsalted and room temperature for better texture.
- Cinnamon Oil: A few drops, delivering that signature spicy punch.
- Red Food Coloring Gel: Optional, adds that eye-catching festive color.
Let's Make Them Together
- Prepare Your Pan
- Cover an 8×8-inch pan with parchment paper, letting the sides hang over for grabbing later, then lightly coat with butter.
- Combine Ingredients
- Mix 2 cups of sugar, 1 cup of corn syrup, and 1 cup of heavy cream in a sturdy pot. Stir while heating until sugar melts completely.
- Cook the Mixture
- Let the mixture bubble up, stirring all the time, and slowly drop in 1/2 cup of softened butter. Track with a candy thermometer until it hits 245°F (118°C).
- Flavor and Color
- Take off heat then mix in a few drops of cinnamon oil and red coloring. Stir until everything looks the same throughout.
- Set and Cut
- Empty the hot mixture into your ready pan. Let it cool all the way at room temp before slicing into squares or rectangles.
Making Them Perfect
After countless batches, I've found that getting the details right really counts. You'll want a reliable candy thermometer to nail that perfect chewy consistency every time. I like to play around with the cinnamon oil amounts, sometimes going stronger for folks who love heat or keeping it milder for sensitive taste buds. Don't rush the cooling process either, and try cooling them a bit in the fridge before cutting - it makes such a difference in getting those neat edges.
Wrapping Up
The best part about making these candies is giving them away. I wrap each piece in wax paper and twist the ends to keep them fresh. They're fantastic gifts, especially around Christmas when their bright red color looks so festive. Just make sure to warn people about the spicy kick - it's always fun watching their faces light up after that first surprising taste!
 Save it
Common Questions
- → Why do I need to stir so often?
- Stirring keeps the caramel from sticking to the bottom of the pot and burning, so it cooks evenly and has the right texture.
- → When are the caramels ready to cut?
- Once chilled, they should be firm but flexible. It's good to let them sit out a bit to make slicing easier.
- → What's the point of using wax paper?
- Wax paper stops the caramels from sticking together, keeps them in great shape, and makes storage or gifting super easy.
- → Why wait before slicing them?
- Letting them warm up a bit at room temperature makes slicing smoother without creating cracks or sticky issues.
- → How important is hitting the right temperature?
- 240 degrees is spot-on for the right texture. Using a candy thermometer guarantees the perfect consistency, even with slight temp changes.